Do you have an old iPhone lying around that you no longer use for calls or texts? Don't let it gather dust in a drawer. Instead, consider repurposing it into an iPod Touch. In this guide, we'll walk you through the steps to transform your old iPhone into a fully functional iPod for music, videos, and more.
It will be most useful for people with new iPhone who don't want another iPhone (the old one most likely) to gather dust on the shelf or be sold for a penny.
Here's how to turn your old iPhone into a "New" iPod Touch
Before we dive into the process, let's go over the basic requirements:
Basic Requirements
To successfully transform your old iPhone into an iPod Touch, you'll need the following:
-
An old iPhone (any model should work) — be sure to backup all data as it will be lost in the process.
-
A different SIM card (if you don't have one, don't worry, we'll discuss alternatives)
-
Access to a working Wi-Fi network
These steps will ensure your data is secured, and you'll be able to restore the iPhone if needed.
The first phone activation needs a functional SIM installed. The card doesn't need to be active; any card from any previously activated iPhone will work.
Turning off iPhone Activation Lock & Reset and Erase All Data
Now, let's get into the nitty-gritty of the process. First, you'll need to deactivate your old iPhone and erase all data. The steps differ slightly depending on your iOS version.
Sadly, it's the only way to ensure no data leftovers are still on the phone. To enable your phone as an iPod, you'll also cut off all cellular connections, leaving only the WiFi active.
In iOS 10.3 or later:
If your old iPhone is running iOS 10.3 or later, follow these steps:
- Step 1: Go to "Settings" on your iPhone
To begin, unlock your iPhone if it's locked.
Look for the "Settings" app on your home screen. It has an icon that looks like a gearwheel. Tap on it to open the Settings menu.
Step 2: Tap your name at the top
In the Settings menu, scroll down a bit or swipe down until you see your Apple ID profile at the top. It should display your name and a profile picture, if you have one. Tap on your name.

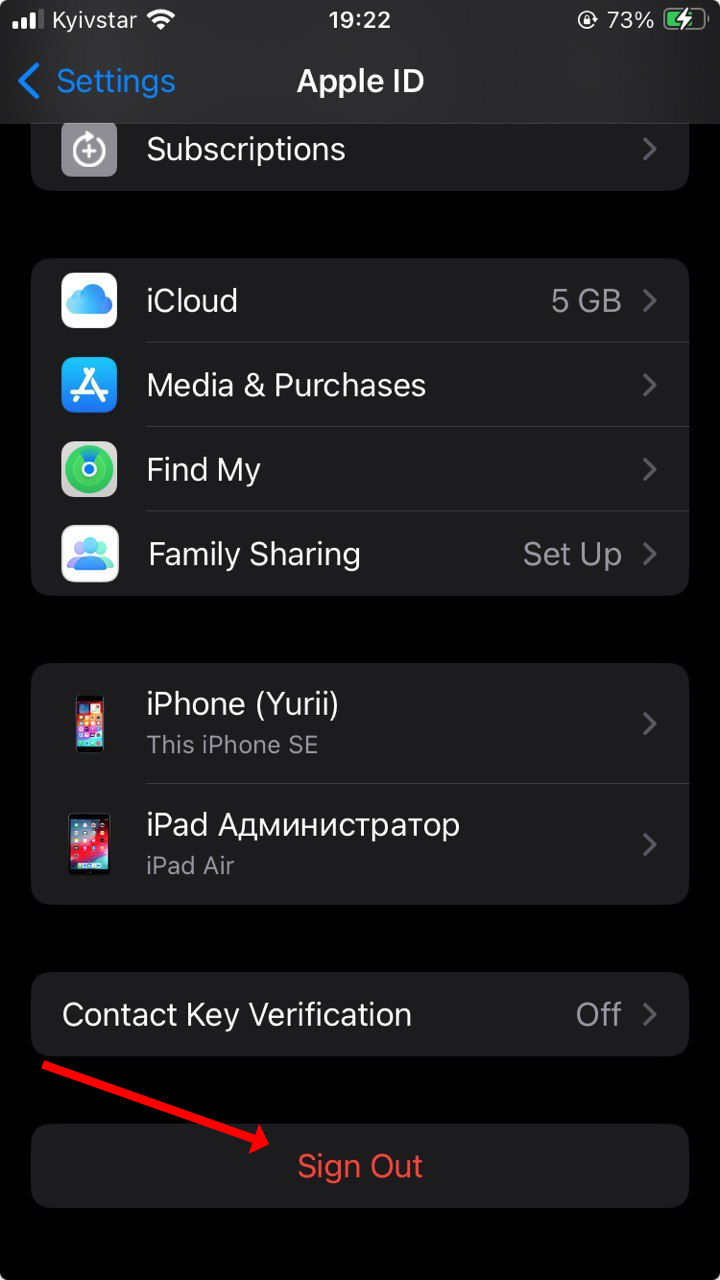
- Step 3: Select "Sign Out"
On the next screen, you'll see various options related to your Apple ID and iCloud settings. Scroll down until you find "Sign Out" and tap on it.
- Step 4: Enter your Apple ID password
You'll be prompted to enter your Apple ID password. This is the same password you use to make purchases on the App Store and iTunes. Enter it carefully and tap "Next" or "Sign Out."
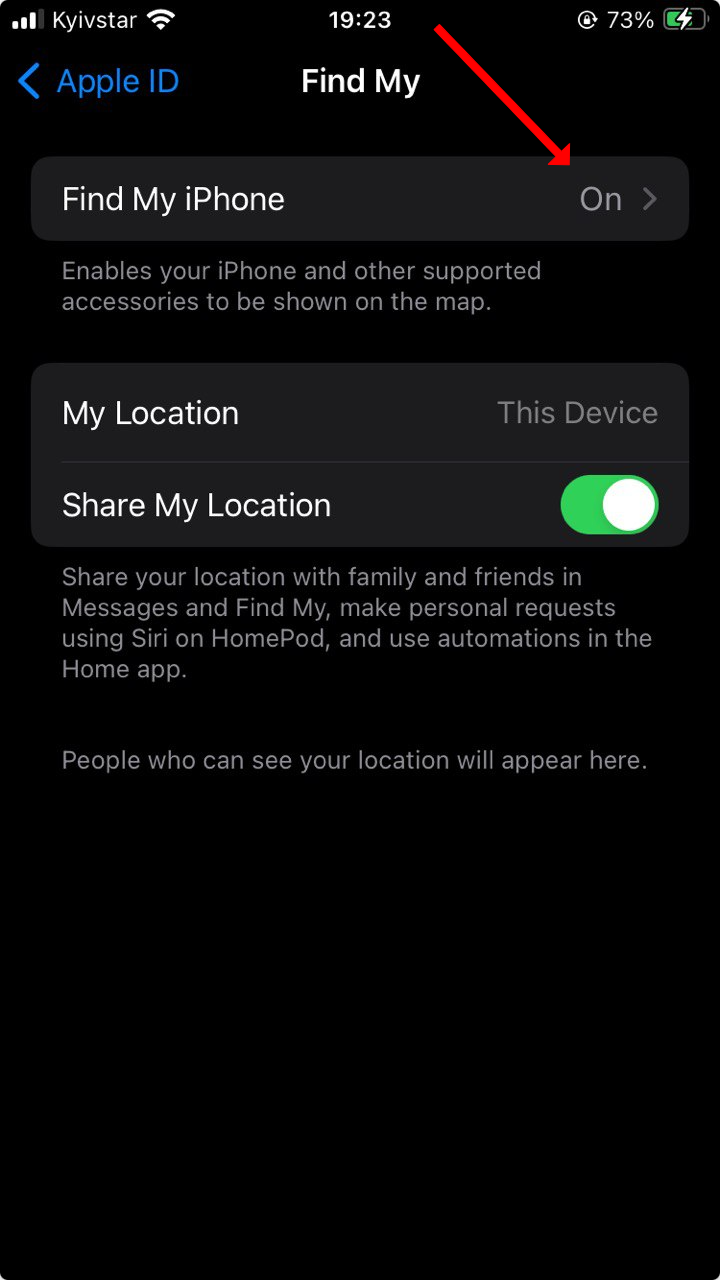
- Step 5: Tap "Turn Off" to disable Find My iPhone
A pop-up window will appear, asking you to confirm the action. Tap "Turn Off." This step is essential as it disables Find My iPhone, which is necessary for certain later steps.
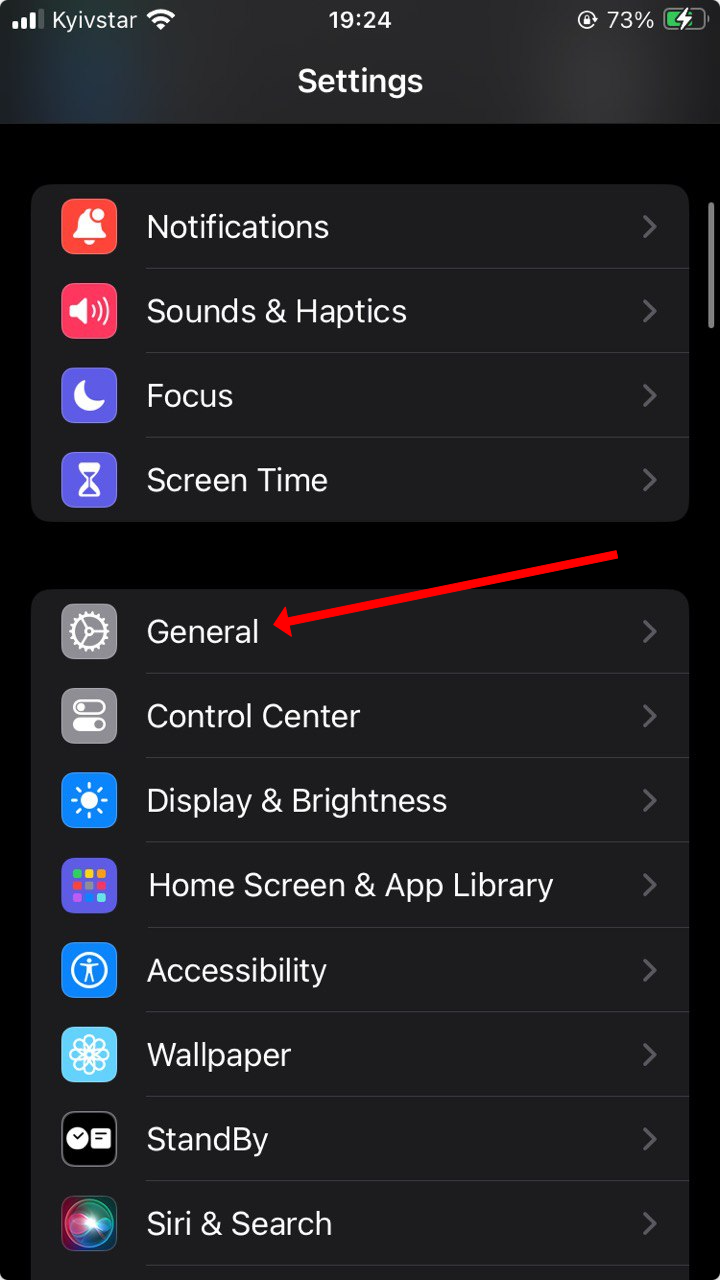
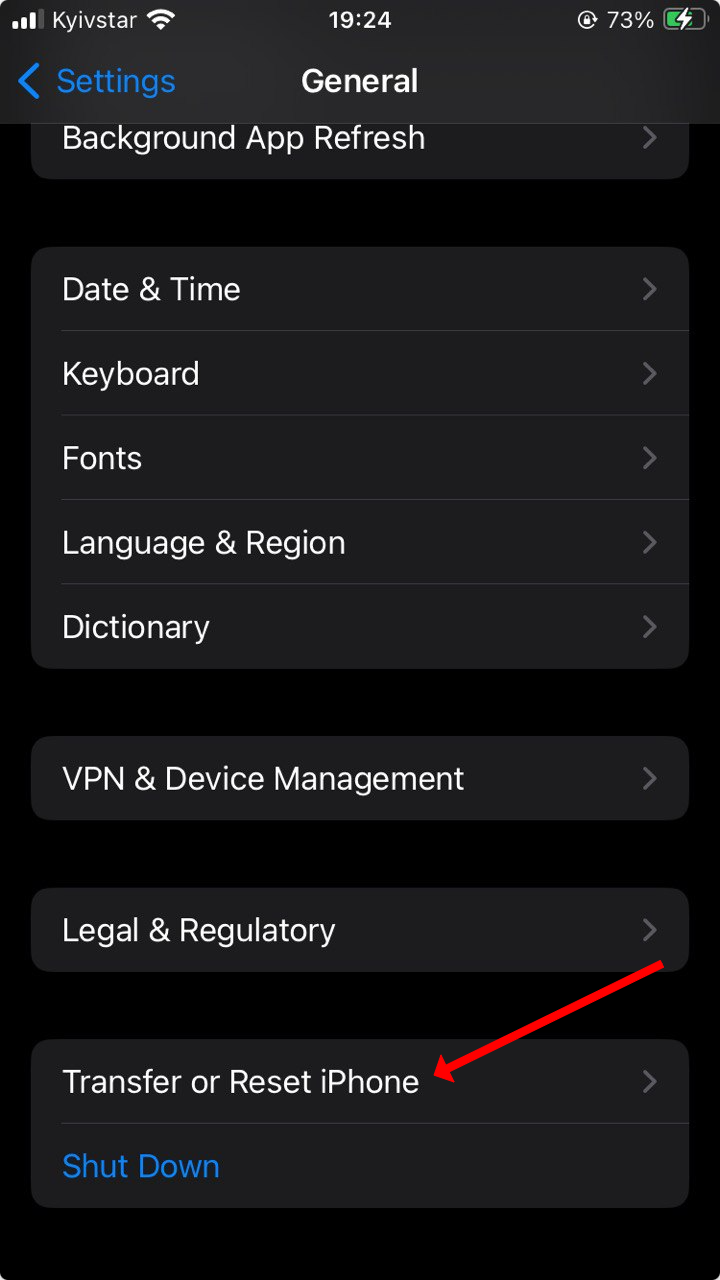
- Step 6: Go back to "Settings" and select "General"
After signing out of your Apple ID, go back to the main Settings menu. You can do this by tapping the "< Settings" link at the top-left corner or simply exiting the Apple ID section by tapping "General."
- Step 7: Scroll down and tap "Reset"
In the "General" menu, scroll down until you see the "Reset" option. It should be near the bottom of the list. Tap on it to access the reset options.
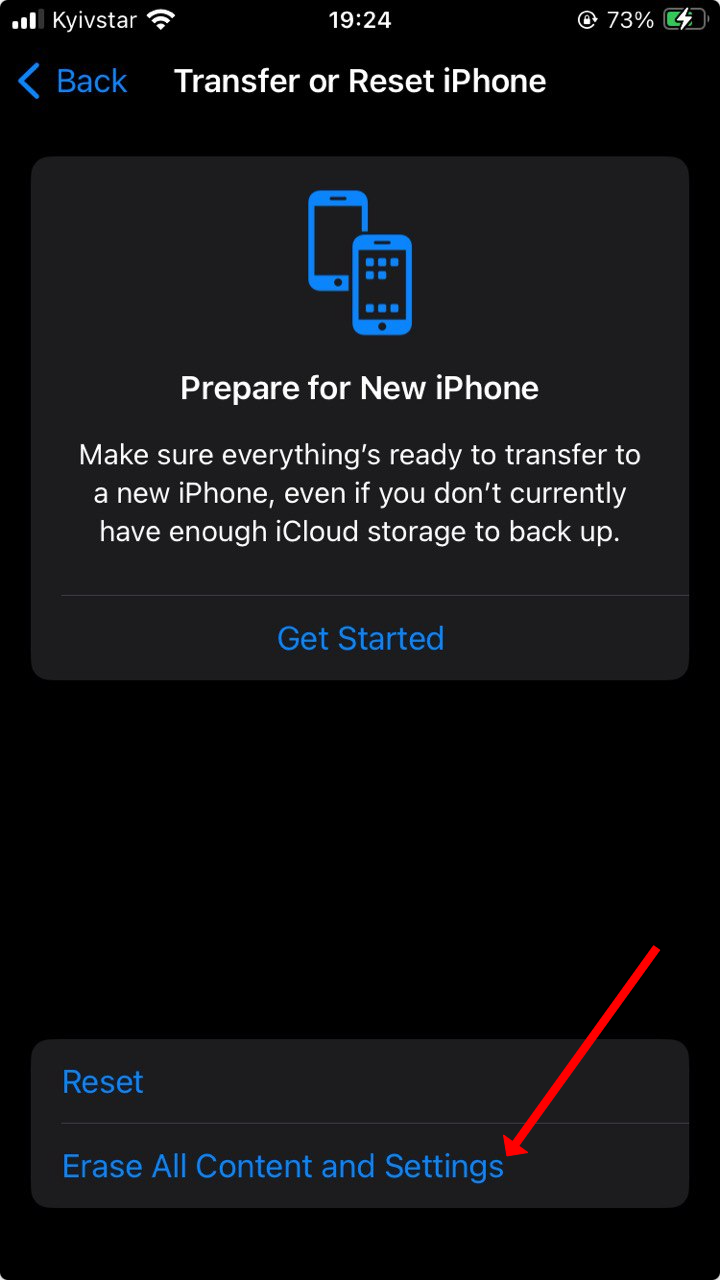
- Step 8: Choose "Erase All Content and Settings"
Within the "Reset" options, select "Erase All Content and Settings." This action will delete all the data on your iPhone and reset it to its factory settings. Make sure you have backed up any important data before proceeding.
Confirm your decision:
You will be asked to confirm your decision to erase all content and settings. Follow the on-screen prompts to confirm the reset. Your iPhone will go through the process, and once completed, it will be as if you're setting up a brand new device.
Please note that this process will erase all data on your iPhone, so ensure you've backed up any important information before proceeding.
In iOS 10.2 or earlier:
Step 1: Go to "Settings" on your iPhone
- To begin, unlock your iPhone if it's locked.
- Look for the "Settings" app on your home screen. It has an icon that looks like a gearwheel. Tap on it to open the Settings menu.
Step 2: Scroll down and tap "iCloud"
- In the Settings menu, scroll down until you see the "iCloud" option. Tap on it to access your iCloud settings.
Step 3: Scroll down and select "Sign Out"
- In the iCloud settings, scroll down until you find "Sign Out." Tap on it to initiate the sign-out process from your iCloud account.
Step 4: Tap "Delete from My iPhone"
- A confirmation window will appear, asking if you want to delete the iCloud data from your iPhone. Tap "Delete from My iPhone" to remove the iCloud data from your device.
Step 5: Return to "Settings" and choose "General"
- After signing out of iCloud, go back to the main Settings menu. You can do this by tapping the "< Settings" link at the top-left corner or simply exiting the iCloud section by tapping "General."
Step 6: Scroll down and tap "Reset"
- In the "General" menu, scroll down until you see the "Reset" option. Tap on it to access the reset options.
Step 7: Select "Erase All Content and Settings"
- Within the "Reset" options, select "Erase All Content and Settings." This action will delete all the data on your iPhone and reset it to its factory settings. Make sure you have backed up any important data before proceeding.
Confirm your choice:
- You will be asked to confirm your choice to erase all content and settings. Follow the on-screen prompts to confirm the reset. Your iPhone will go through the process, and once completed, it will be as if you're setting up a brand new device.
Please note that this process will erase all data on your iPhone, so ensure you've backed up any important information before proceeding.
Using iCloud's website
If your iPhone is already linked to your iCloud account, you can also use iCloud's website to remotely erase your device. Visit iCloud's Find My iPhone page and follow the instructions to remove your iPhone from your account.
iPhone into iPod Touch Step 1: Insert a Different SIM Card
Now that your iPhone is deactivated and wiped clean, it's time to start the transformation process. Begin by inserting a different SIM card into your old iPhone. Non-activated iPhone need to use a SIM card to activate and be set like the iPod later on.

Image Source: Apple Support
Can I Just Not Use a SIM Card?
If you don't have access to a different SIM card or simply don't want to use one, don't worry. You can still proceed with the process and use your old iPhone as an iPod Touch without a SIM card.
iPhone into iPod Touch Step 2: Turn ON Wi-Fi and Turn OFF Cellular
With a SIM card, you're almost there. Now, make sure your iPhone is connected to a Wi-Fi network. Additionally, it's a good idea to turn off cellular data if you don't have or want a monthly plan. This will save battery life and prevent your device from searching for a signal.
You don't have or want a monthly plan, so it's best to turn this option OFF so the device isn't searching for a signal, and you save a little battery life.
And You're at the Finish Line!
Congratulations! You've successfully turned your old iPhone into an iPod Touch. Now you can enjoy music, videos, apps, and more without the need for cellular service.
Need to Set Up iPhone as iPod Without SIM Card?
If you chose not to use a SIM card, you might be wondering how to set up your iPhone as an iPod without one. It's actually quite simple:
No SIM, No Problem for Unlocked iPhones
If you have an unlocked iPhone, you can set it up without a SIM card. Just follow these steps:
- Turn on your iPhone.
- Connect to a Wi-Fi network during the initial setup process.
- Follow the on-screen instructions to set up your device.
Want to Turn iPhone into iPod for Child?
If you're repurposing your old iPhone for a child, there are a few additional steps to consider:
Next, Set Up an Apple ID for Your Child
If your child doesn't have an Apple ID, you'll need to create one for them. This will allow you to manage their device and ensure they have access to age-appropriate content.
Add Some Contacts
If your child needs to communicate with specific contacts, make sure to add them to the device. This will allow them to send messages and make calls over Wi-Fi.
Don't Forget to Share!
Now that your child has their own iPod, don't forget to share some great music, apps, and games with them. It's a fantastic way to keep them entertained and engaged.
Wrap Up
Turning your old iPhone into an iPod is a smart way to extend the life of your device and put it to good use. Whether it's for yourself or for a child, following these simple steps can breathe new life into your old gadget.
Just be sure you have a new iPhone to use and a plan on using a new iPod once it's created. Enjoy your music, videos, and apps on your "new" iPod Touch!
FAQ
Can I still use the iPhone for calls and texts after this process?
No, once you've turned your old iPhone into an iPod, it won't be able to make or receive calls or texts. It will function primarily as a media player and app device.
Can I reverse this process and use the iPhone as a phone again?
Yes, you can reverse the process by inserting a working SIM card and activating the iPhone with a mobile carrier. This will allow you to use it as a regular phone once more.
What can I do with the SIM card I removed?
The SIM card you removed from your old iPhone can be used in other compatible devices or kept as a spare. If it's no longer needed, you can recycle it or dispose of it properly.
Can I update apps and iOS on my iPhone-turned-iPod?
Yes, you can update apps and iOS on your iPhone-turned-iPod as long as it's connected to Wi-Fi. Keep your device up to date to enjoy the latest features and security enhancements.
Can I still use FaceTime and iMessage on the iPhone-turned-iPod?
Yes, you can use FaceTime and iMessage on your iPhone-turned-iPod as long as you're connected to Wi-Fi. These services will work without cellular service as long as you have an active Apple ID.

Josh Brown
CEO at Softorino


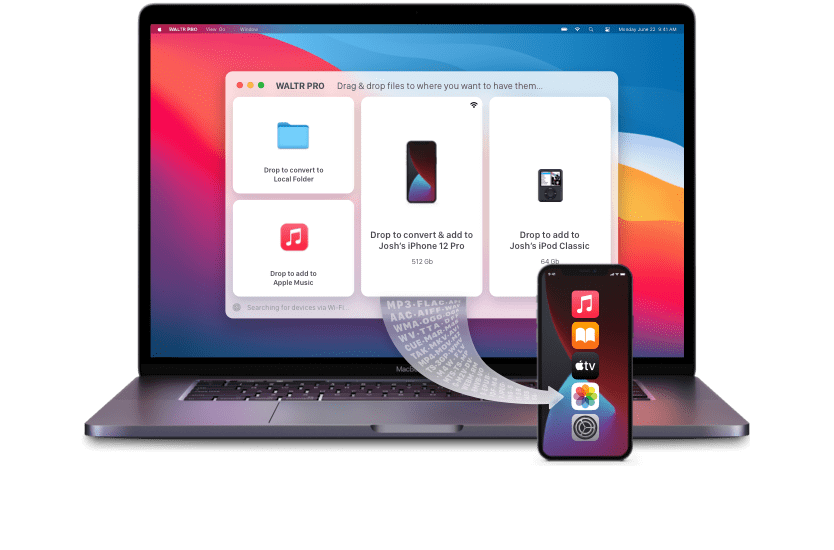
 WALTR PRO