How to Convert YouTube Video to Ringtone in 2025

Converting YouTube videos to iPhone ringtones has become surprisingly simple with the right tools. While Android phones accept MP3 files directly, iPhone users face Apple's complex ringtone system that demands specific formats. Fortunately, modern ringtone maker apps and free methods solve these problems completely.
Why iPhone Ringtone Creation Stays So Complicated
More than 1 billion iPhone users stick with default ringtones for good reason. The Verge calls Apple's ringtone transfer process "counterintuitive, outdated, and legitimately insane."
Apple's ringtone restrictions:
- Ringtones must use .m4r format (unlike Android's simple MP3 format)
- Files can't exceed 30 seconds
- iTunes 12.7 removed desktop ringtone browsing
- Multiple conversion steps required
These limitations exist because Apple tightly controls the iPhone ecosystem, but specialized YouTube ringtone maker apps bypass these restrictions entirely. This is exactly why many users look for an iTunes alternative when managing their media.
Two desktop applications—iRingg and WALTR PRO—simplify this process dramatically. Both let you add ringtones to an iPhone through drag-and-drop functionality, bypassing iTunes entirely. These solutions work on both PC and Mac systems.
Psst. This quick video will walk you through the solution in a few minutes:
Method 1: iRingg - Direct YouTube Integration
Best for: Converting YouTube videos directly with smart features.
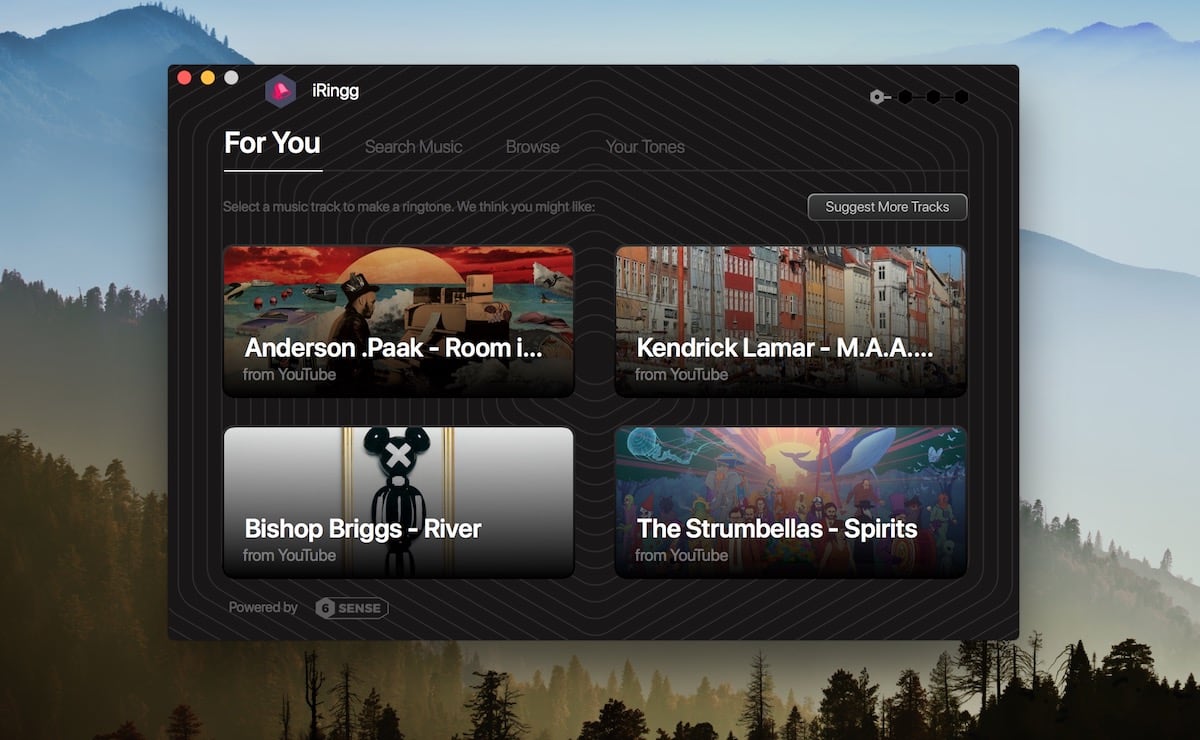
iRingg works as a comprehensive YouTube ringtone maker that turns any YouTube song into an iPhone ringtone with automatic transfer. The app connects wirelessly after initial setup, making ringtone creation easier than setting ringtones on Android devices.
What Makes iRingg Special
Smart recommendations: Algorithm suggests YouTube music based on your library
Built-in YouTube browser: Search 100+ million tracks without leaving the app
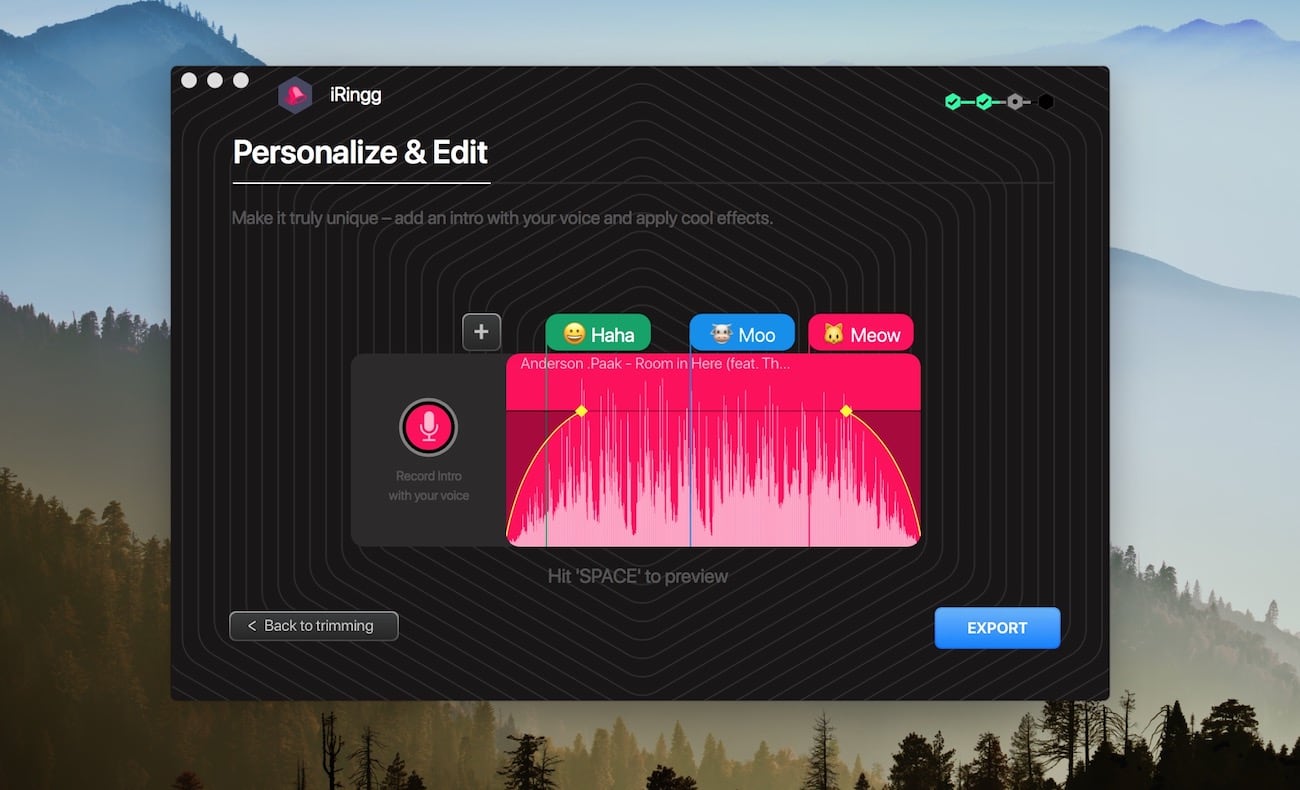
SndMojis: Add sound effects to create a unique ringtone
Wi-Fi transfers: Send ringtones wirelessly after first connection
No iTunes: Works independently from Apple's complex system
iRingg requires macOS or Windows and processes everything locally - no data goes to external servers.
Step-by-Step Process
Step 1: Connect and Discover
Launch iRingg and connect your iPhone via USB. The "For You" tab shows personalized YouTube song recommendations based on your music taste. This smart feature learns your preferences to suggest relevant tracks for ringtone creation.
Step 2: Find Your YouTube Song
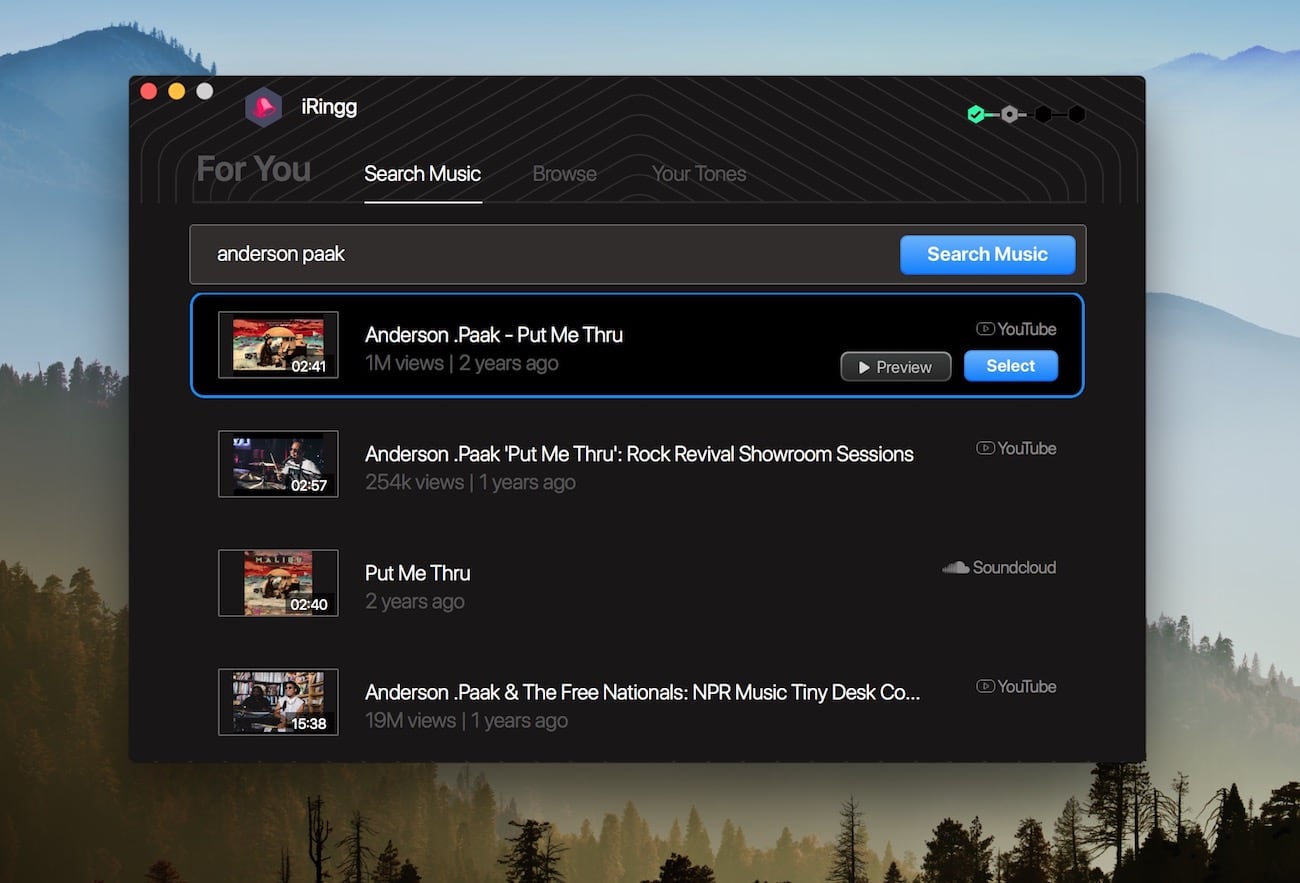
Use the integrated browser to search YouTube or SoundCloud for your favorite YouTube tracks. Results appear instantly, eliminating the need to download the video separately or paste the YouTube link into multiple apps.
Step 3: Customize Your Ringtone
Trim YouTube songs using on-screen controls to capture the best sections. Apply SndMojis (sound effects) to make your YouTube song your ringtone stand out from standard ringtones. The editing tools work intuitively - drag to select, click to preview.
For more advanced personalization tips, check out our guide to custom ringtone creation on iPhone.
Step 4: Transfer to iPhone
Click 'Export' > 'Push to iPhone.' Your custom ringtone appears in iPhone Settings > Sounds > Ringtone within seconds, ready to set as your perfect ringtone.
The entire process takes 2-3 minutes from start to finish - no file conversions, no iTunes sync required.
Close iRingg after transfers to free system memory. The app doesn't need to run continuously once ringtones are on your iPhone.
Want advanced editing? Check out custom ringtone for iPhone creation techniques.
Method 2: WALTR PRO - Full-Length Ringtones
Best for: Using existing files or wanting unlimited ringtone length.
WALTR PRO transfers music, movies, and eBooks to iPhones without iTunes. For ringtones, it supports complete songs instead of Apple's 30-second limit, letting you make a YouTube song as your ringtone using the full track.
It works just as smoothly in reverse – see our guide on how to transfer music from iPhone to computer.
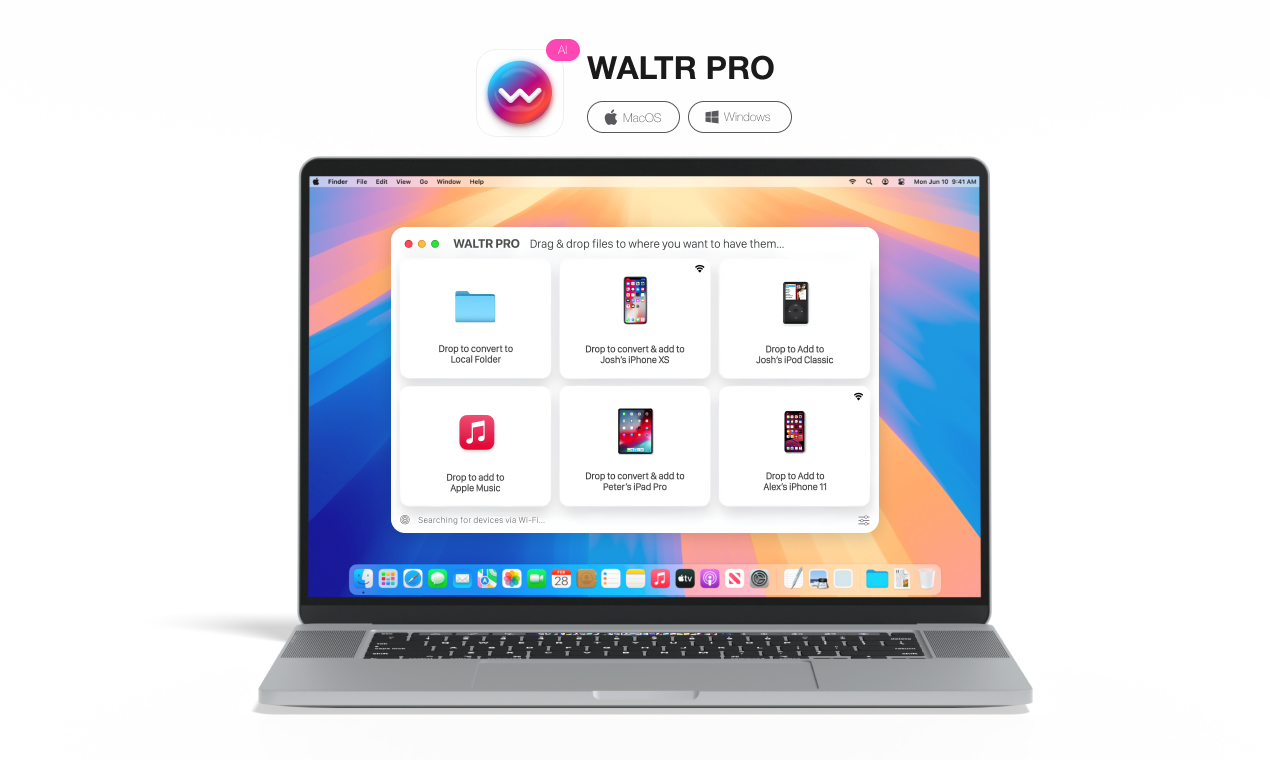
Key WALTR PRO Advantages
No length limits: Use full songs, not just 30-second clips
Multiple formats: Supports M4A, MP3, FLAC, and more
Lightning speed: Transfers complete in 3 seconds
Universal compatibility: Works with every iPod model ever made
Wi-Fi capability: Transfer wirelessly after setup
WALTR PRO requires one-time email activation and iTunes components (though iTunes doesn't need to run).
Complete Workflow
Step 1: Prepare Your File
Take any M4A song and rename the extension from '.m4a' to '.m4r'. Click 'Use .m4r' when prompted. This converts files to iPhone ringtone format without complex video conversion processes.
Extension renaming only works with M4A files, not MP3 format.
Then you'll get the pop-up window like this one:
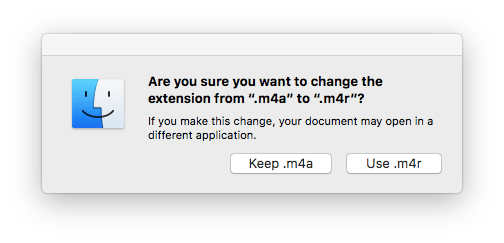
Go ahead and confirm it by hitting ‘Use .m4r'
Step 2: Install WALTR PRO
Download the free trial and complete onboarding. Request your activation code via email - the trial is completely free.
Step 3: Connect Your iPhone
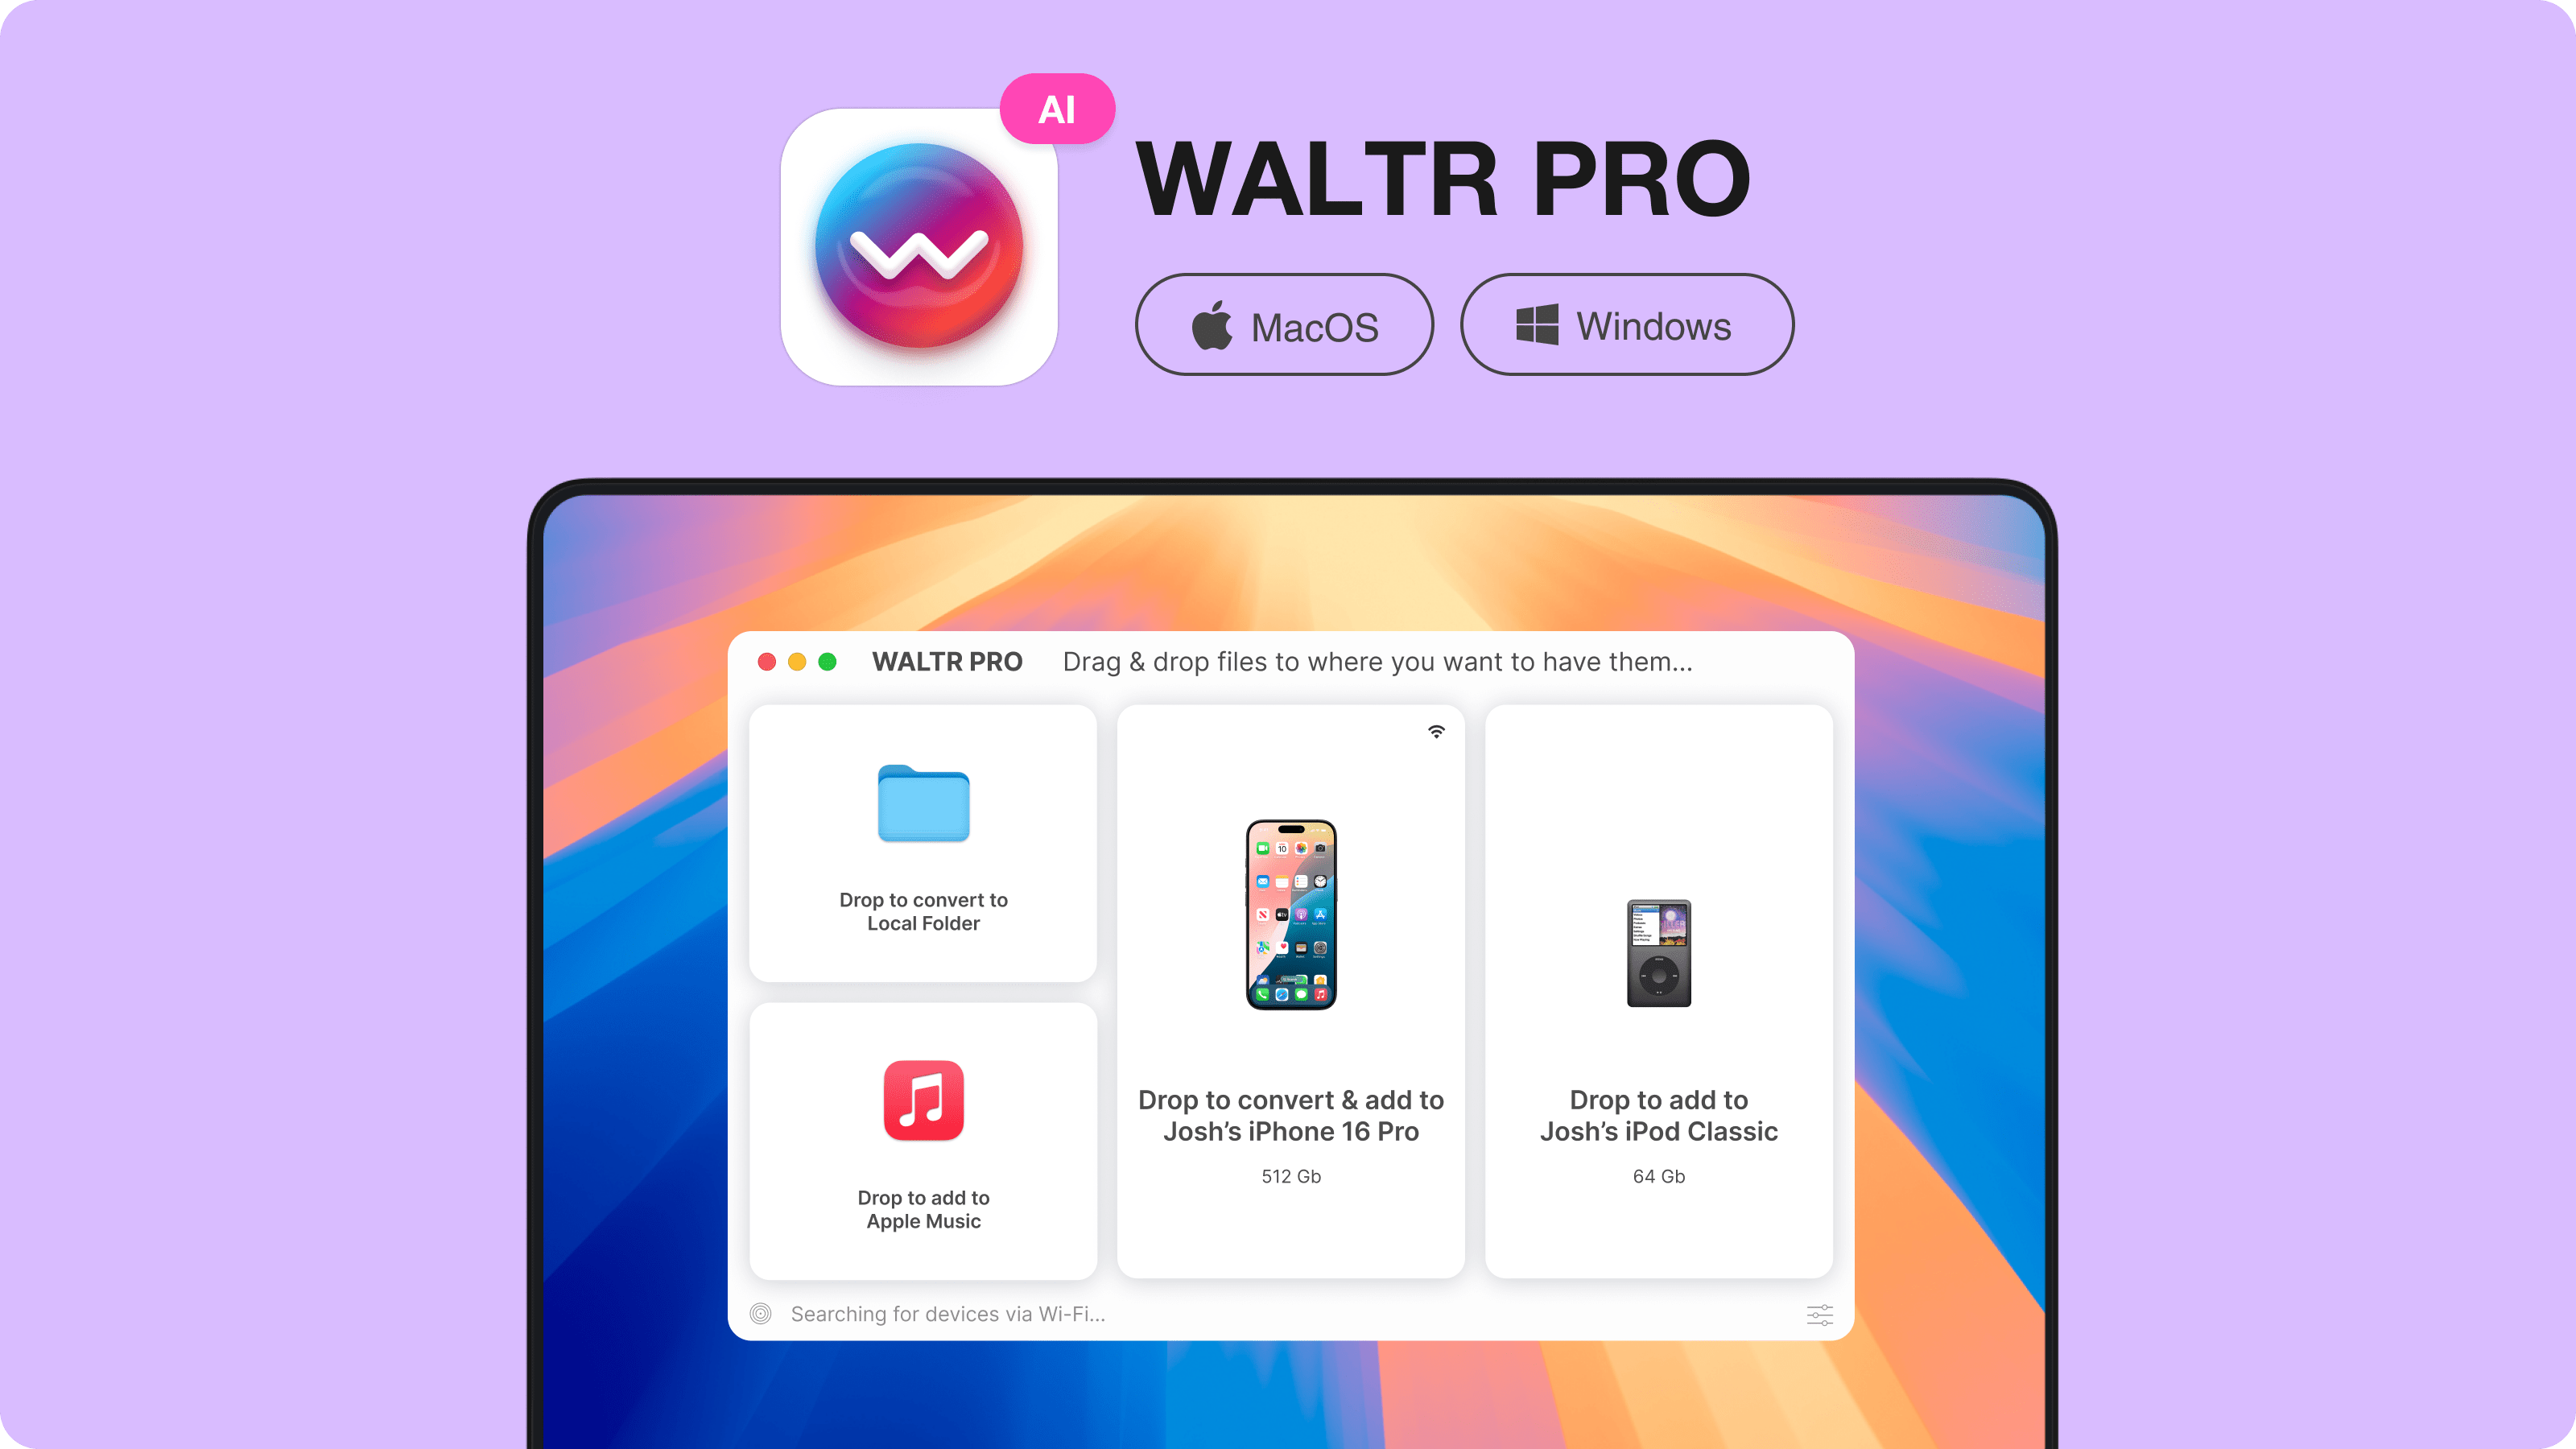
Plug in via USB cable. WALTR PRO's clean interface avoids complicated menus. For wireless transfers, click settings and select 'Enable Wi-Fi Connectivity.'
Step 4: Drag and Drop
Simply drag your .m4r file into WALTR PRO. Transfer completes in about 3 seconds - much faster than iTunes sync.
Step 5: Activate on iPhone
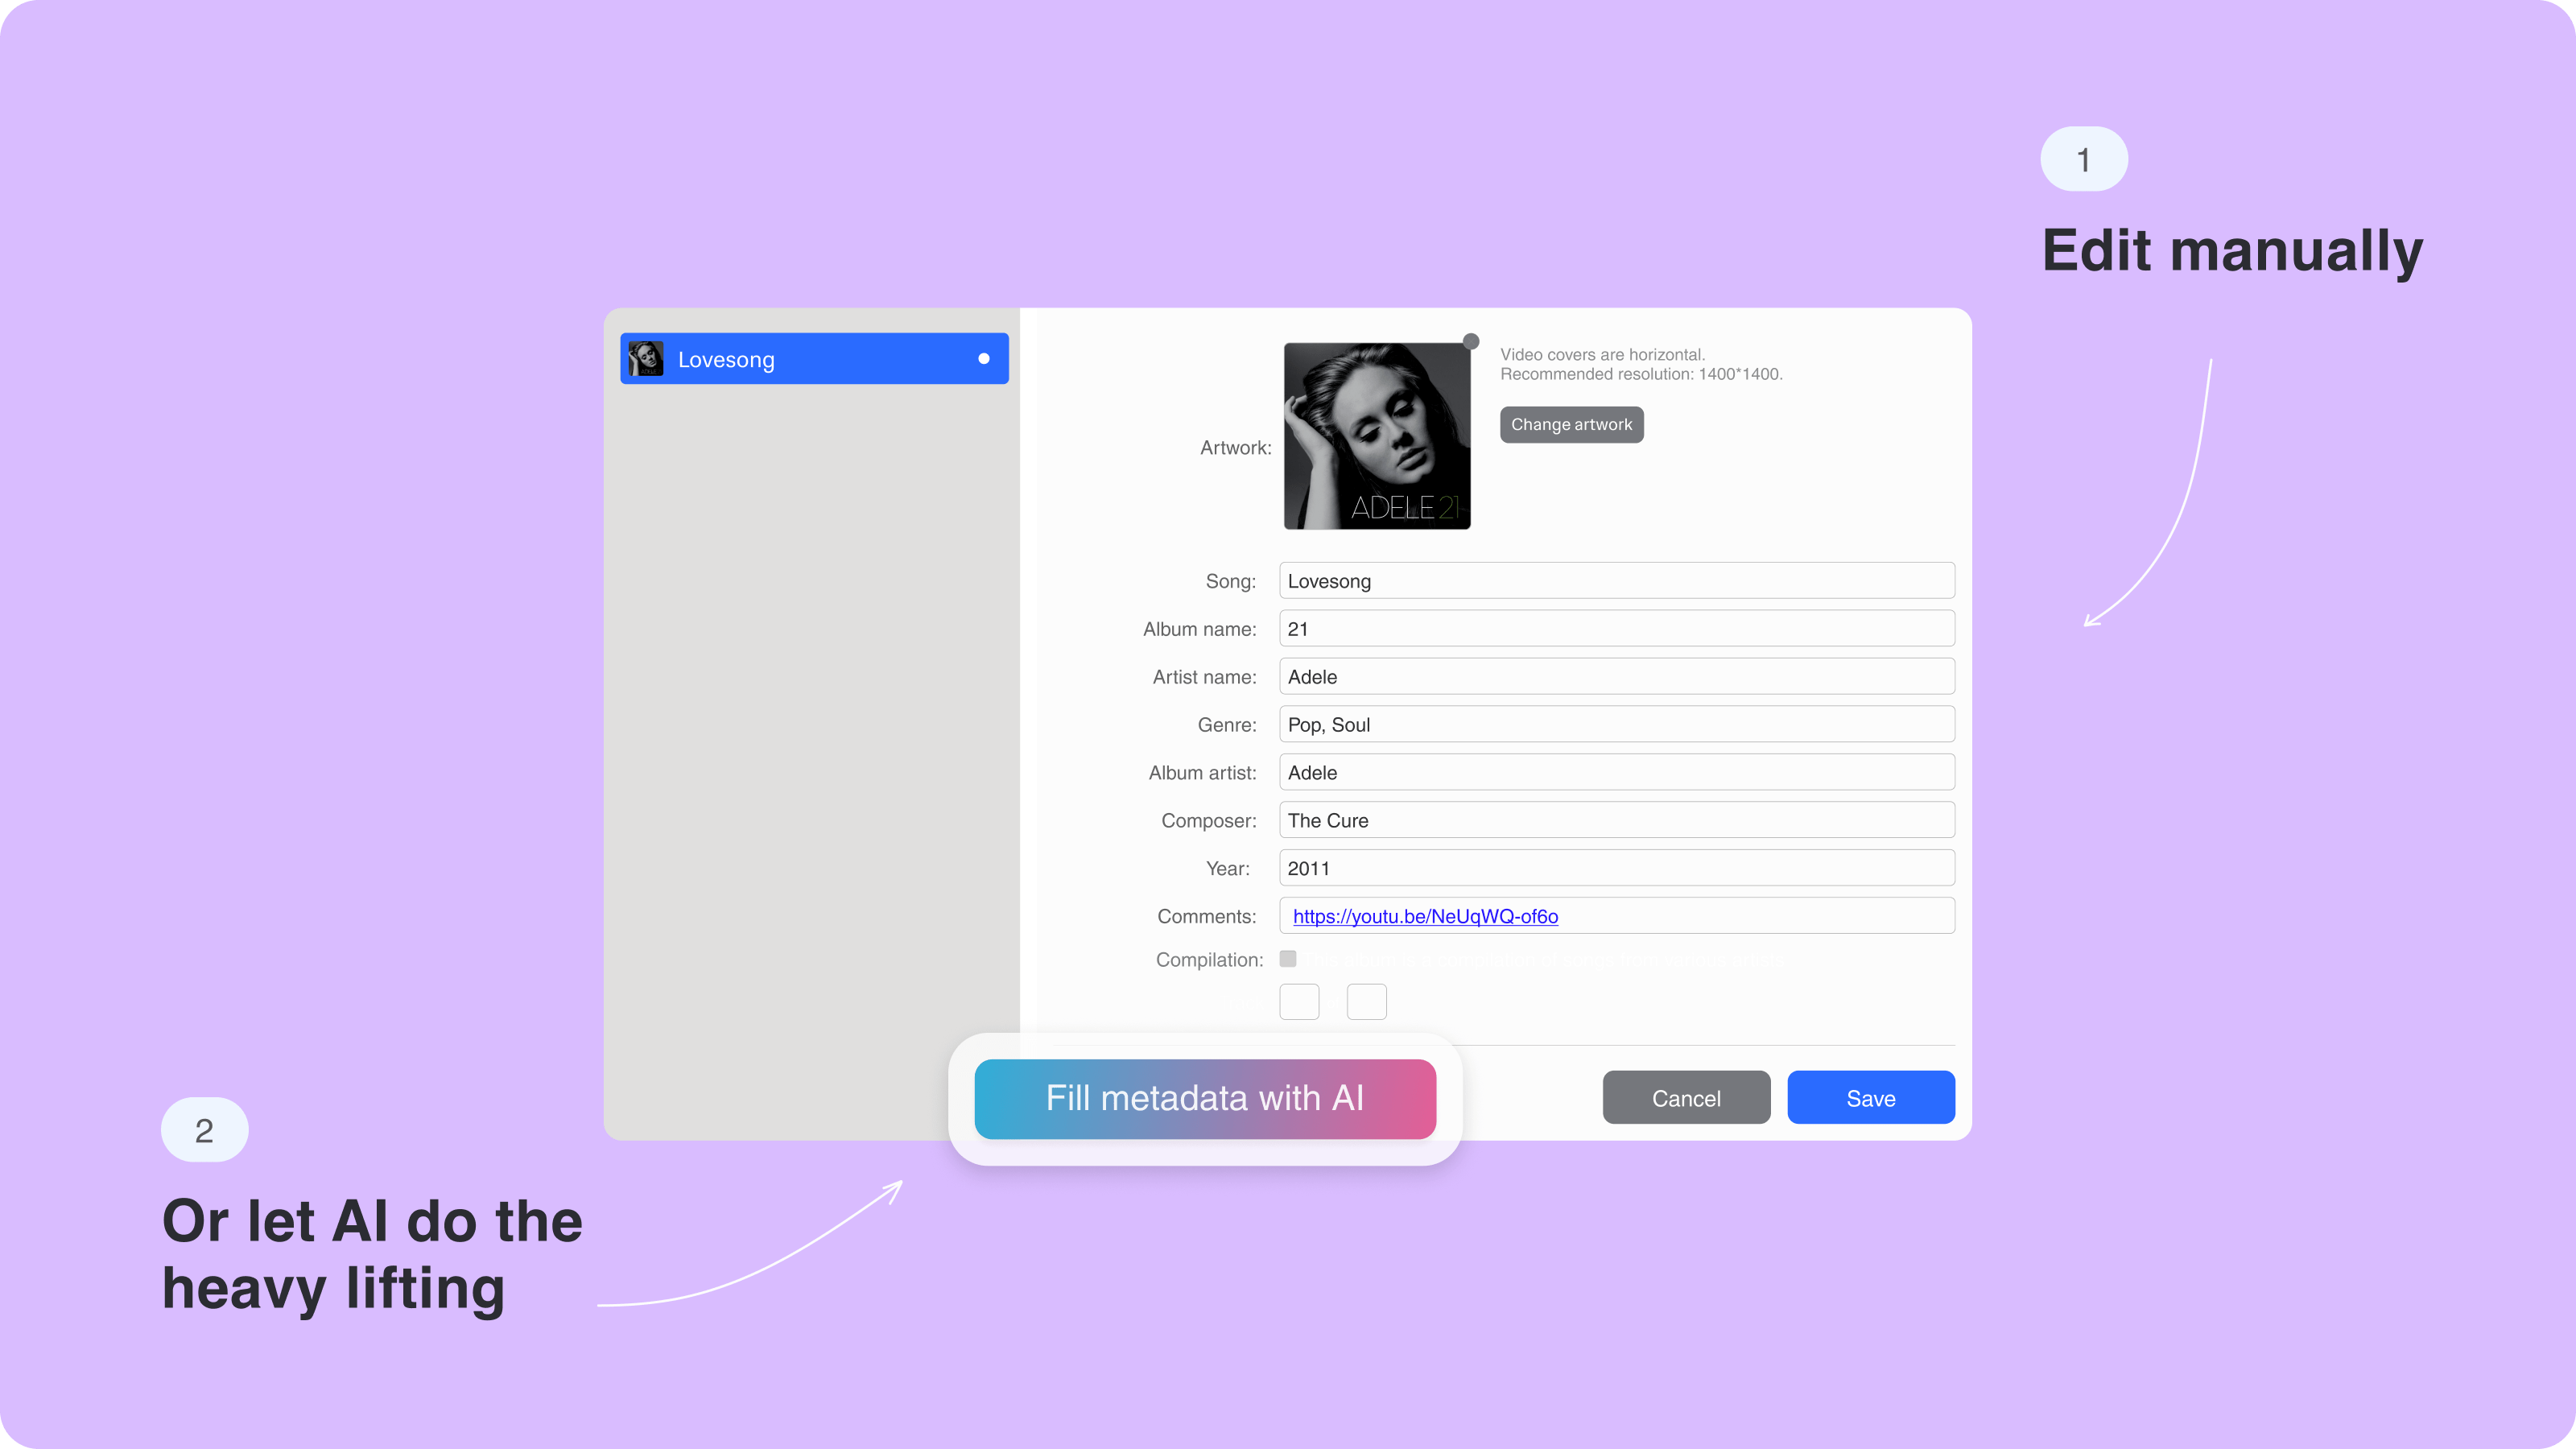
Go to Settings > Sounds > Ringtone. Your new ringtone appears ready for selection.
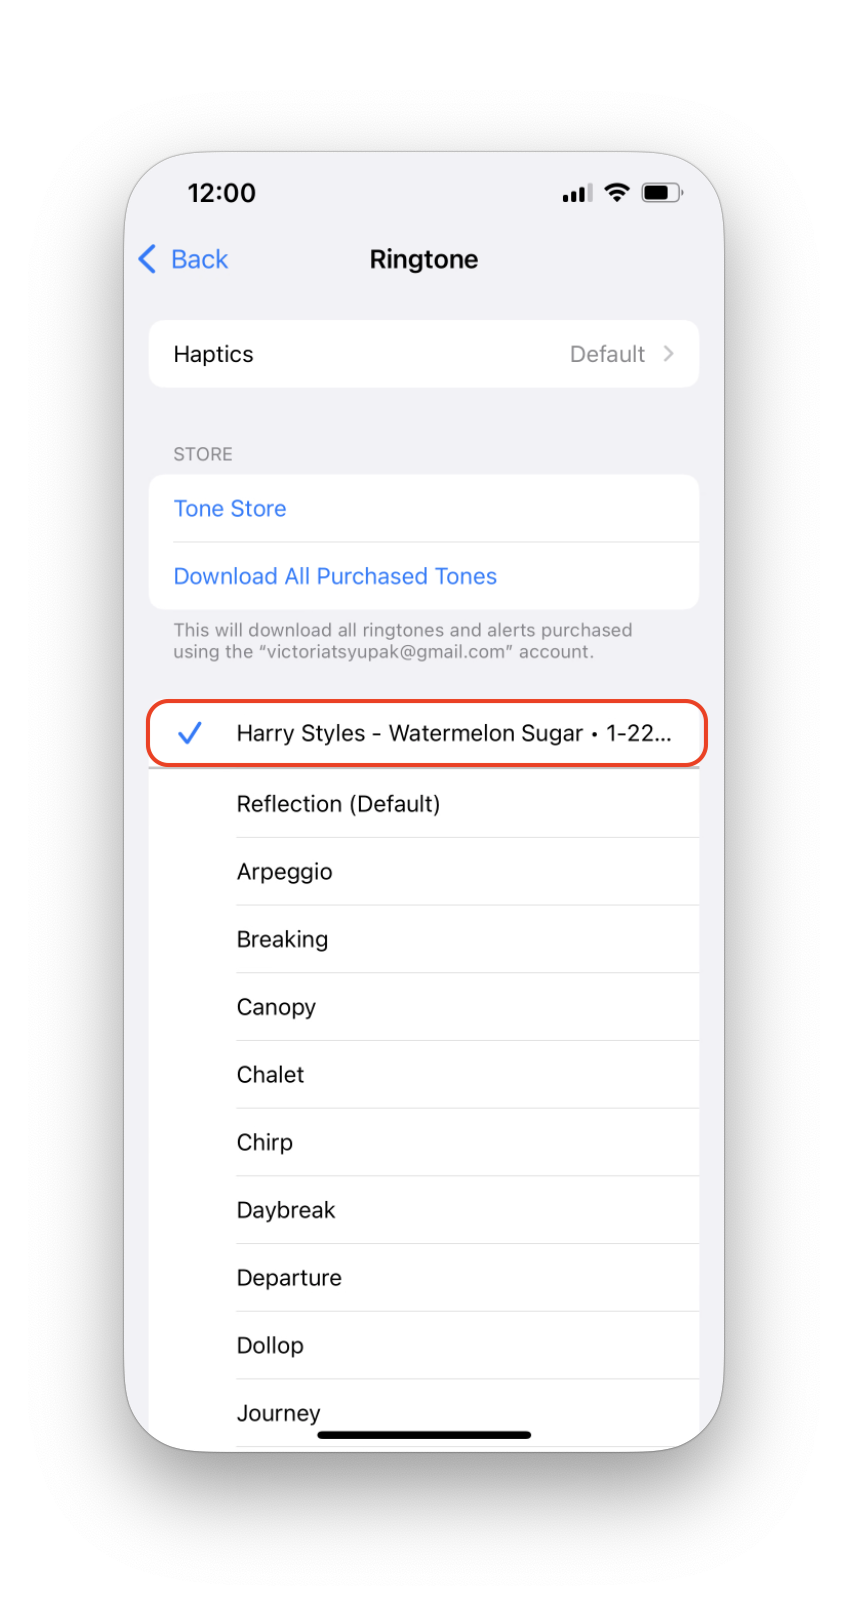
Quit WALTR PRO after transfers to keep your system clean. All content stays on your iPhone permanently.
Voila! That was unbelievably easy. You might search everywhere on the web, but you won't find anything closely reminding you of WALTR PRO. In fact, there is no better way to get the best m4r ringtones for iPhone.
Need organization help? Learn how to delete ringtones on iPhone for better management.
Method 3: Manual iTunes Method (Free)
Best for: Users wanting a completely free solution.
You can create ringtones from YouTube videos manually using iTunes and free audio editing software. This method takes 10-15 minutes per ringtone but costs nothing beyond your time to convert YouTube video content.
Required Tools
- iTunes (installed and running)
- Free audio editor (Audacity works cross-platform)
- YouTube downloader for source material
- 10-15 minutes per ringtone
This method requires iTunes and audio editing software. You'll also need separate tools to download YouTube content.
Manual Process Steps
- Use YouTube downloaders to get audio files.
- Open in Audacity and trim to 30 seconds or less.
- Export edited audio as M4A format (AAC codec). In Audacity: File > Export > Export Audio, choose M4A.
- Change your M4A file extension to '.m4r'. Click 'yes' when prompted. This tells iTunes the file functions as a ringtone.
- Double-click the M4R file or drag into iTunes. It should appear under "Tones" (enable this in Preferences > General if missing).
- Connect iPhone and sync. Newer iTunes versions require manually selecting which tones to sync.
- Set on iPhone Go to Settings > Sounds > Ringtone. Your custom ringtone appears in the list.
Create a dedicated folder for M4R files to organize your ringtone library efficiently.
Method 4: Online Ringtone Makers
Best for: Browser-based solutions without software downloads.
Online tools like Media.io offer another way to convert YouTube videos to ringtones through your browser. The Media.io online ringtone maker lets you upload YouTube content directly, making it convenient for occasional use.
These ringtone online services typically output various formats - MP3 format for Android devices or M4R for iPhones. However, they require uploading content to external servers, which raises privacy considerations for some users.
Which Method Should You Choose?
The best ringtone creation method depends on your priorities, technical comfort level, and how often you create custom ringtones.
If You Want the Easiest Experience
Choose iRingg when you prefer guided processes and don't mind paying for convenience. The app shines for users who want to browse YouTube music directly, appreciate smart song recommendations, and enjoy adding sound effects to create unique ringtones. Perfect for anyone seeking an all-in-one solution without technical requirements.
If You Value Speed and Simplicity
Choose WALTR PRO when you already have music files or want unlimited ringtone length. This method works best for users who need to transfer multiple media types beyond ringtones, prefer simple drag-and-drop workflows, and want the fastest possible transfers. Ideal for managing existing music libraries.
If Budget Is Your Priority
Choose Manual iTunes when you're comfortable investing time to save money. This approach suits technically skilled users who don't mind repetitive processes, already have iTunes and audio editing software installed, and only create ringtones occasionally. Best for users who want complete control over the process.
If You Avoid Installing Software
Choose Online Tools when you prefer browser-based solutions and don't mind uploading content to external servers. These work well for occasional ringtone creation, users with limited device storage, or those who need quick conversions without permanent software installations.
Setting Up Wireless Transfers
Both iRingg and WALTR PRO support Wi-Fi functionality after initial USB connection:
- Connect iPhone via USB once
- Open app settings
- Toggle Wi-Fi connectivity
- Future transfers work wirelessly
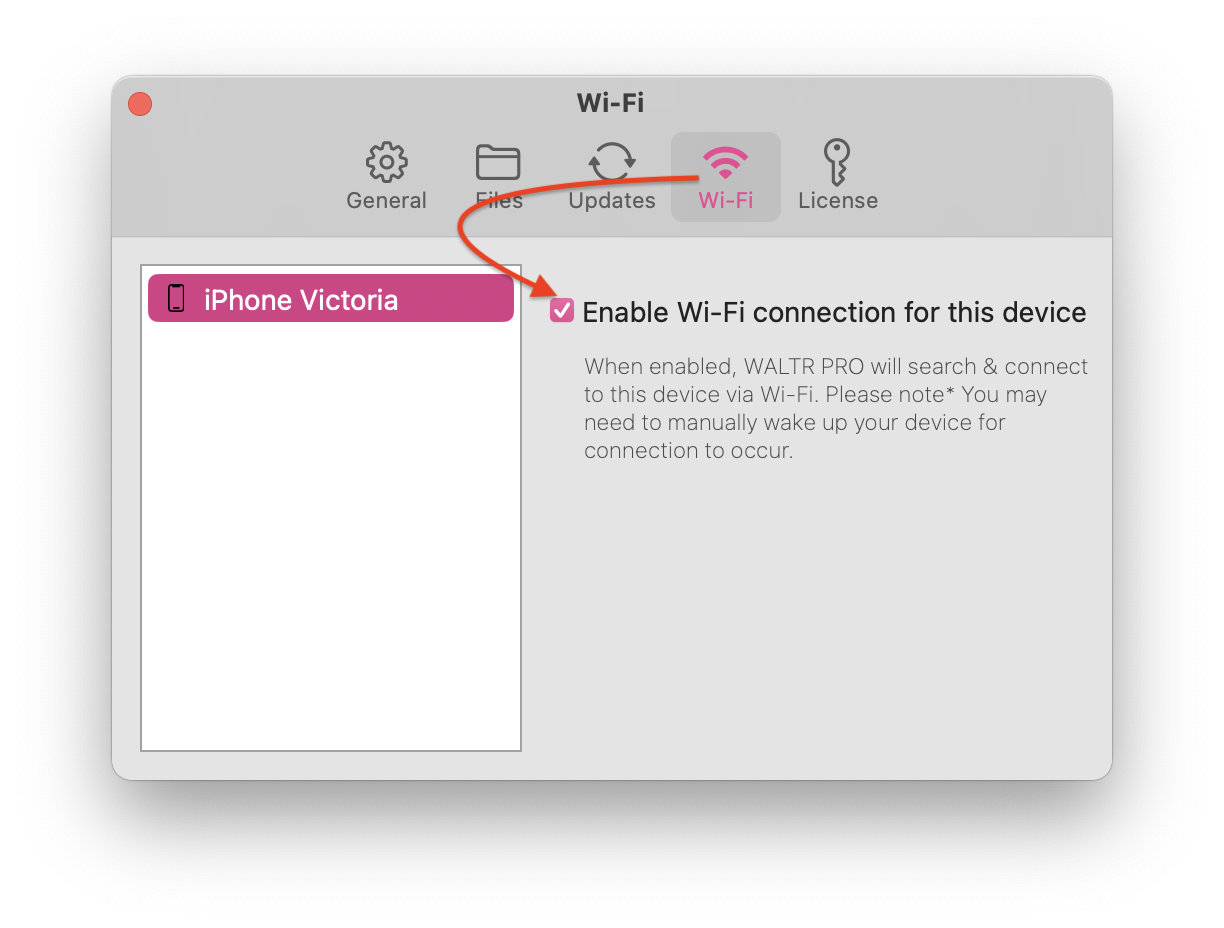
Once Wi-Fi transfer works, you can uninstall apps and reinstall only when creating new ringtones. Your iPhone keeps all transferred content permanently.
The Bottom Line
Converting YouTube to iPhone ringtones no longer requires technical expertise. iRingg excels at YouTube music discovery and guided creation, WALTR PRO dominates speed and simplicity, while manual iTunes methods offer completely free alternatives for patient users.
Specialized ringtone maker apps solve Apple's complexity with elegant solutions that save time and frustration. Try app trials to find your preferred workflow, or start with manual methods if you prefer avoiding additional software.
Your iPhone deserves better than default ringtones. With these tools, creating personalized ringtones becomes as simple as playing your favorite YouTube songs.
FAQ
How can I add ringtones to my iPhone without using iTunes?
You can add ringtones to your iPhone without iTunes by using iRingg or WALTR. Both apps allow you to convert songs to M4R format and transfer them directly to your iPhone, making it easy to customize your ringtones without the hassle of iTunes sync.
Is there an easy way to create custom ringtones for my iPhone?
Yes, iRingg makes creating custom ringtones for your iPhone simple. You can select any song from YouTube or SoundCloud, trim it, and apply effects. Then, the ringtone is transferred directly to your iPhone’s settings, ready for use.
Can I use a full song as my iPhone ringtone?
Yes, WALTR allows you to use a full song as your iPhone ringtone. Simply convert the file to M4R format and transfer it to your iPhone. Unlike other methods, trimming the song to fit the 30-second limit imposed by iTunes is unnecessary.
How can I send ringtones to my iPhone wirelessly?
Both iRingg and WALTR support wireless transfers. After the initial USB connection, you can enable Wi-Fi connectivity in the app, allowing you to send M4R ringtones to your iPhone without needing a cable.
Where do the ringtones appear on my iPhone after transferring?
After transferring ringtones using iRingg or WALTR, the files will appear in your iPhone’s Settings under Sounds > Ringtone. You can select the new ringtone from there and set it for calls, texts, or other notifications.

