Transfer Music from iPhone to Computer: Step-by-step Guide

Want to transfer songs from iPhone to computer? Whether you need to transfer non-purchased music, back up your music library from your iPhone, or transfer music from iPhone without iTunes, there are multiple ways to do it. This guide covers the best methods, from using a USB cable to transferring music files from iPhone to computer wirelessly.
Using iTunes (For Purchased Music Only)
iTunes is the most traditional way to transfer music from your iPhone to a computer. Though it's been around for years, it remains a go-to method for transferring purchased music. Here’s how:
- Launch iTunes
- Authorize your computer in iTunes (Go to Account > Authorizations > Authorize This Computer).
- Connect your iPhone to your PC or Mac.
- Open iTunes and click on your device icon.
- Go to File > Devices > Transfer Purchases.
- Your purchased music will be added to your iTunes library.
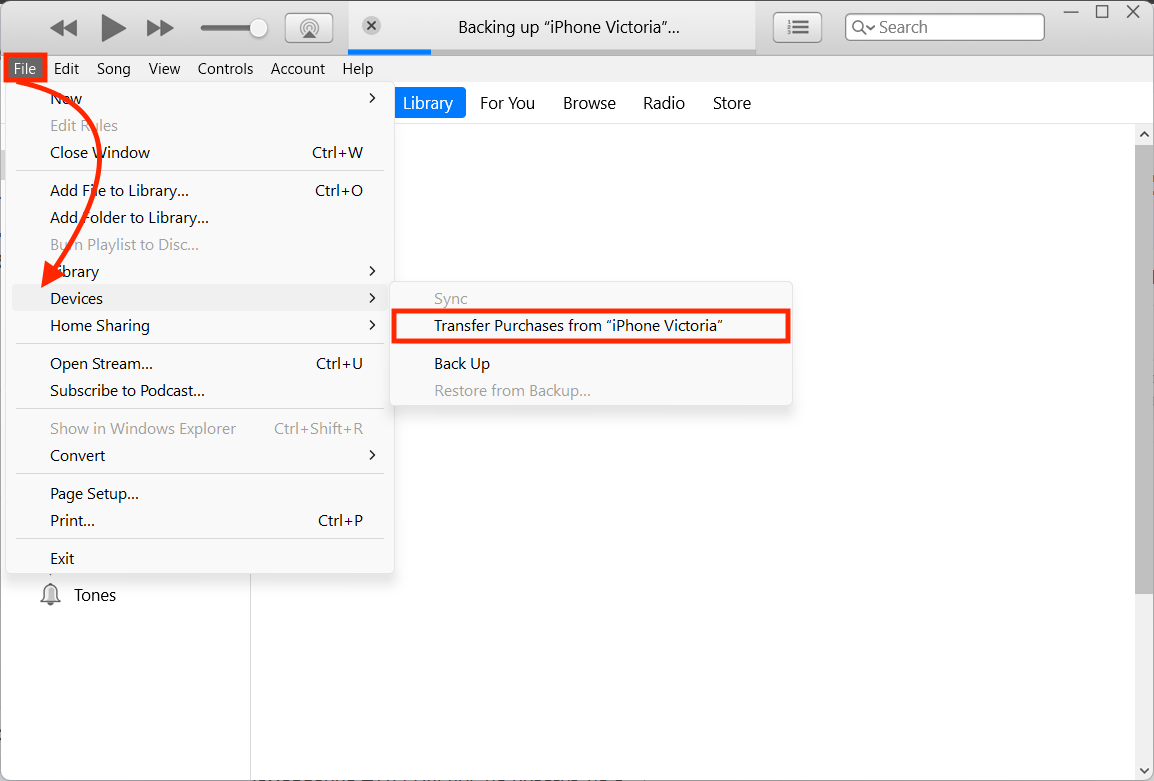
iTunes only supports transferring purchased music to your PC or Mac and does not support non-purchased songs.
Using iCloud Music Library (Apple Music Subscribers Only)
If you’re an Apple Music subscriber, syncing your music across devices is simple. Here’s how:
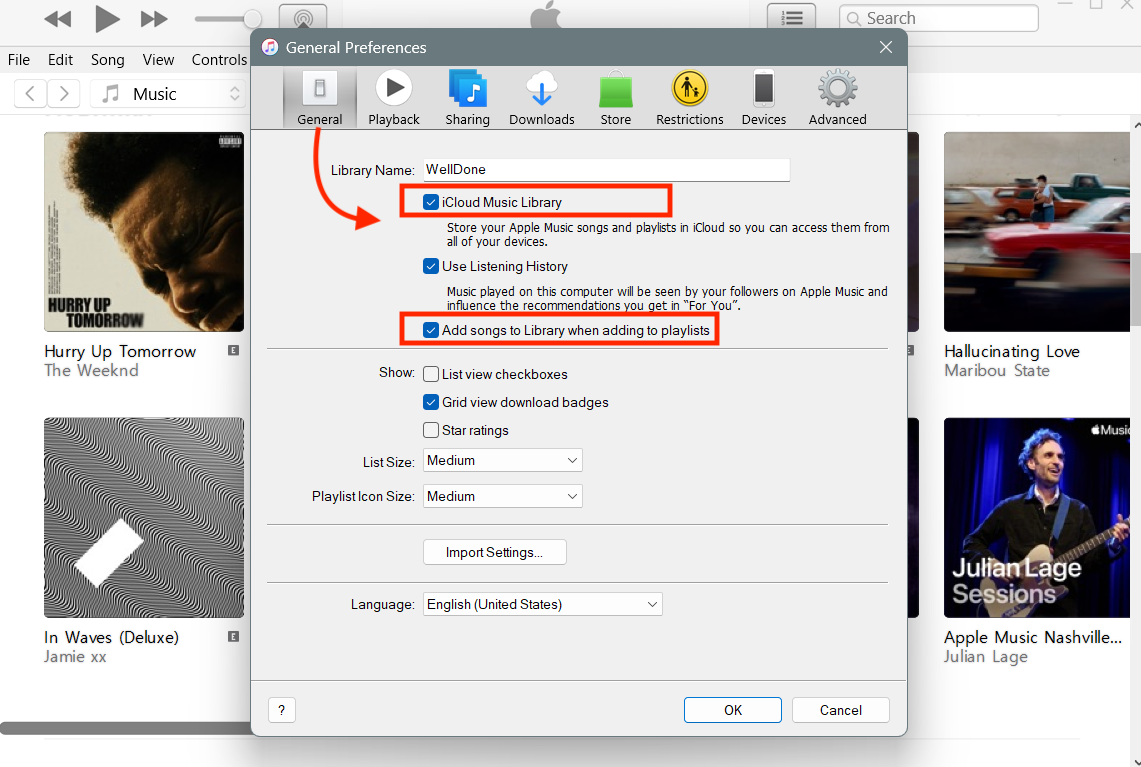
- Enable iCloud Music Library on your iPhone (Settings > Music > iCloud Music Library).
- On your computer, open iTunes or Apple Music.
- Log in with the same Apple ID.
- Your music will sync automatically.
Alternative Methods to Transfer Music from iPhone to Computer
AltTunes
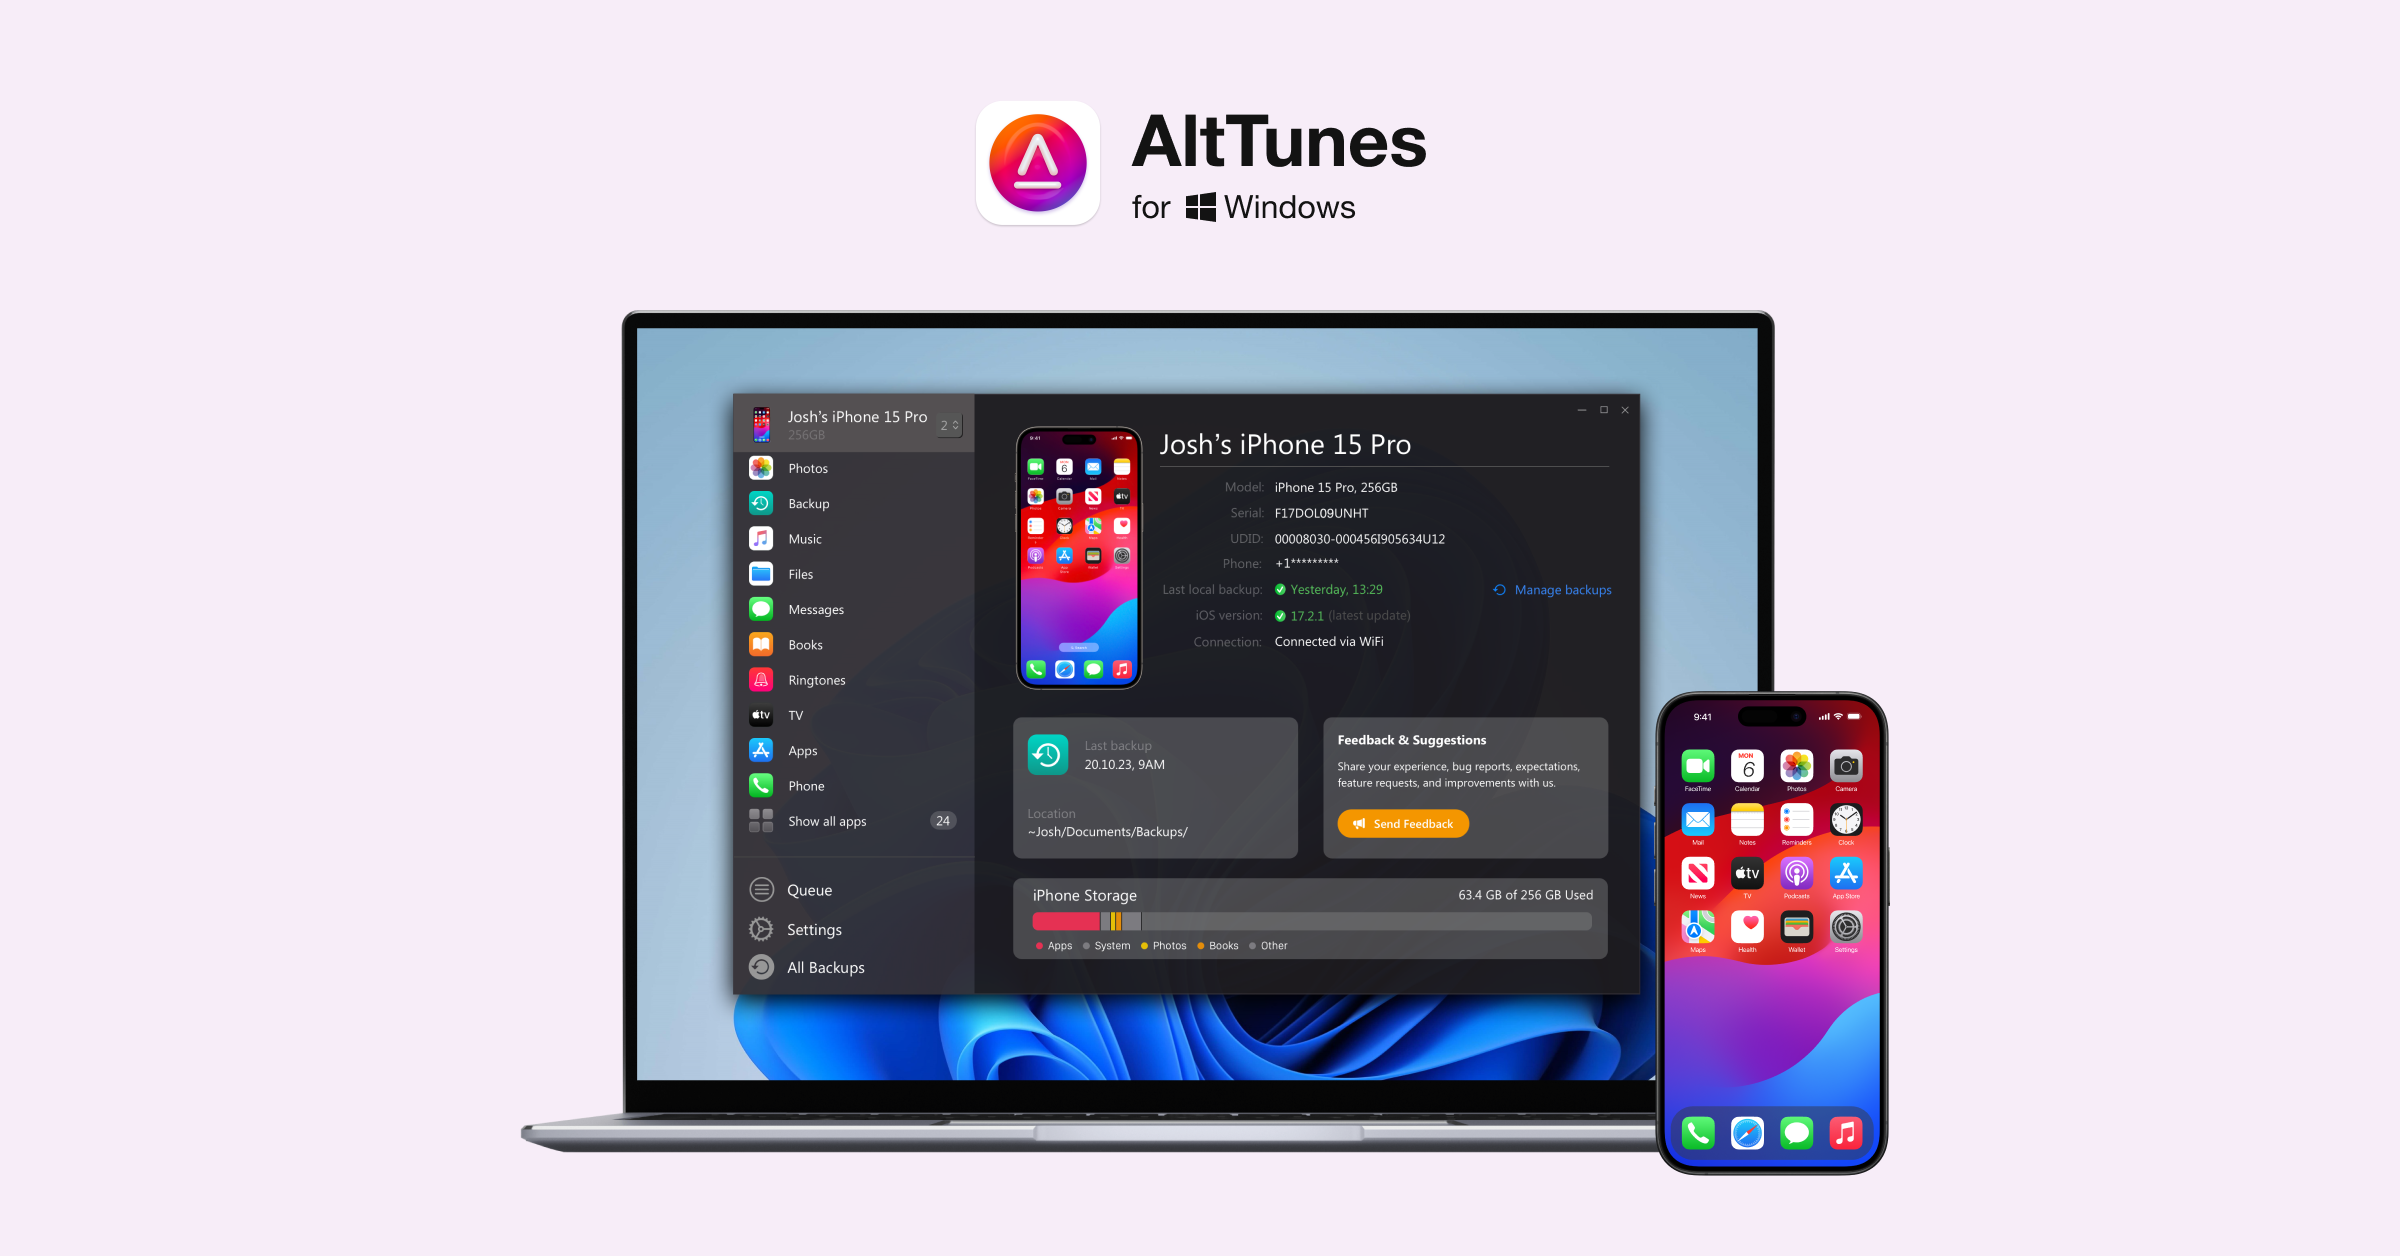
AltTunes is the best way to transfer music from your iPhone to your PC. Unlike iTunes, AltTunes supports transferring both purchased and non-purchased music without restrictions. It is useful for backing up files on your iPhone, such as photos, videos, contacts, and messages.
It offers a quick solution if you’re wondering how to transfer photos from your iPhone to your PC, move music from your iPhone to your computer without iTunes, or back up your iPhone without iCloud.
Step 1. Install AltTunes to your PC
AltTunes is a desktop companion app for your iPhone that becomes your essential device manager for backup purposes. In addition to facilitating backups, it offers versatile file transfer capabilities for various data types, including images, music, videos, contacts, text messages, and more.
The app is available for free download and usage during the free trial period.
Step 2. Pair it with your iPhone
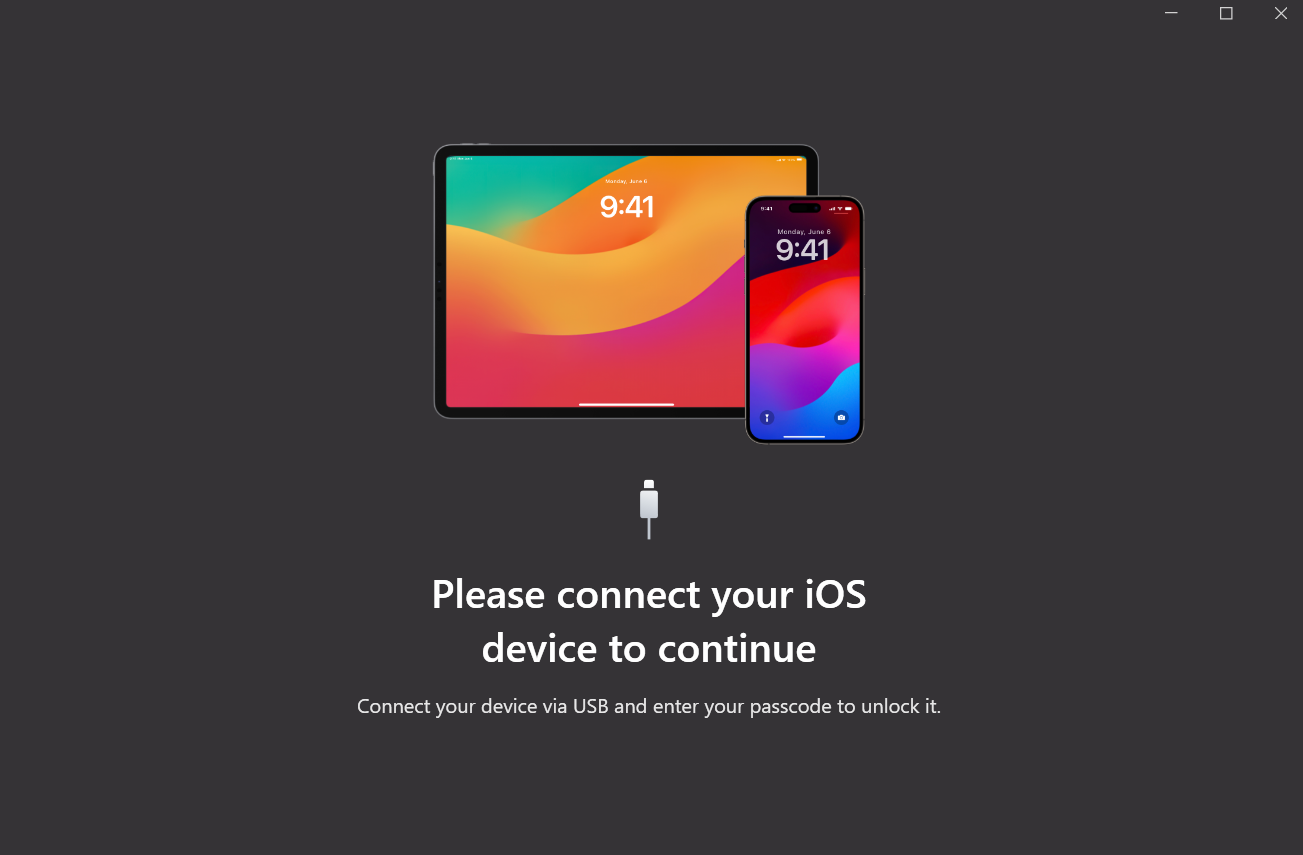
The subsequent step to export iPhone music to your computer involves connecting both devices through USB. Launch AltTunes and, specifically for the first time, use your iPhone's charging cable. If your device is locked, unlock it and allow the "Trust this computer" prompt.
After a few seconds, your iPhone will be successfully paired. While this process may feel a bit cumbersome for the first time, you can opt for the Wi-Fi mode for subsequent connections. Just ensure that both devices are connected to the same Wi-Fi network.
Step 3. Choose the device and start picking music
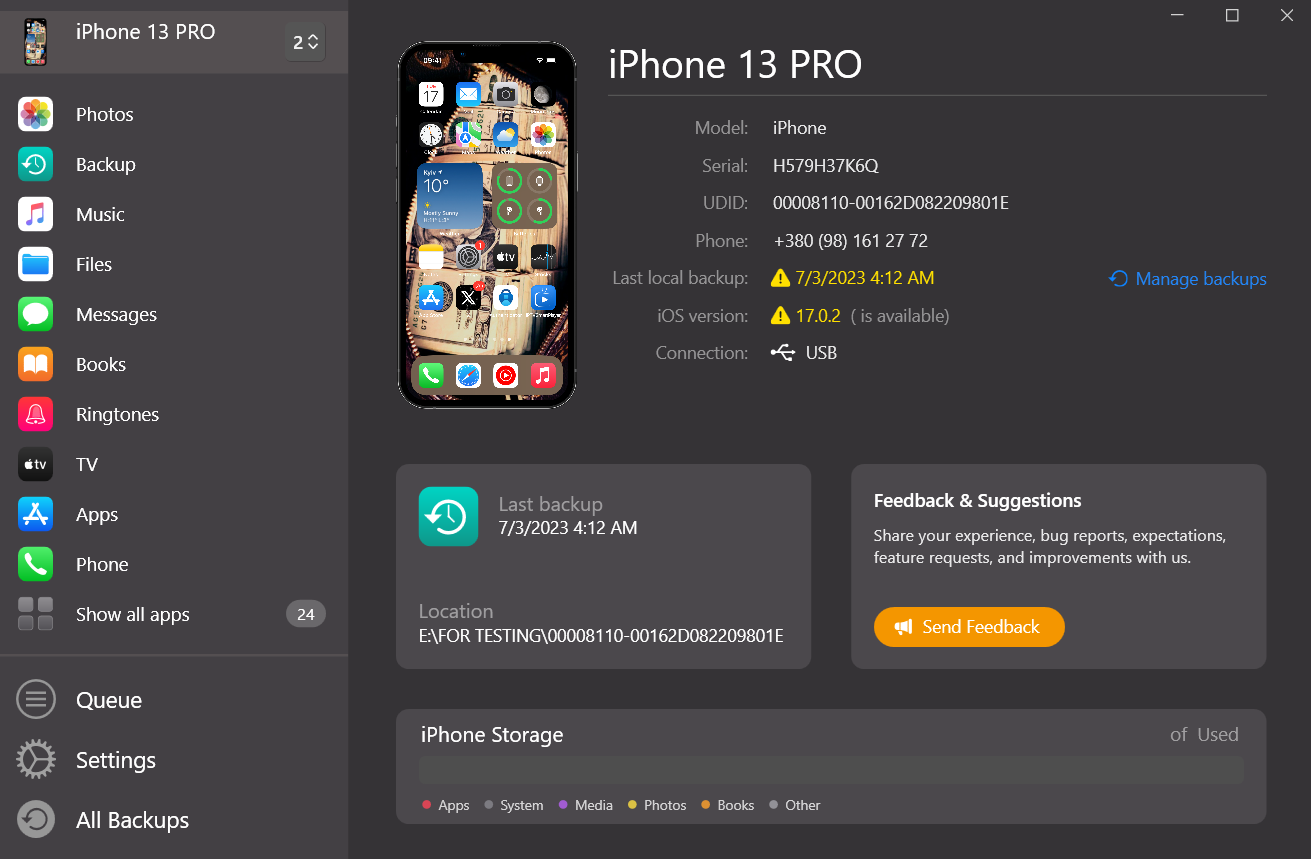
Once your iPhone is connected, it will appear in the left sidebar. Choose Music, and AltTunes will present all the songs available for transfer. Select the songs you want to transfer, then click Export. Choose where to save them on your computer and confirm.
This simple process makes it easy to transfer songs from iPhone to computer. You can even transfer music wirelessly if you enable Wi-Fi sync on both devices.
You can even transfer data from an iPhone to a PC or between two iPhones without iTunes. Simply connect your iPhone, select the music files, and let the app do the rest.
The app also lets you transfer media to different devices, making it helpful if you also need to know how to move photos from computer to iPhone.
Paired with WALTR, it gives you unprecedented control over any media you have on your computer and your Apple device. You'll be able to transfer files between devices whenever you want freely. Last but not least, AltTunes also provides tools to backup your iPhone or even restore your phone data in case it was lost or damaged.
Why AltTunes is the Best Choice for Music Transfer
Unlike iTunes, AltTunes gives you complete control over your music transfer. Here’s why it’s better:
Transfers both purchased & non-purchased music – Transfer all of your songs, not just Apple Music purchases.
Works without iTunes – No need to use iTunes to copy music from iPhone to computer.
Fast and simple process – Just connect your iPhone, select music, and transfer.
Backup your entire music library – Keep all your music safely on your PC or Mac.
Supports all iPhones – Works with any iPhone model, including the latest iOS versions.
iMazing
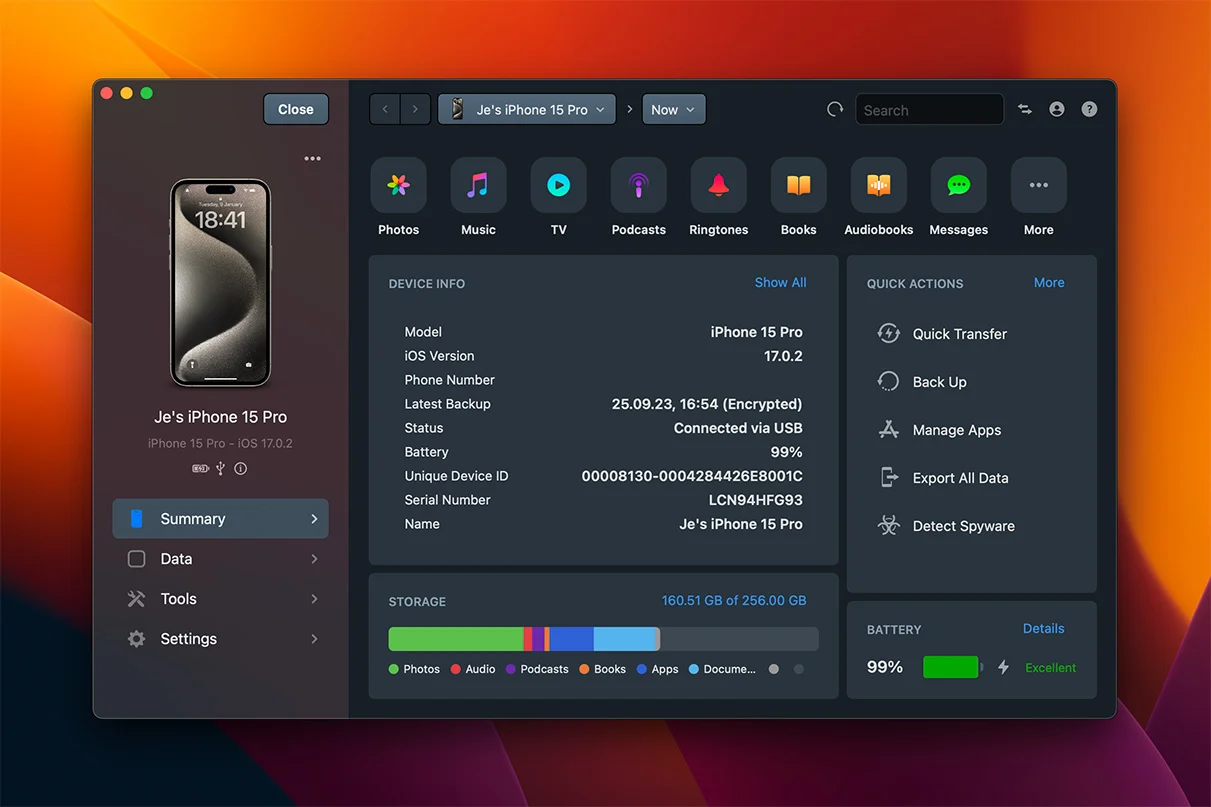
When it comes to iPhone data management, I'm the big guy out there — and iMazing proves it. It’s one of the most popular apps for managing your iPhone, and yes, it lets you transfer songs from your iPhone to your PC easily.
Like most tools mentioned above, iMazing is free to try, with a paid version that unlocks even more features. You can share a license with your brother or go all in and get a family pack.
With iMazing, you’re not just limited to music. You can also transfer ringtones, messages, contacts, and other data without hassle. Got a new iPhone? No worries — iMazing lets you quickly move all your media from the old device to the new one.
To transfer music (or anything else), just follow these steps:
- Connect your iPhone to your computer using a USB cable.
- Choose the music files you want to transfer.
- Let the app do its thing — it’ll copy everything to your computer.
It’s that simple. No complicated setup. No tech stress.
And if you’ve got the paid version, you get access to Quick Transfer — a feature that makes the whole process even faster.
The best thing is that you can transfer data between your iPhone and a computer or even between 2 iPhones without iTunes or iCloud.
iExplorer
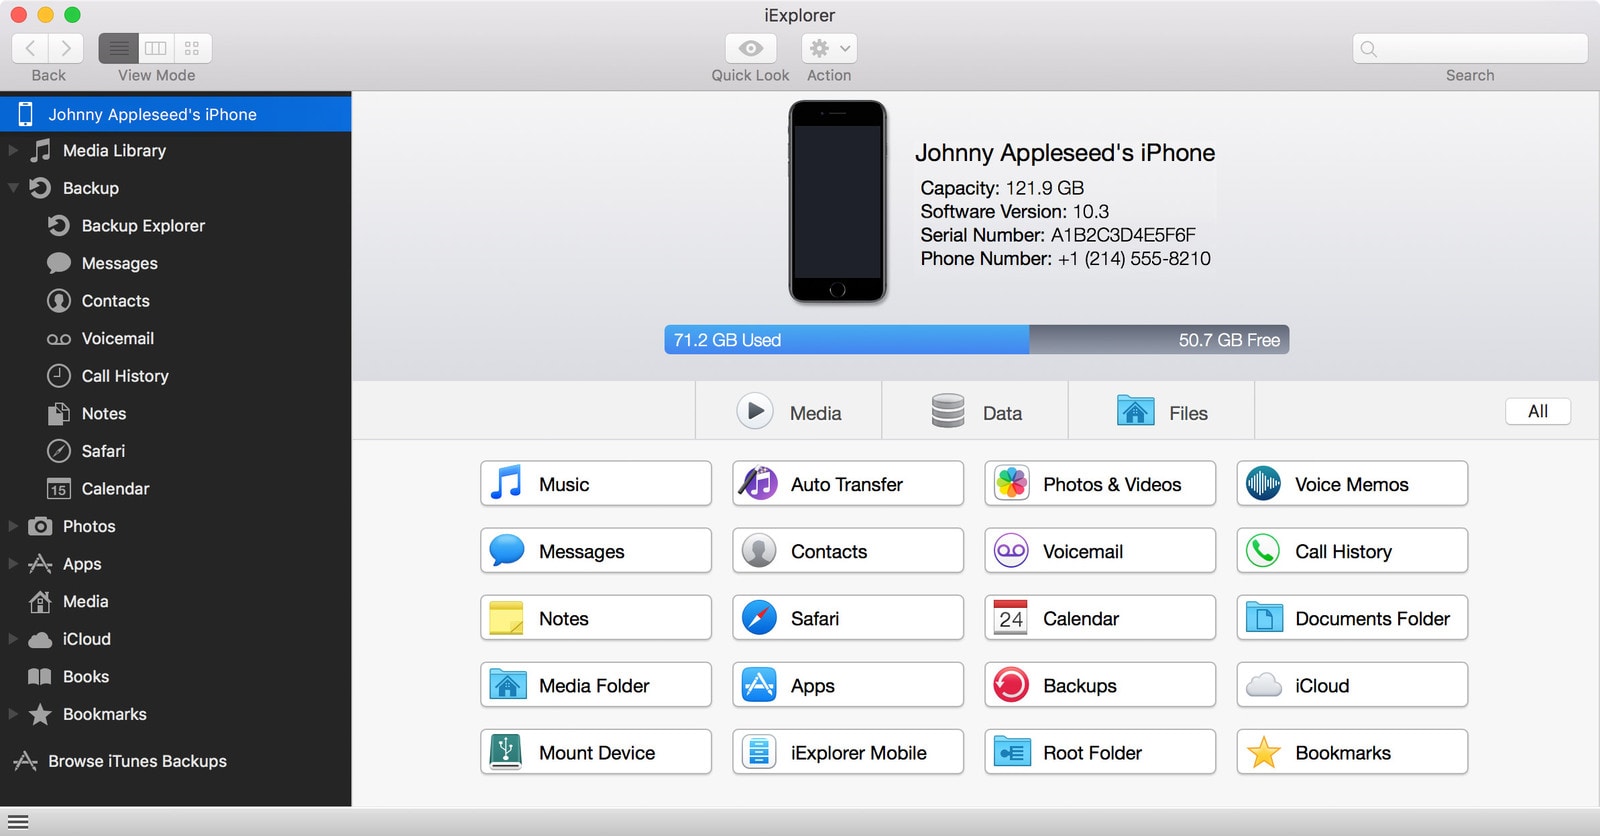
iExplorer is lightweight and fast, it has a comprehensive interface and provides backup to any Mac or PC computer. With this app you can transfer voice messages, reminders, contacts, notes from your iPhone to your computer and back.
What about music? When you transfer any song, iExplorer keeps its metadata, artwork & rating. Double-Click for instant preview to make sure you chose the right song. Make playlists & recover iTunes Library. These are the perks of iExplorer.
The app helps you transfer music from your iPhone to a computer in the same way as most of the apps here do. Anyway, I’ll remind you:
- Connect your iPhone with a USB cord and tap “Trust the device”
- Launch iExplorer, go to Media Library > Music
- Choose the music you want to transfer
- Click “Transfer from Device” & wait for few seconds. Voila!
Now you have your music kept on your computer. For your convenience, you can also transfer it directly to your iTunes Library so that you’ll keep all the music in one place.
AnyTrans
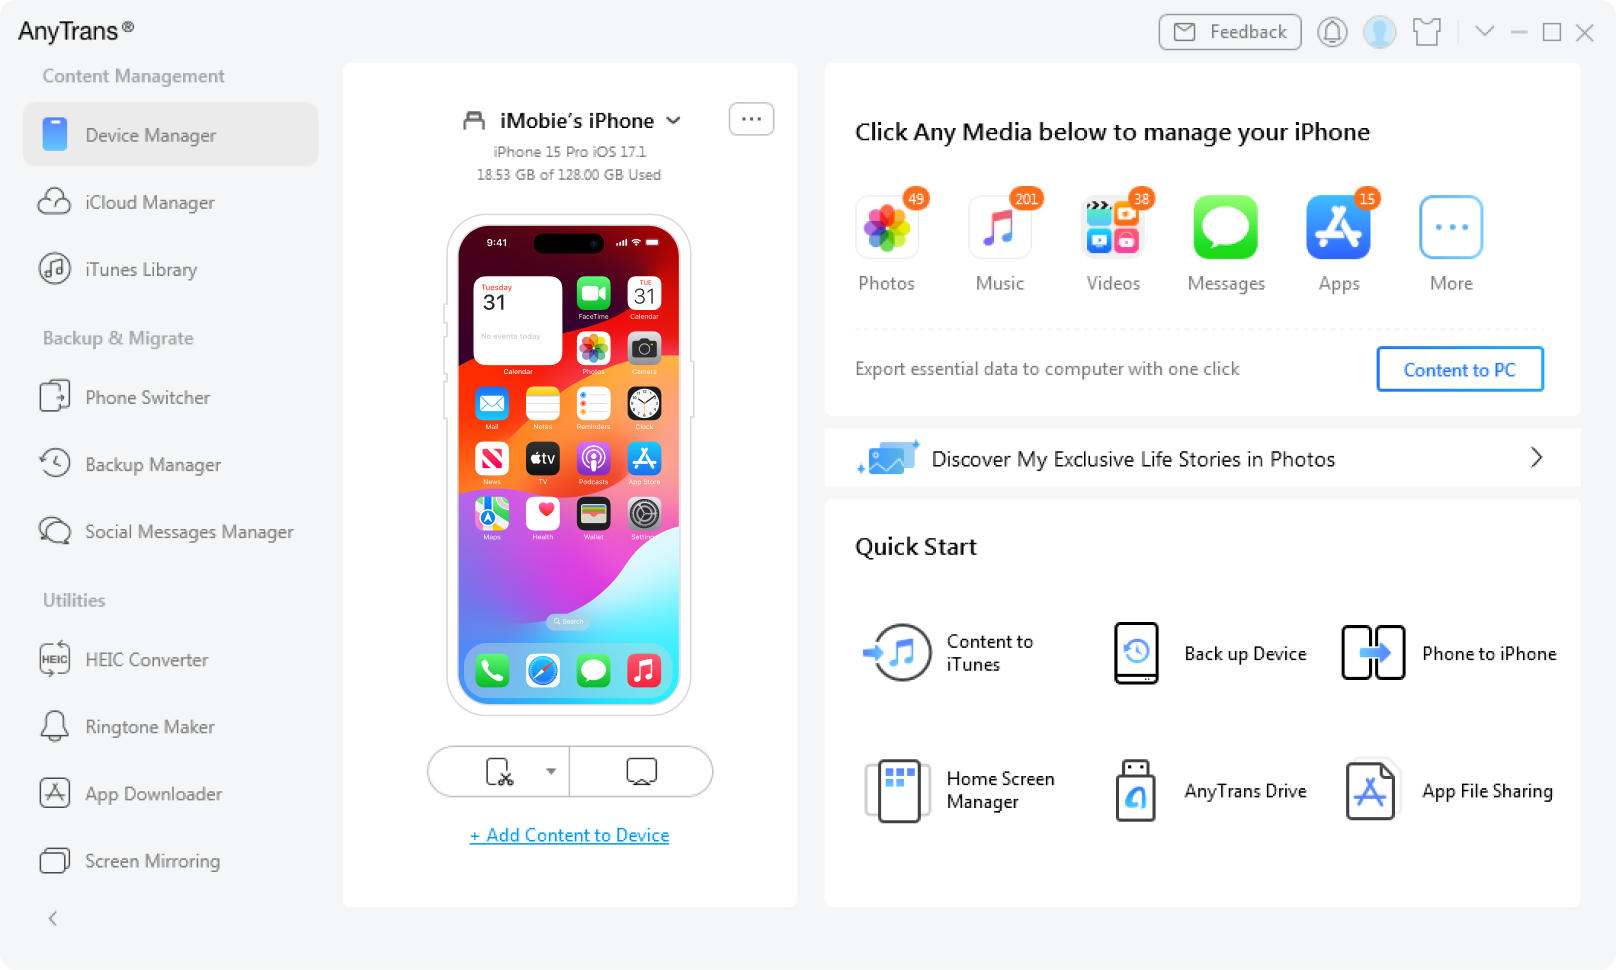
Besides iMazing, you can go for AnyTrans. To my liking, AnyTrans is pretty generic, but it’s worth trying.
AnyTrans works on Mac and Windows computers. It offers a free trial and a paid version, which provides lifetime support and automatic updates.
The free trial allows you to use the app for three days after installation and transfer up to 30 items per day. To use the paid version, you’ll need to register your license code online.
After you register your account, launch the app and:
- Connect your iPhone to your computer.
- Right after, you will see the blue button to transfer iPhone data by category.
- Choose the files and click “Transfer”. That’s it!
You can also buy a family pack, which allows you to share one license with five computers and allows you to use AnyTrans on Android devices.
dr.fone
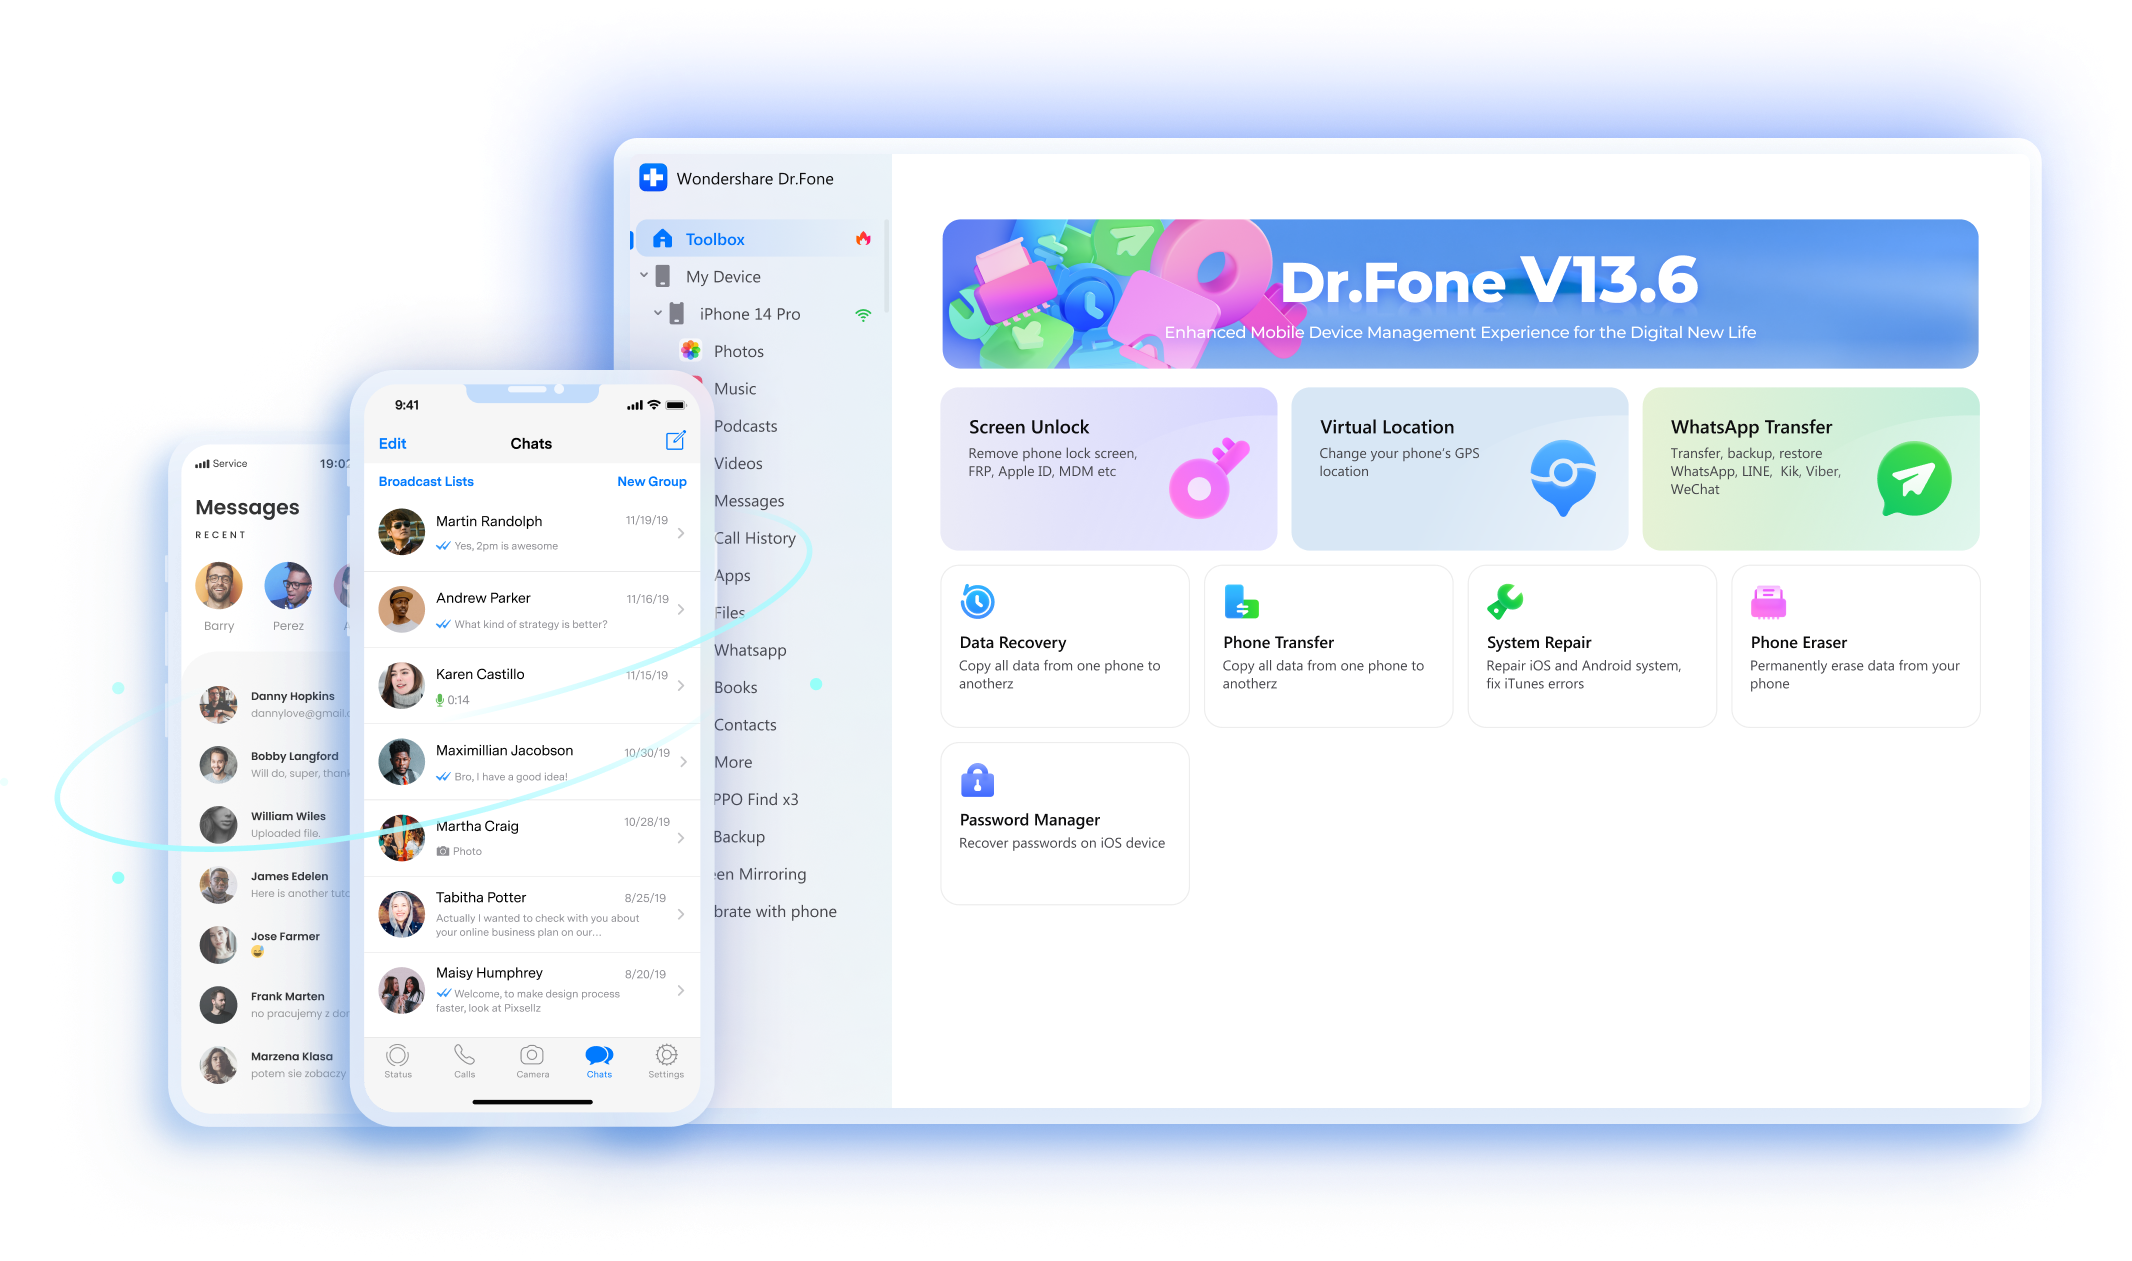
Dr.Fone is another no-iTunes solution for transferring music (and contacts, SMS, photos, and videos) from an iPhone to a Mac or PC. The app offers a free trial and a paid version.
Before you start moving your files, connect your iPhone to the computer. The app will recognize your device and show it on the main screen. From the menu, choose Transfer Device Media to iTunes. Then, click Start to analyze the media files on your iPhone.
Since we need only music, remember to unselect all other types of media. Then, click Transfer. Wait for a couple of moments, and enjoy the music on your computer!
What’s more, dr.fone offers you a bunch of additional tools to manage data both on your computer and an iPhone:
- Recover data from your computer
- Switch data between different phones
- Erase data from your phone
- Backup & Restore your phone (including contacts & photos)
- Restore Social Apps like WhatsApp, Kik, Viber & WeChat.
You can download music either all or only some of the tools — it’s up to you. 🙂
iMyFone TunesMate
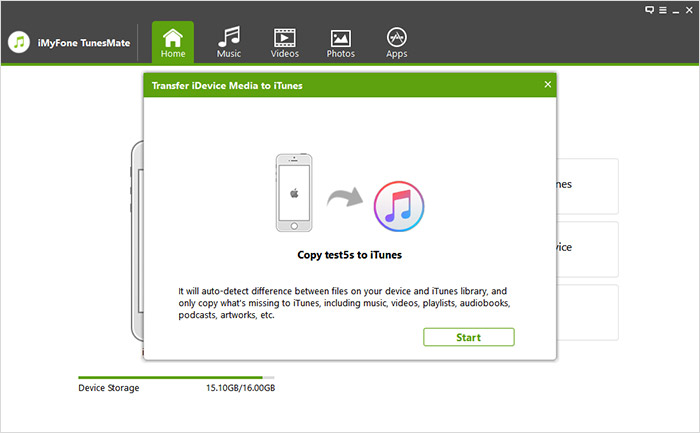
iMyFone is a free-to-try app that you can test for 24 hours during the free trial. It helps you move your files between your computer and iPhone and even share media between various Apple IDs
iMyFone lets you transfer music, ringtones, playlists, videos, podcasts, TV shows, and audiobooks. It can also transfer photo streams and Camera Roll files.
- Connect your iPhone to a computer and click “Trust the device.”
- Choose “Transfer iDevice Media to iTunes”.
- Scan your iPhone media. The app will show you files that are not on iTunes.
- Select the files you want to export.
- Click Transfer and wait for the process to complete.
- A pop-up window will appear showing all the files you’ve just transferred.
Syncios Data Transfer
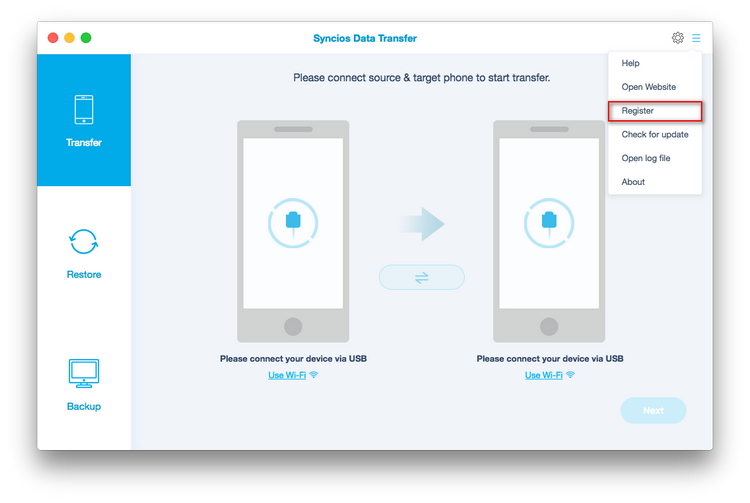
This app is a simple alternative that works on Windows, iOS, and Android, allowing transfers between multiple devices. It costs $39.95 but offers a free trial.
It supports contacts, messages, call logs, WhatsApp, music, photos, videos, apps, bookmarks, notes, and more.
How Syncios works:
- Register your account – Enter your username & code after purchase.
- Select Backup mode – This lets you copy data to your computer.
- Connect your iPhone via USB – Wait for it to be recognized.
Some downsides: Registration is required, and some users report occasional freezing, especially with contacts. However, music transfers work smoothly.
EaseUS Mobi Mover
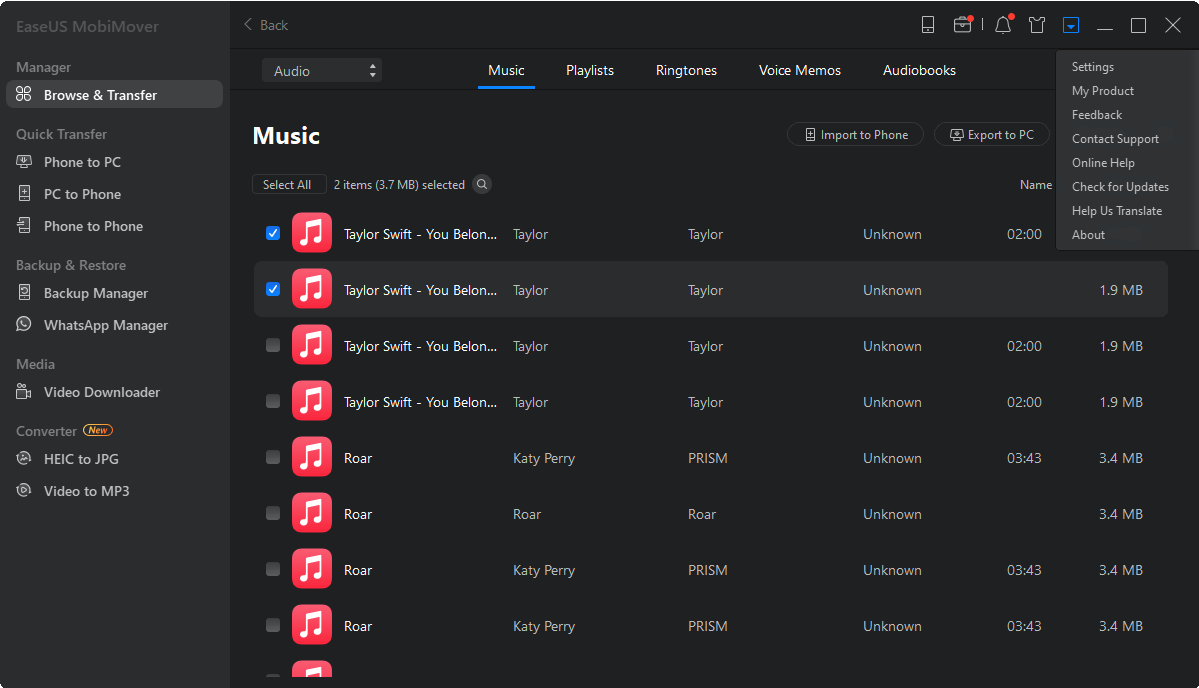
MobiMover is a free tool for your Mac or PC. It helps to transfer media files between your Apple devices. You also can share files from your iPhone to your computer and vice versa.
What’s more, MobiMover can download content from YouTube, DailyMotion, Vimeo, Facebook, Instagram, etc.
Apart from music, the app also transfers ringtones, voicemails, videos, photos, contacts, and messages.
It will take you 4 steps to transfer music from your iPhone to a computer via MobiMover.
- Connect your iPhone to a computer with a USB cord, and make sure to click “Trust a device.” Then, click on “iDevice to PC.”
- Wait until MobiMover checks all the media accessible for transfer. Then, choose the type of data you’d like to transfer. In our case, we’ll need only music. By the way, you can transfer all the music or select the files you need.
- Choose where to export the files. You may transfer them to any folder or desktop.
- Click “Transfer” and wait until it’s finished. Keep your iPhone connected to the computer at all times. When the transfer is finished, click “View,” and you’ll see which files are now on your computer.
There’s also a Pro version of MobiMover. It provides a 24/7 tech support & a free lifetime upgrade. EaseUS MobiMover will help you transfer music from an iPhone to your computer. It’s pretty quick and you don’t need to use iTunes.
MobiKin
The last, but not the least. 🤓
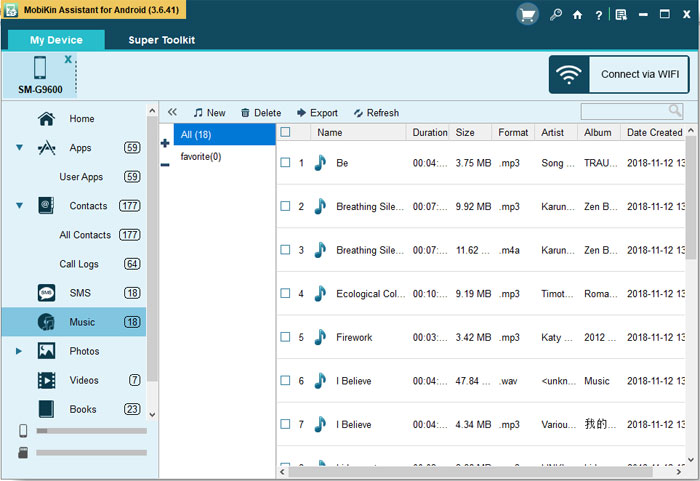
MobiKin is a software which helps you transfer 14 types of files from your iDevice to a computer. Although it’s a free solution, it doesn’t decrease sound quality. This is an important point as we want all the music sound perfect, right?
Just like any other app on the list, MobiKin is fully compatible with the latest iOS 18 and iPhone 16
Furthermore, MobiKin provides a one-year free license code. You must use it to register. Enter your code on the official website. After this period, the app will ask you to buy a Pro version.
If you want to transfer music from your iPhone to a computer, you will need to connect your iPhone to a computer with a USB cord, choose the files you’d like to transfer and click “Export.” Then, they will land on your computer!
Bottom line
Most of all, the above-mentioned apps look alike, work alike, and have almost similar functionality.
Now it’s up to you to choose which solution to use. I bet, that will be difficult, I should say.
Muahahahahah 😈
There are many solutions on the Web. Truth talk, you can’t be 100% sure if they include malware. But we tested all the solutions above and they’re safe.
Stay tuned! 🎶
FAQ
What’s the best way to transfer music from an iPhone to a computer without iTunes?
If you want to skip iTunes, apps like AltTunes, iMazing, or WALTR offer simple, intuitive ways to move music. Just connect your iPhone via USB, select your songs, and hit transfer. These tools give more control without the iTunes hassle.
Can I transfer music from my iPhone to my computer wirelessly?
Yes! AltTunes offers a wireless transfer option. After the initial setup with a USB cable, you can pair your iPhone to the computer via Wi-Fi and move your tracks over the network, as long as both devices are on the same Wi-Fi connection.
Do these music transfer apps maintain my song’s metadata?
Yes! Many apps like iExplorer ensure your song’s metadata—like album artwork, ratings, and artist info—remains intact. This means you won’t lose important details when moving your music files from your iPhone to your computer.
Can I transfer music to my PC without losing sound quality?
Absolutely! Apps like MobiKin ensure your transferred music retains its original sound quality. This is especially important for audiophiles who want perfect audio across all their devices, without compromise or degradation.
Are there free apps to transfer music from iPhone to computer?
Yes! Most of the apps, like EaseUS MobiMover or AltTunes, offer free trials. However, features like unlimited transfers or faster speeds often come with paid versions. These free trials are great for testing if the app suits your needs before buying.

