The iPad has become a famous option with the rapid improvement of technology in the study, work, or recreation.
You might need to transfer some of the files, including photos from your PC to an iPad for working, entertainment, or studying. That helps in using the device flexibly. However, many of the users face difficulty in transferring photos from PC to iPad without iTunes.
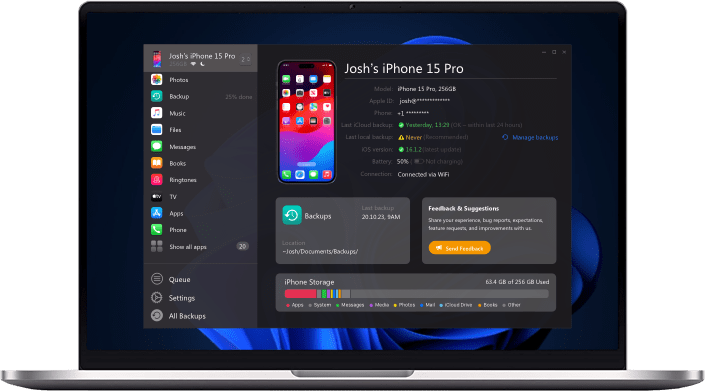
There are a few methods used for exporting files from iPhone to PC. However, iMazing performs a better job when it comes to transferring data. iMazing is one of the top-10 apps in 2020, a go-to for managing iPhone or iPad operations.
In this guide, we will be mentioning a few other methods used for transferring photos from your computer to the iPad and syncing the backups for safe execution along with a readily available app with a user-friendly interface called iMazing.
 Table of Contents
How to transfer photos from your computer to iPad without iTunes
iTunes is the default way to transfer photos from PC to iPad, iPhone, or iPod touch. However, using iTunes is not the best way to transfer photos from PC to iPad; although, it is workable.
Step 1: Download & install iMazing
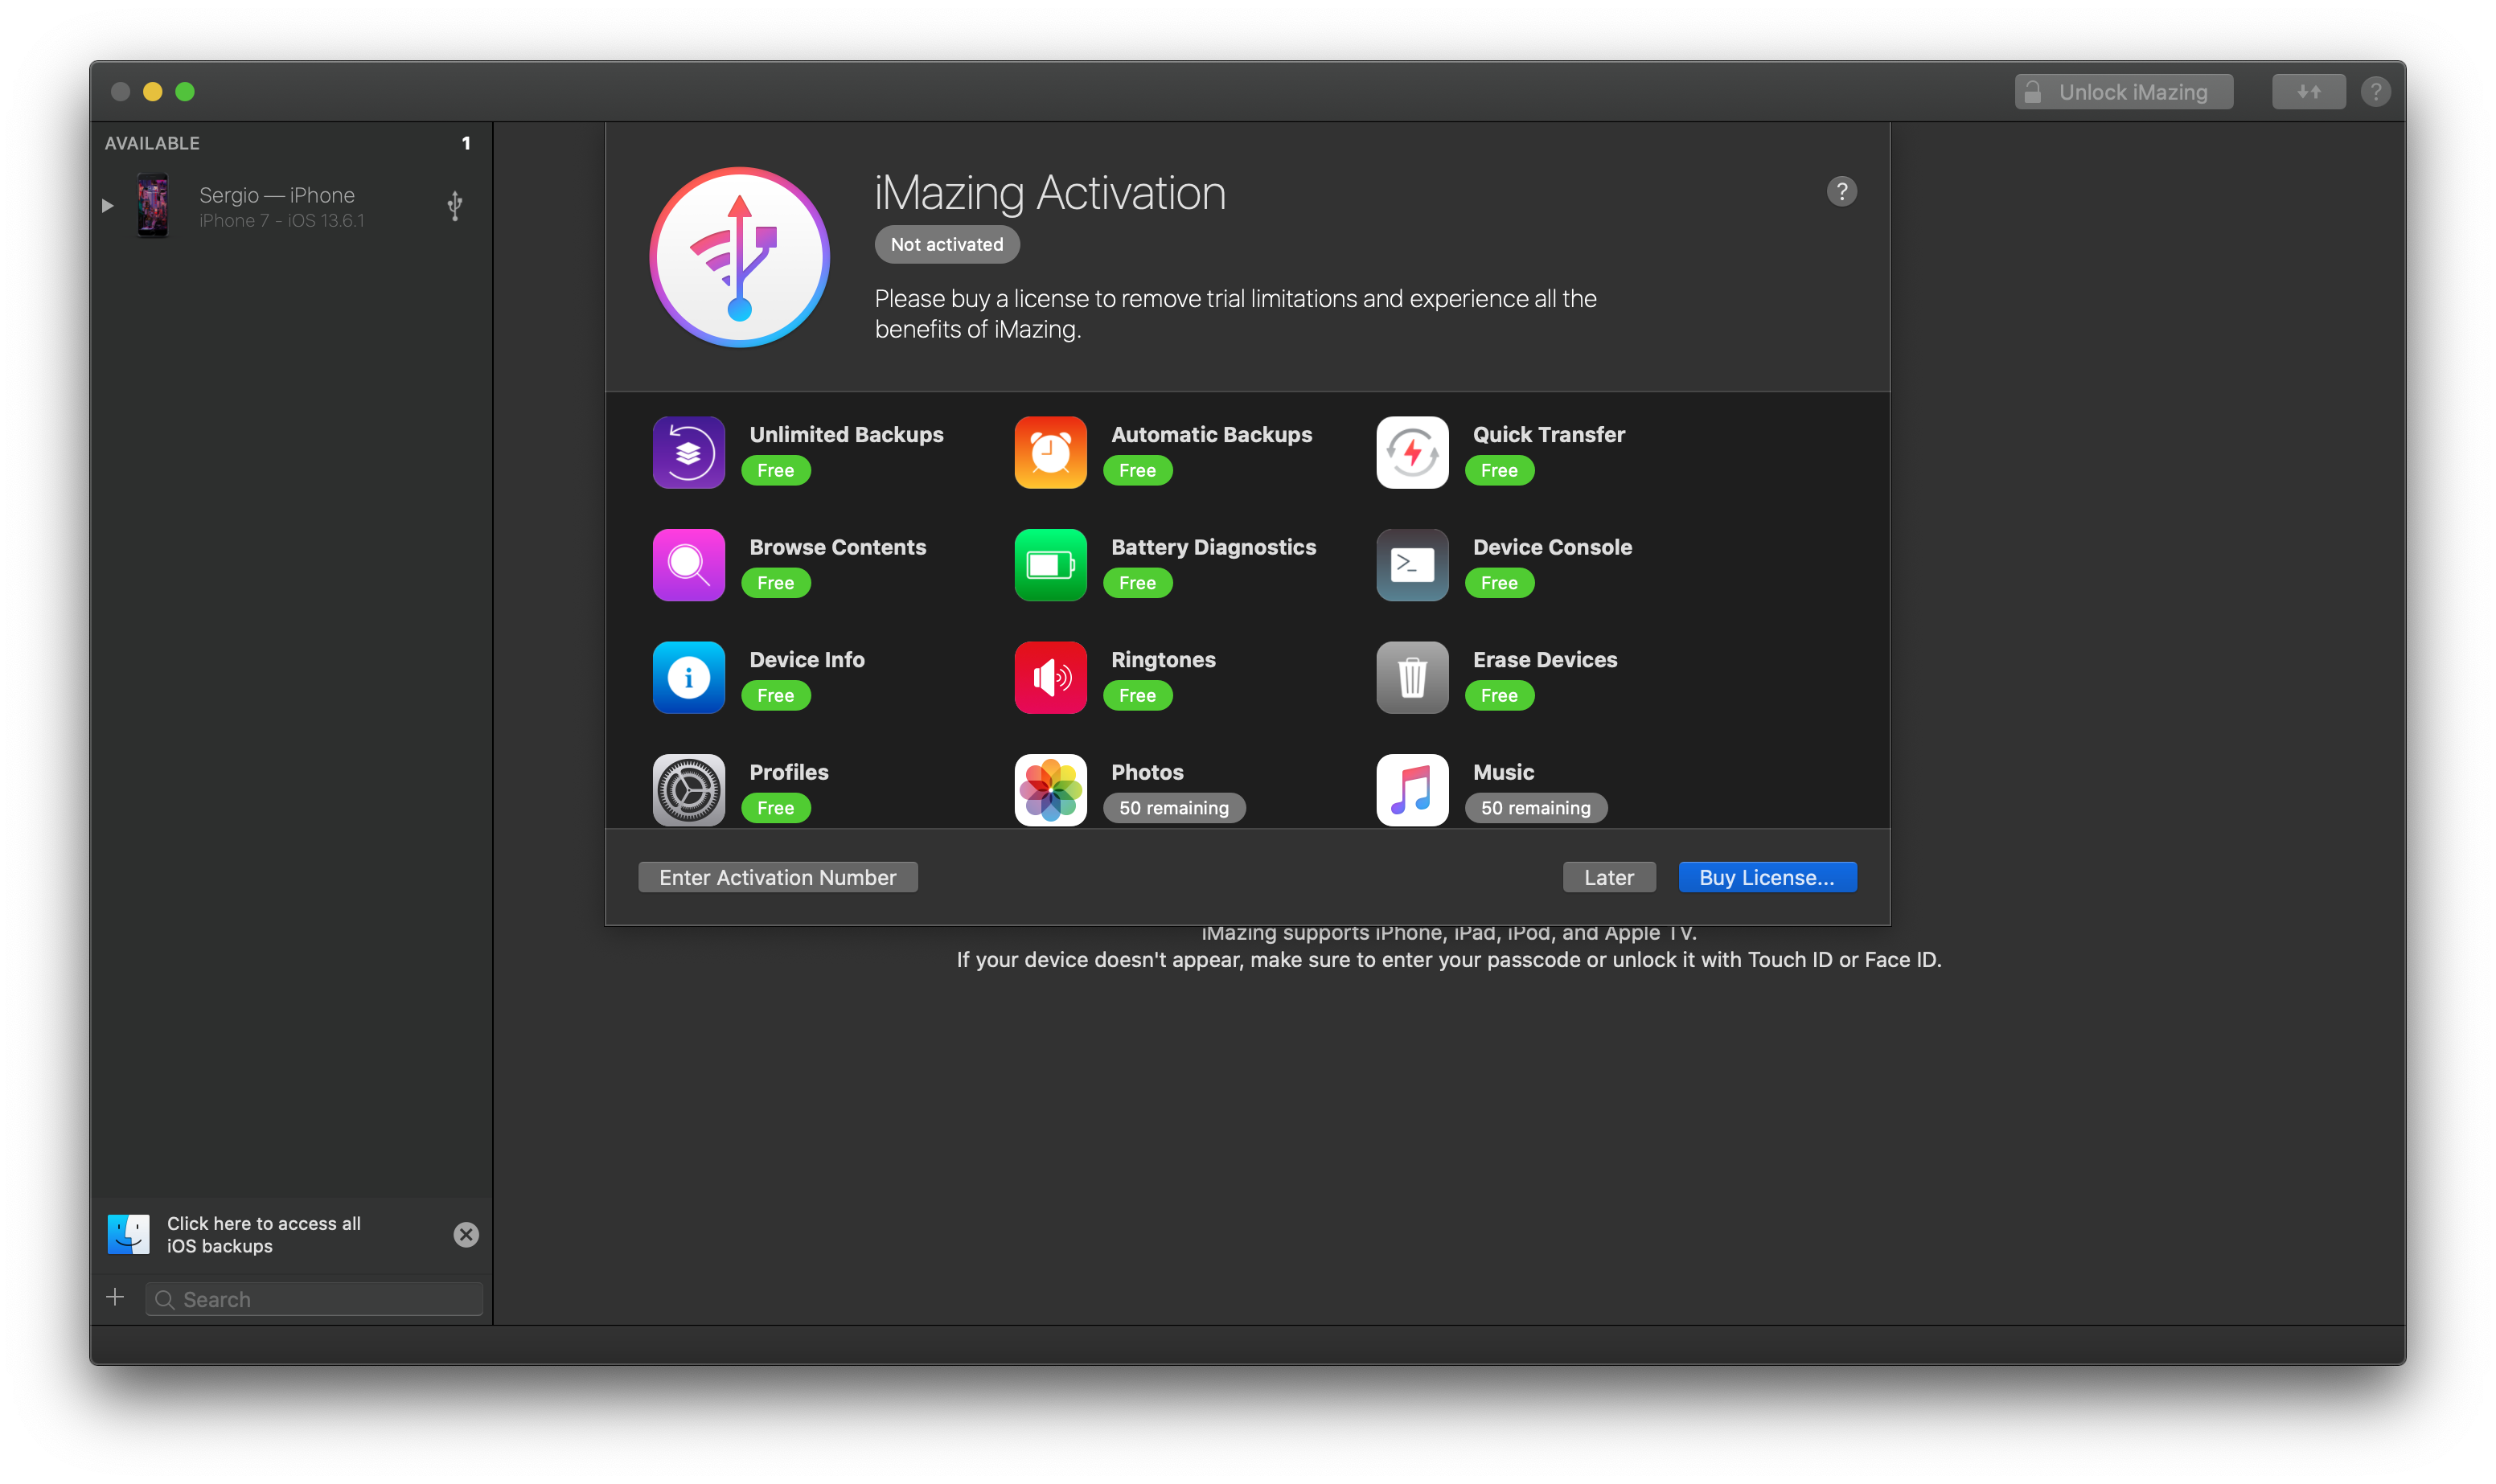
The first step to transfer your files is to download iMazing in your system to proceed further. You can easily download it from the developers' official site.
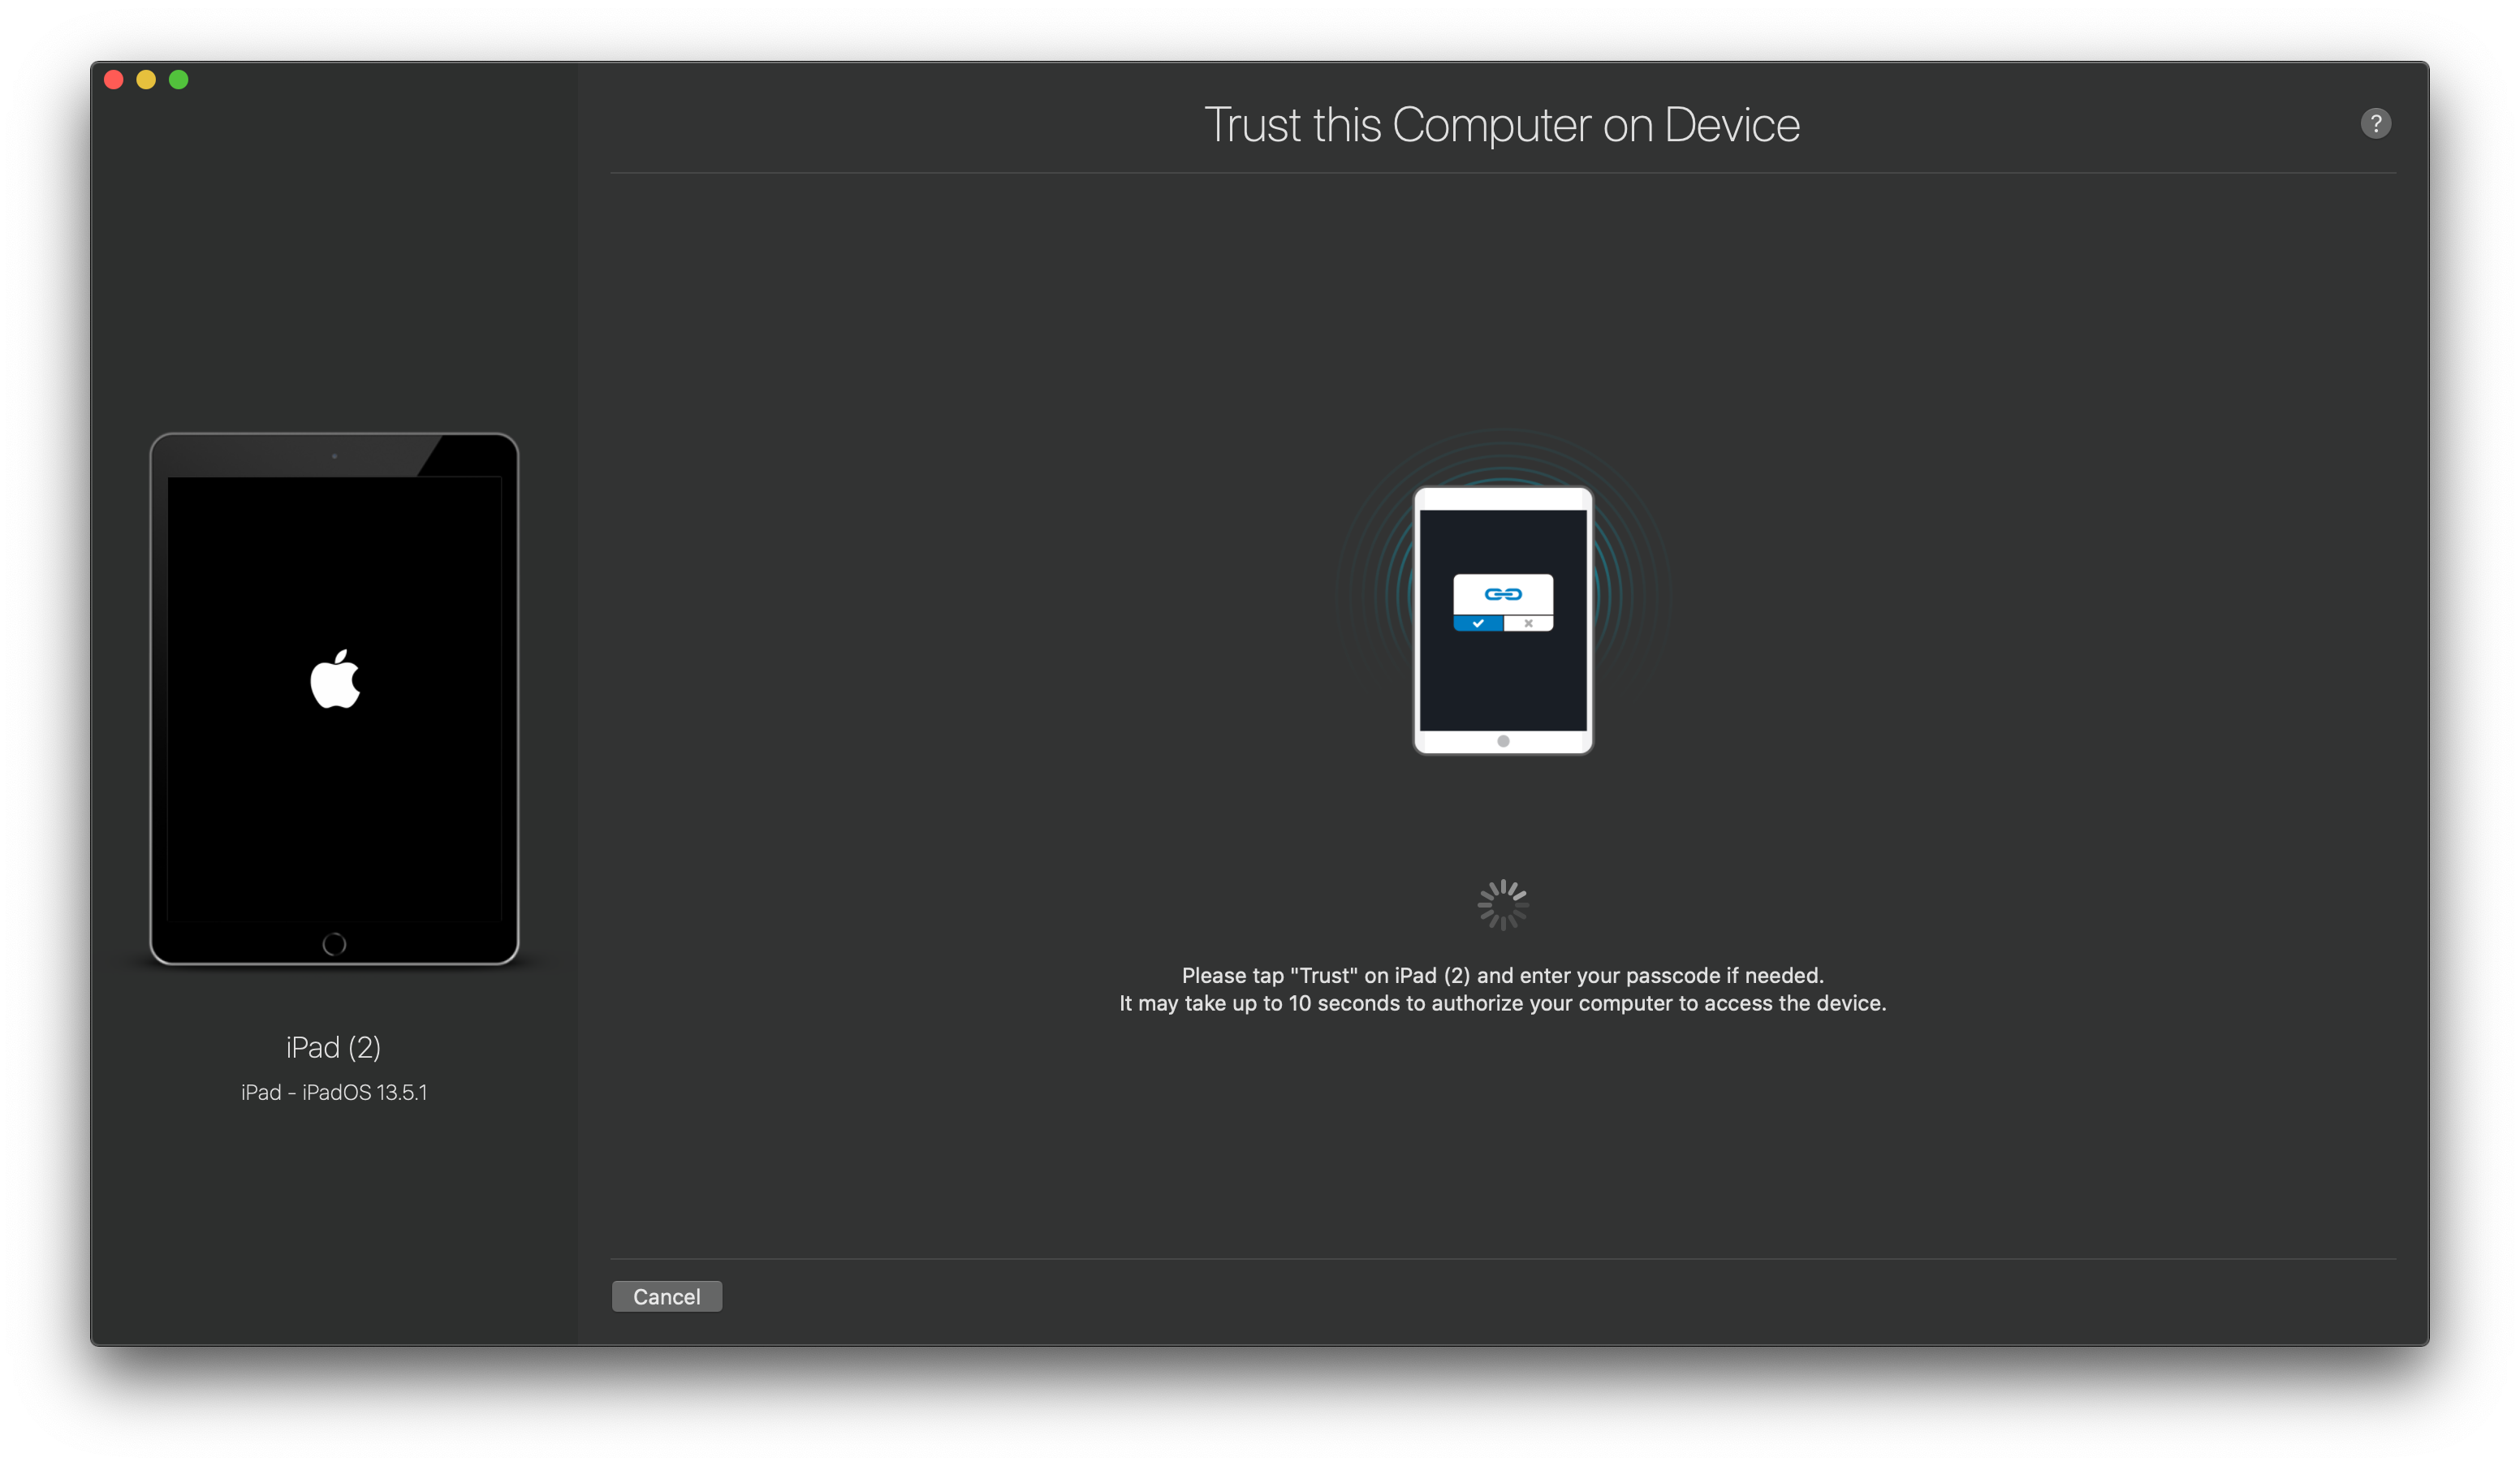
Step 2: Connect the iPad with a USB cable to your PC
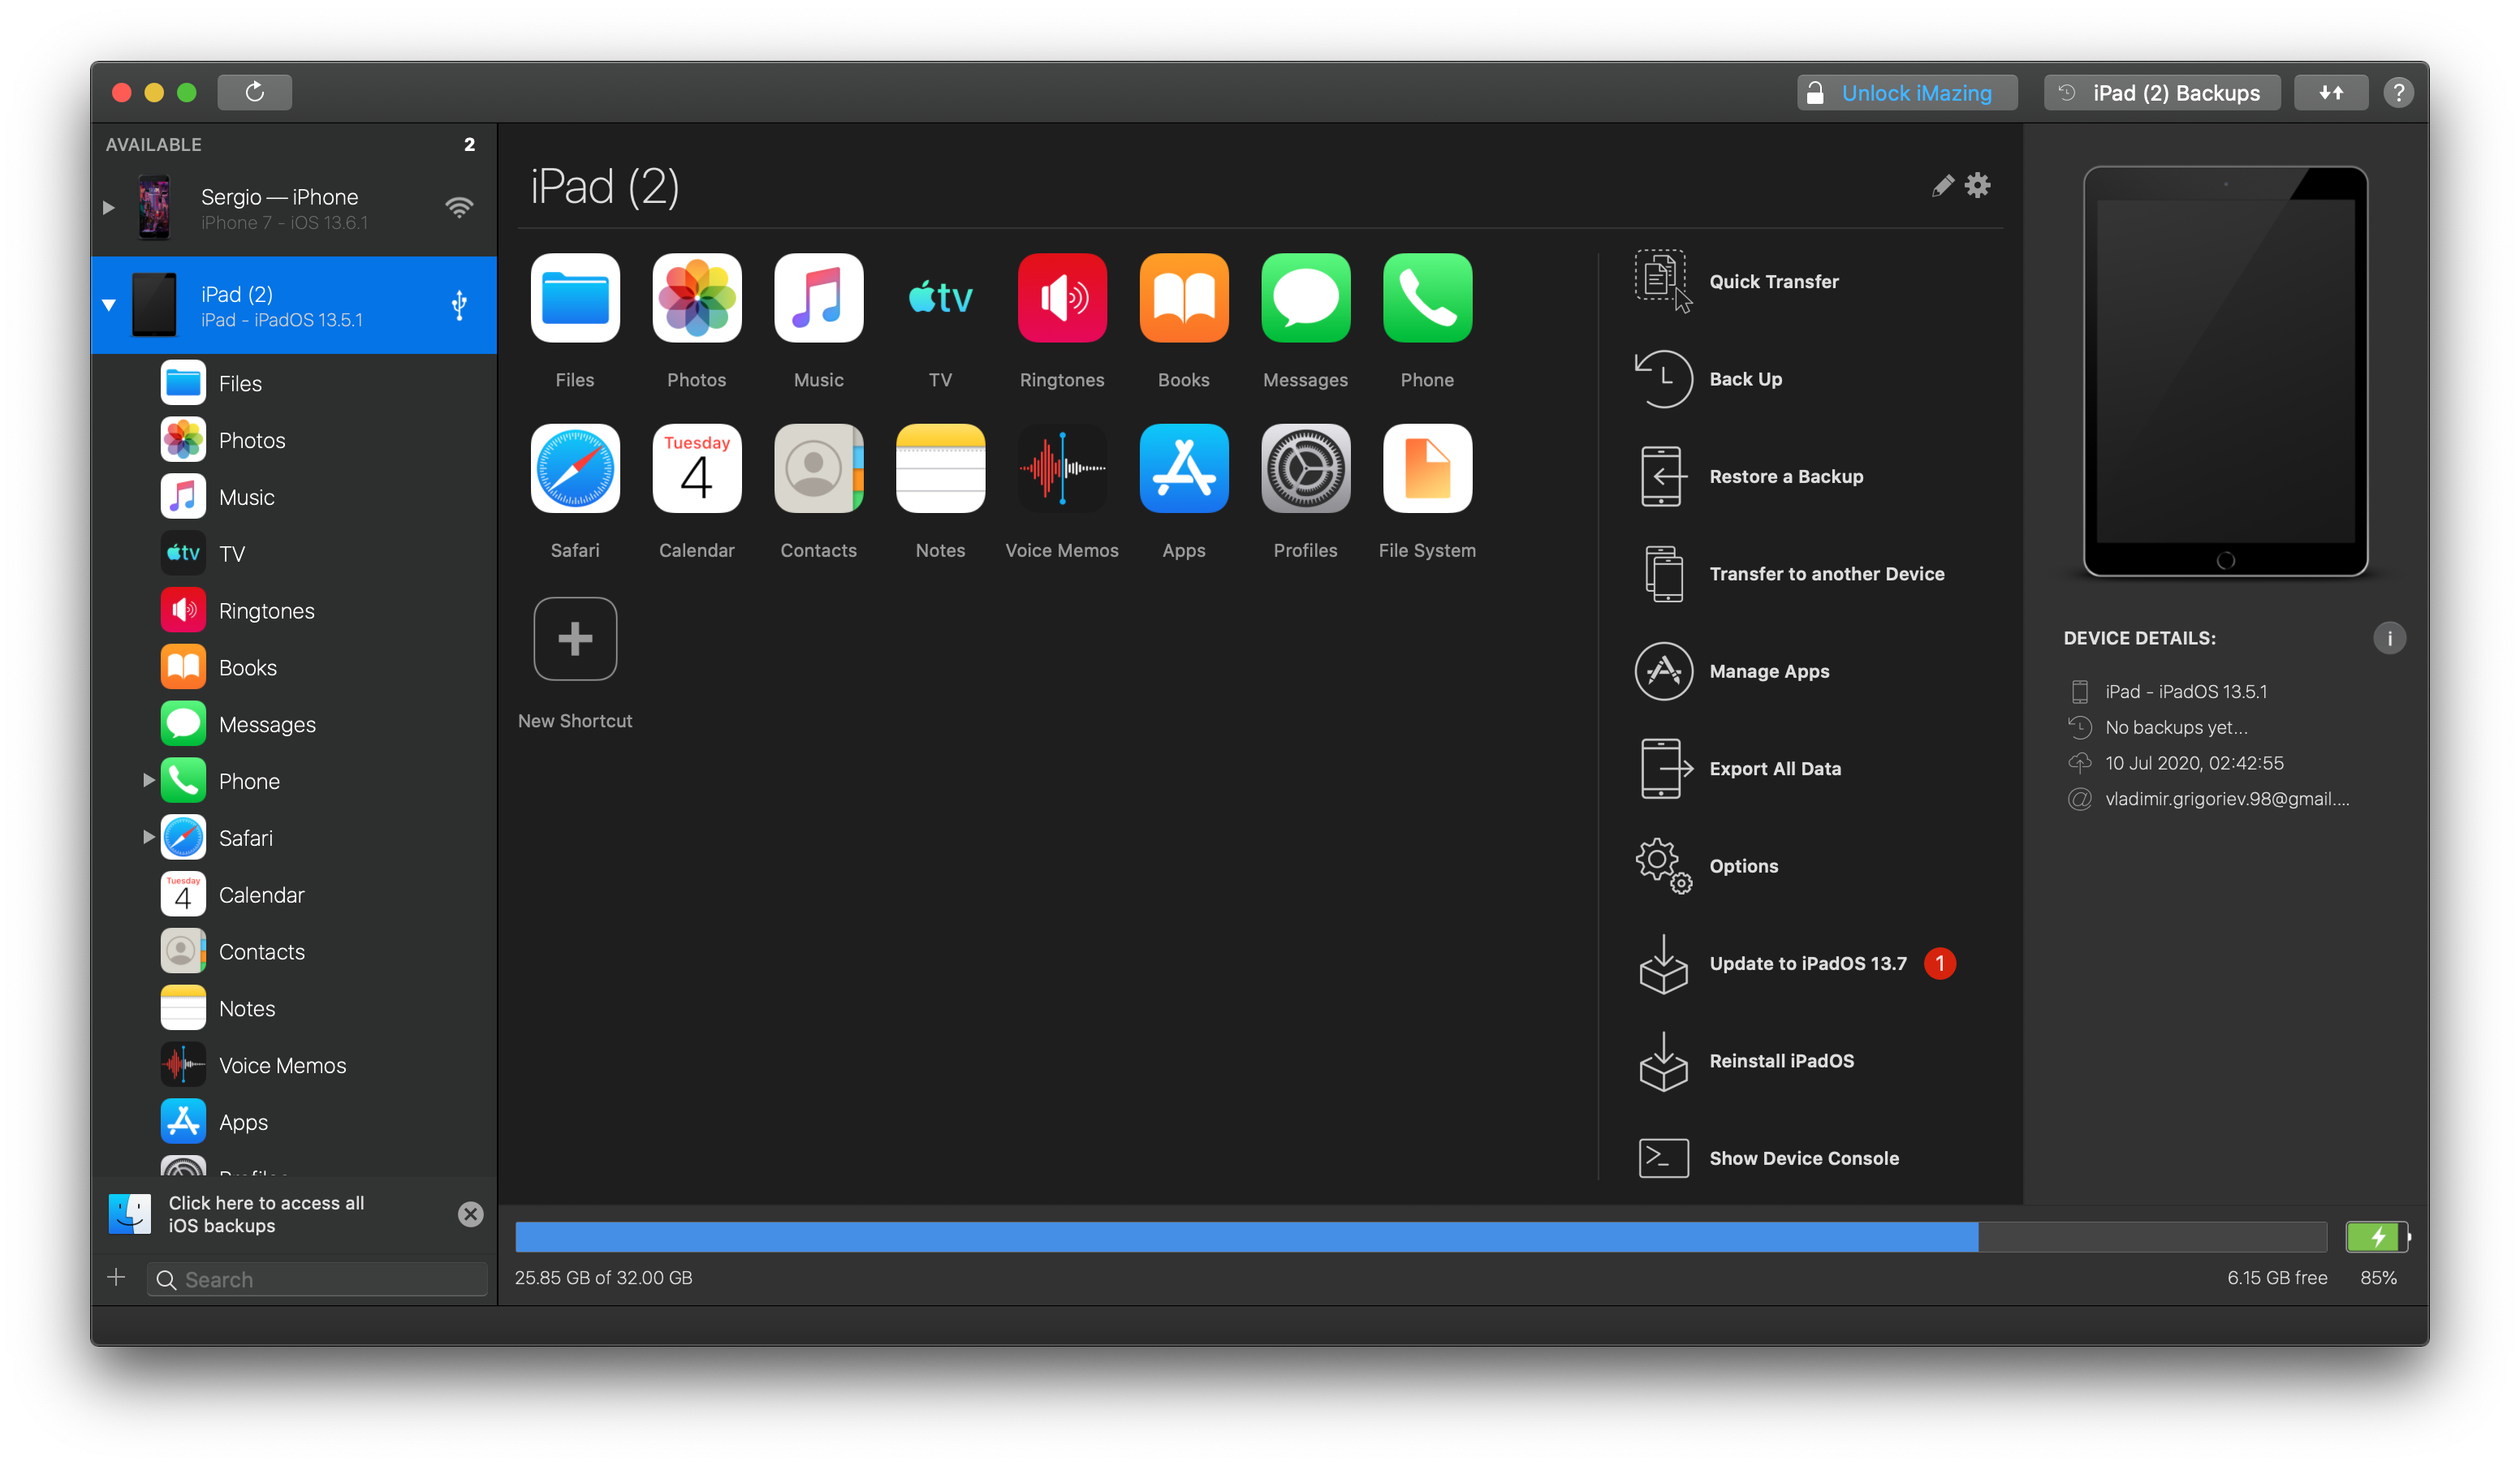
Connect your iPad with your PC and launch iMazing. Select the files button and open the files or the folders that you want to copy.
It will show the photos that you want to copy. However, if you're going to add more images, you can drag them and drop them by adding a content option. File type would not be an issue in any way.
iMazing supports all image formats like JPEG, JPG, BMP, TIF, PNG, TIFF, and GIF.
Step 3: Transfer your photos from iPad to PC
The most hassle-free way to transfer photos from PC to iPad directly is to use a trustworthy app for iOS data transfer such as iMazing. It can provide the best data sharing options, including:
Add files from the PC to iPad, iPhone, or iPod touch
Moves the files from iDevice to the PC
Sync files from one iOS to another
Do you want to know where the files transferred? The smart iMazing tells you about the location once the transferring ends.
How to transfer photos from PC to iPad with Google photos
The next option for transferring iPad photos to PC is to use google photos!
Follow these steps to transfer the images to the iPad from your PC.
Step 1: Download Google Photos on iPad
The first step is to download Google Photos on your iPad and log in using your Gmail account.

Step 2: Go to Google Photos on PC
Now turn on your Pc and visit Google Photos. Sign in there using your Gmail account.
Step 3: Upload photos
Upload all the required files and pictures on PC and continue. Add those files to the albums.
Step 4: Refresh Google Photos on iPad
Now refresh the Google photos application on the iPad and download the required images on your iPad.
Looks like a bit of a lengthy procedure? Same to us! That is why we introduce you to the smart iPhone photo manager app - iMazing!
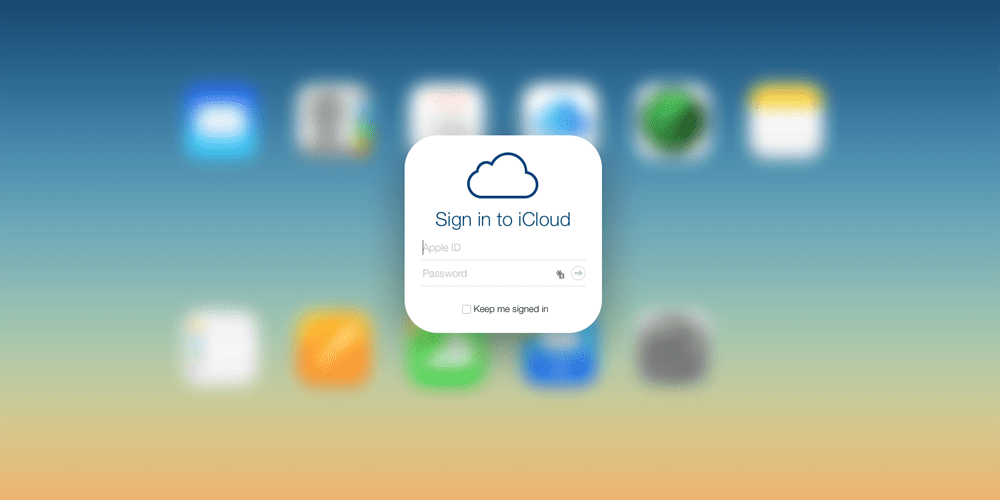
How to Import Photos from PC to iPad with iCloud
Being an iPad user, you must be familiar with iCloud, a cloud-based storage service made by Apple. You can access your files and documents across your iPod touch, iPhone, iPad, PC, and Mac through iCloud.
However, the PC photos automatically synchronize with iCloud images when you connect your iPad to Wi-Fi. The storage capacity of google photos is unlimited; whereas, iCloud serves only 5GB of free space. Upon needing more space, you have to buy extra storage from Apple.
This means paying to sync your photos! and not to forget that syncing will bring ALL the images, even those you want to delete later!
Here are a few steps that you can follow to transfer photos from iPad to PC through iCloud:
Select Settings, followed by your name in the iCloud. Then select photos and turn on the iCloud photos options on your iPad
Download iCloud on your PC and install it.
Run the iCloud software on your system. Now sign in with your Apple ID that you are using on your iPad.
Enable iCloud photo library by choosing Options that is next to Photos
Ensure to upload all the videos, photos, and other documents from your system. Choose the folder location having pictures that you want to transfer to your iPad from your PC.
You can access all the Photo application pictures on your iPad after the synchronization is done.
However, if you do not wish to install iCloud, you can upload the photos from iCloud.com. This is how it can be done:
1️⃣ Visit iCloud.com from your PC and sign in with the Apple Id that you are using on your iPad.
2️⃣ To access your iCloud Photos from there, choose the photo section.
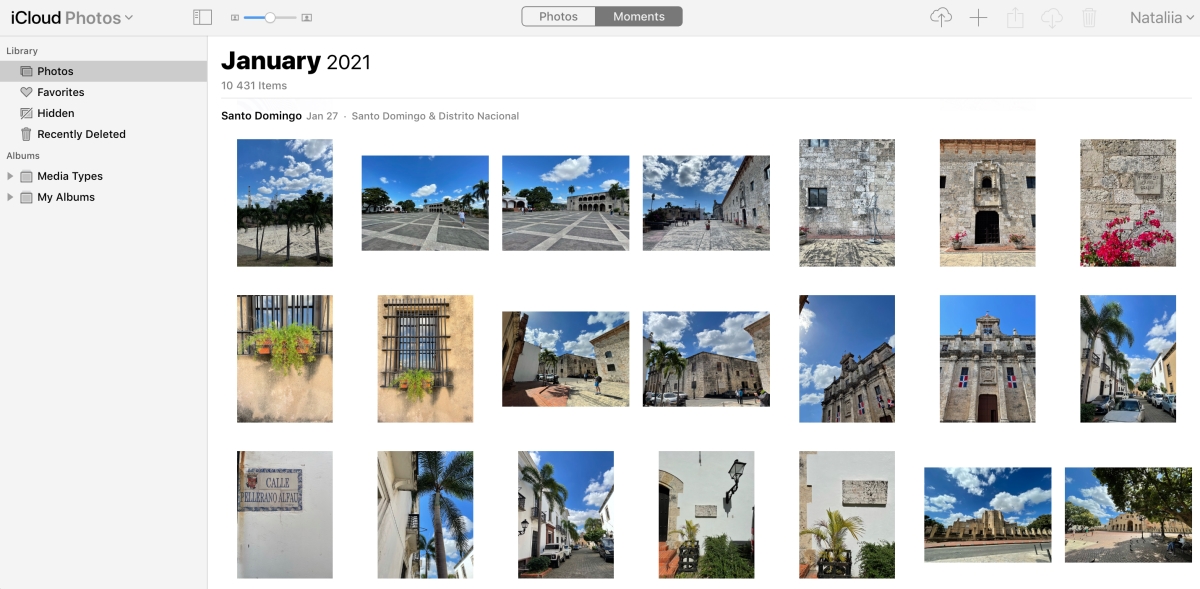
3️⃣ Click on the upload photo option on the page and select the images you want to transfer.
4️⃣ The pictures will start synchronizing automatically under a Wi-Fi connection. Later, you can access the transferred items in the photo application on your iPad.
How to Transfer Photos from your Computer to iPad via Email

You can also use an email if you want to transfer photos from a PC or laptop to your iPad without using iTunes. However, the drawback of using an email address is that it is not suitable for transferring photos in bulk than mentioned earlier.
Let us talk about the lengthy procedure of transferring photos from iPad to PC. Here are the steps mentioned below.
Make an attachment and add all the photos that you want to copy.
Send that mail to your iPad from your system
Check the sent items from your mail and download the attachments to your iPad
All done! Now, what about the attachment size and bulk photos? We know the shortcoming of email that it is not friendly for bulk transfer, making it a bit hectic.
Please note: We do not encourage you to use this method while there is already a better solution like the iMazing app!
How to Transfer Photos Within your iPad and Computer with Dropbox/Google Drive
iCloud, Dropbox Google Drive work the same because they are cloud-based. You can use them to transfer your required photos. It would be best if you had the same account, enough space, and a stable internet connection for transferring files.
Just follow the following steps if you want to share photos between iPad and PC:
Download Dropbox/Google drive on both devices and install it. Sign in using the same account.
Use the drag and drop method and upload the files that you want to transfer.
Now check Dropbox on your iPad, and there you can see all the shared files you require.
Bottom Line
The iPhone photo transfer system is connected with iCloud and iTunes, which you can also use. However, if you want to get through the transferring faster, hassle-free, iMazing is the smart choice.
The seamless sync and great accessibility establish an easy pathway for you to transfer photos from the iPad on the PC. The best part is you can use iMazing with iCloud and iTunes as well for user convenience.

Josh Brown
CEO at Softorino