Nowadays, we want to have everything in one place even though we use multiple devices.
 Table of Contents
The good news is, we can! Especially if you're using a Mac, Apple does the syncing process really well allowing you to sync up your data between multiple devices simultaneously. Sometimes though, some issues cause the sync process to be incomplete leaving you with not all of your iPhone data synching up to your Mac.
When we talk about photos, this could happen as well there. Let's find out what could cause such problems and how you can transfer and sync photos from your iPhone to your Mac with different solutions. Let's jump right in!
Why aren't my photos syncing up correctly?

Well, there are multiple reasons which could cause such a problem. One of them might be, that you haven’t even configured iCloud the right way.
To check on that, simply head over to your iCloud settings by going to the settings, click on your Apple ID, and head over to the iCloud submenu. You can now activate the toggle switch and photos to make sure your photos get synched up to your iCloud. If that was the case you can now enjoy your pictures on your Mac.
Another reason this might occur is when you’re running out of space on your iCloud. Normally for non-subscription users, iCloud offers a total of 5GB of cloud storage for each and every user. If you have tons of photos and videos, this might fill up the entire 5GB relatively quickly. Of course, you can always upgrade to a monthly-subscription plan on Apple, but we want to do things free on this one.
That’s been said, let’s have a look at free alternatives to sync up your photos with your Mac.
Solution 1. It’s time for iMazing
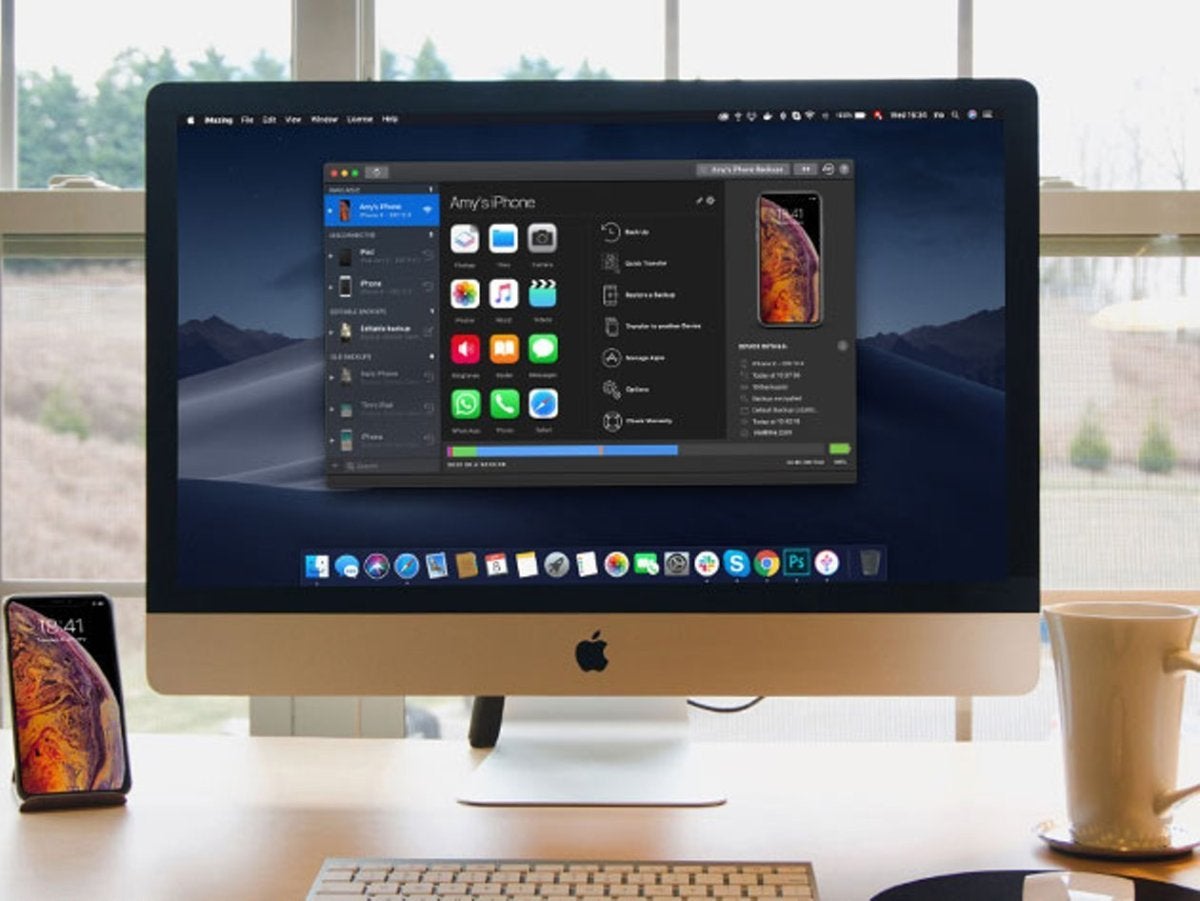
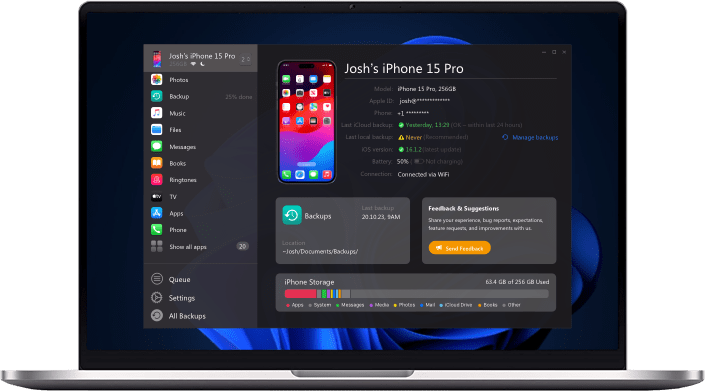
If you did a google search on transferring files from your iPhone to your PC or Mac, you’ve probably come across iMazing from the swiss software studios of DigiDNA. iMazing is one of the leading tools with its features of transferring individual files wirelessly or even creating full-fledged backups of your entire iPhone.
Let’s jump right in to see how to sync up your photos using the iMazing software.
Step 1: Let’s start the download
As mentioned, iMazing is a third party application needing you to download and install it manually. Before you jump into a google search, we’ve got you covered. Down below there are two links, depending on if you’re a Windows or Mac user allowing you to get a fresh, new copy of the iMazing software onto your PC or Mac.
After the download has been completed, head over to install the software normally.
Step 2: Launch iMazing and connect your iPhone
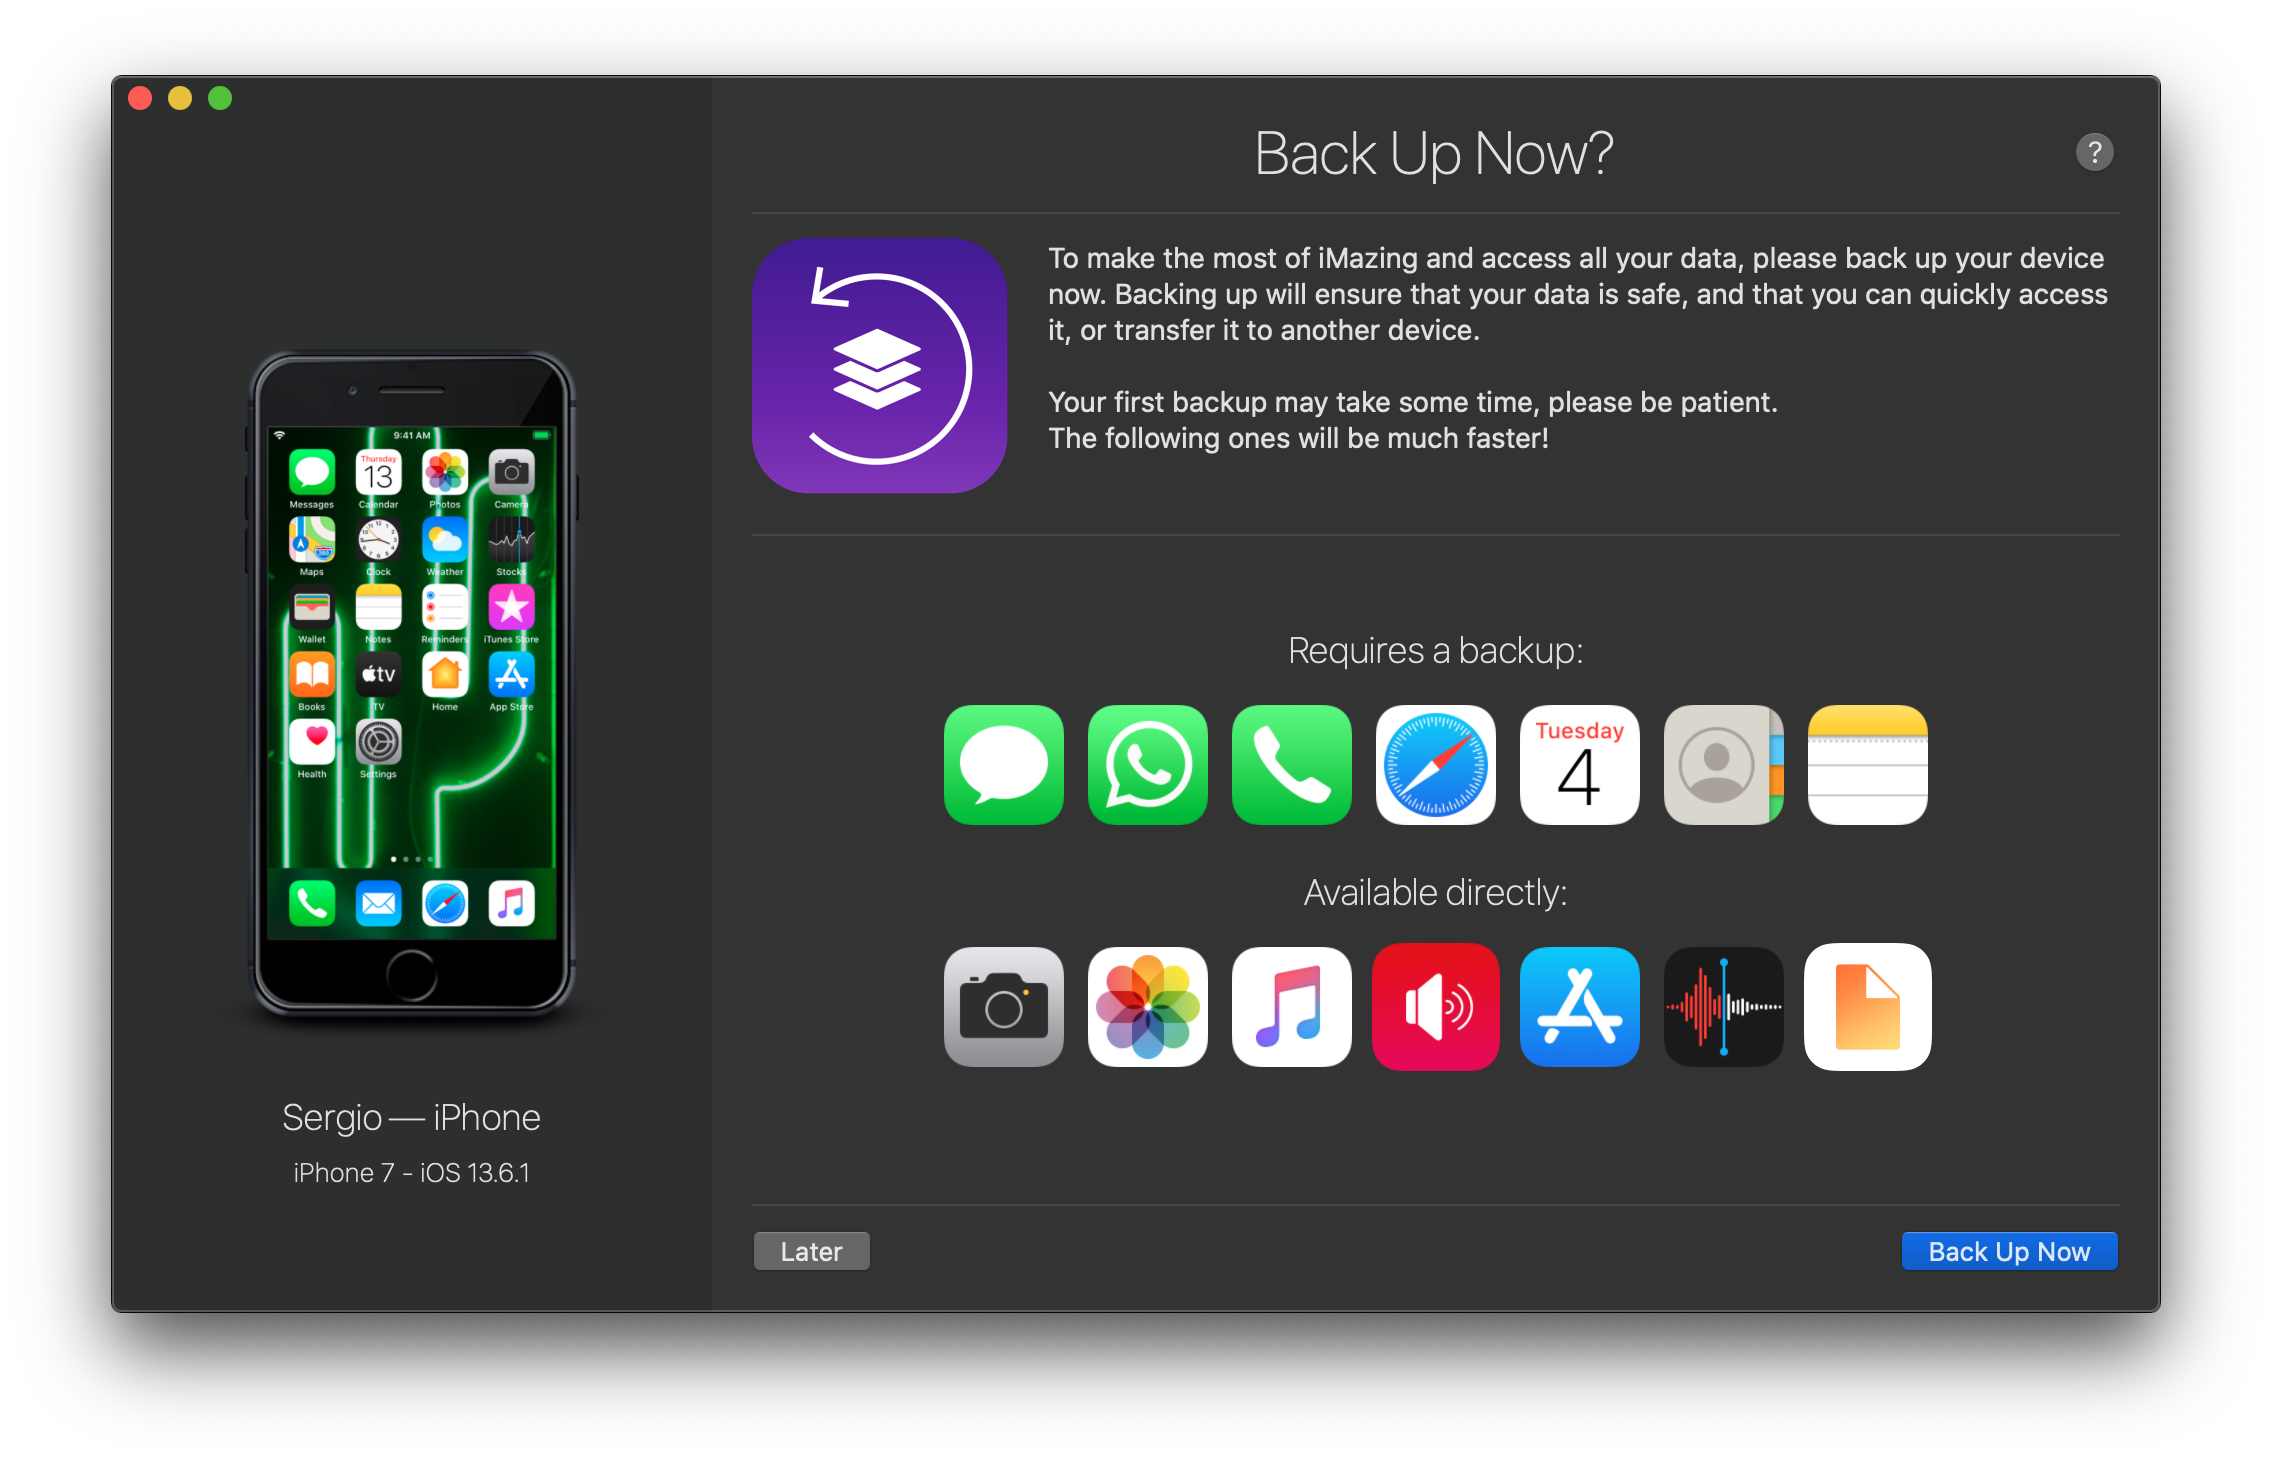
After the installation process has been completed, simply head over to launch iMazing. It’s time to connect now, grab a lightning cable, and connect your iPhone with your Mac or Pc. iMazing allows you to do everything also in a wireless mode, but in order to do so, your iPhone needs to be connected via a cable at least once.
Go ahead and connect your iPhone, which might ask you to unlock and trust the device it’s connected to. Go ahead and click on trust if it prompts onto your iPhone screen.
Well done! Your iPhone is now connected to iMazing!
Step 3: Select and Sync
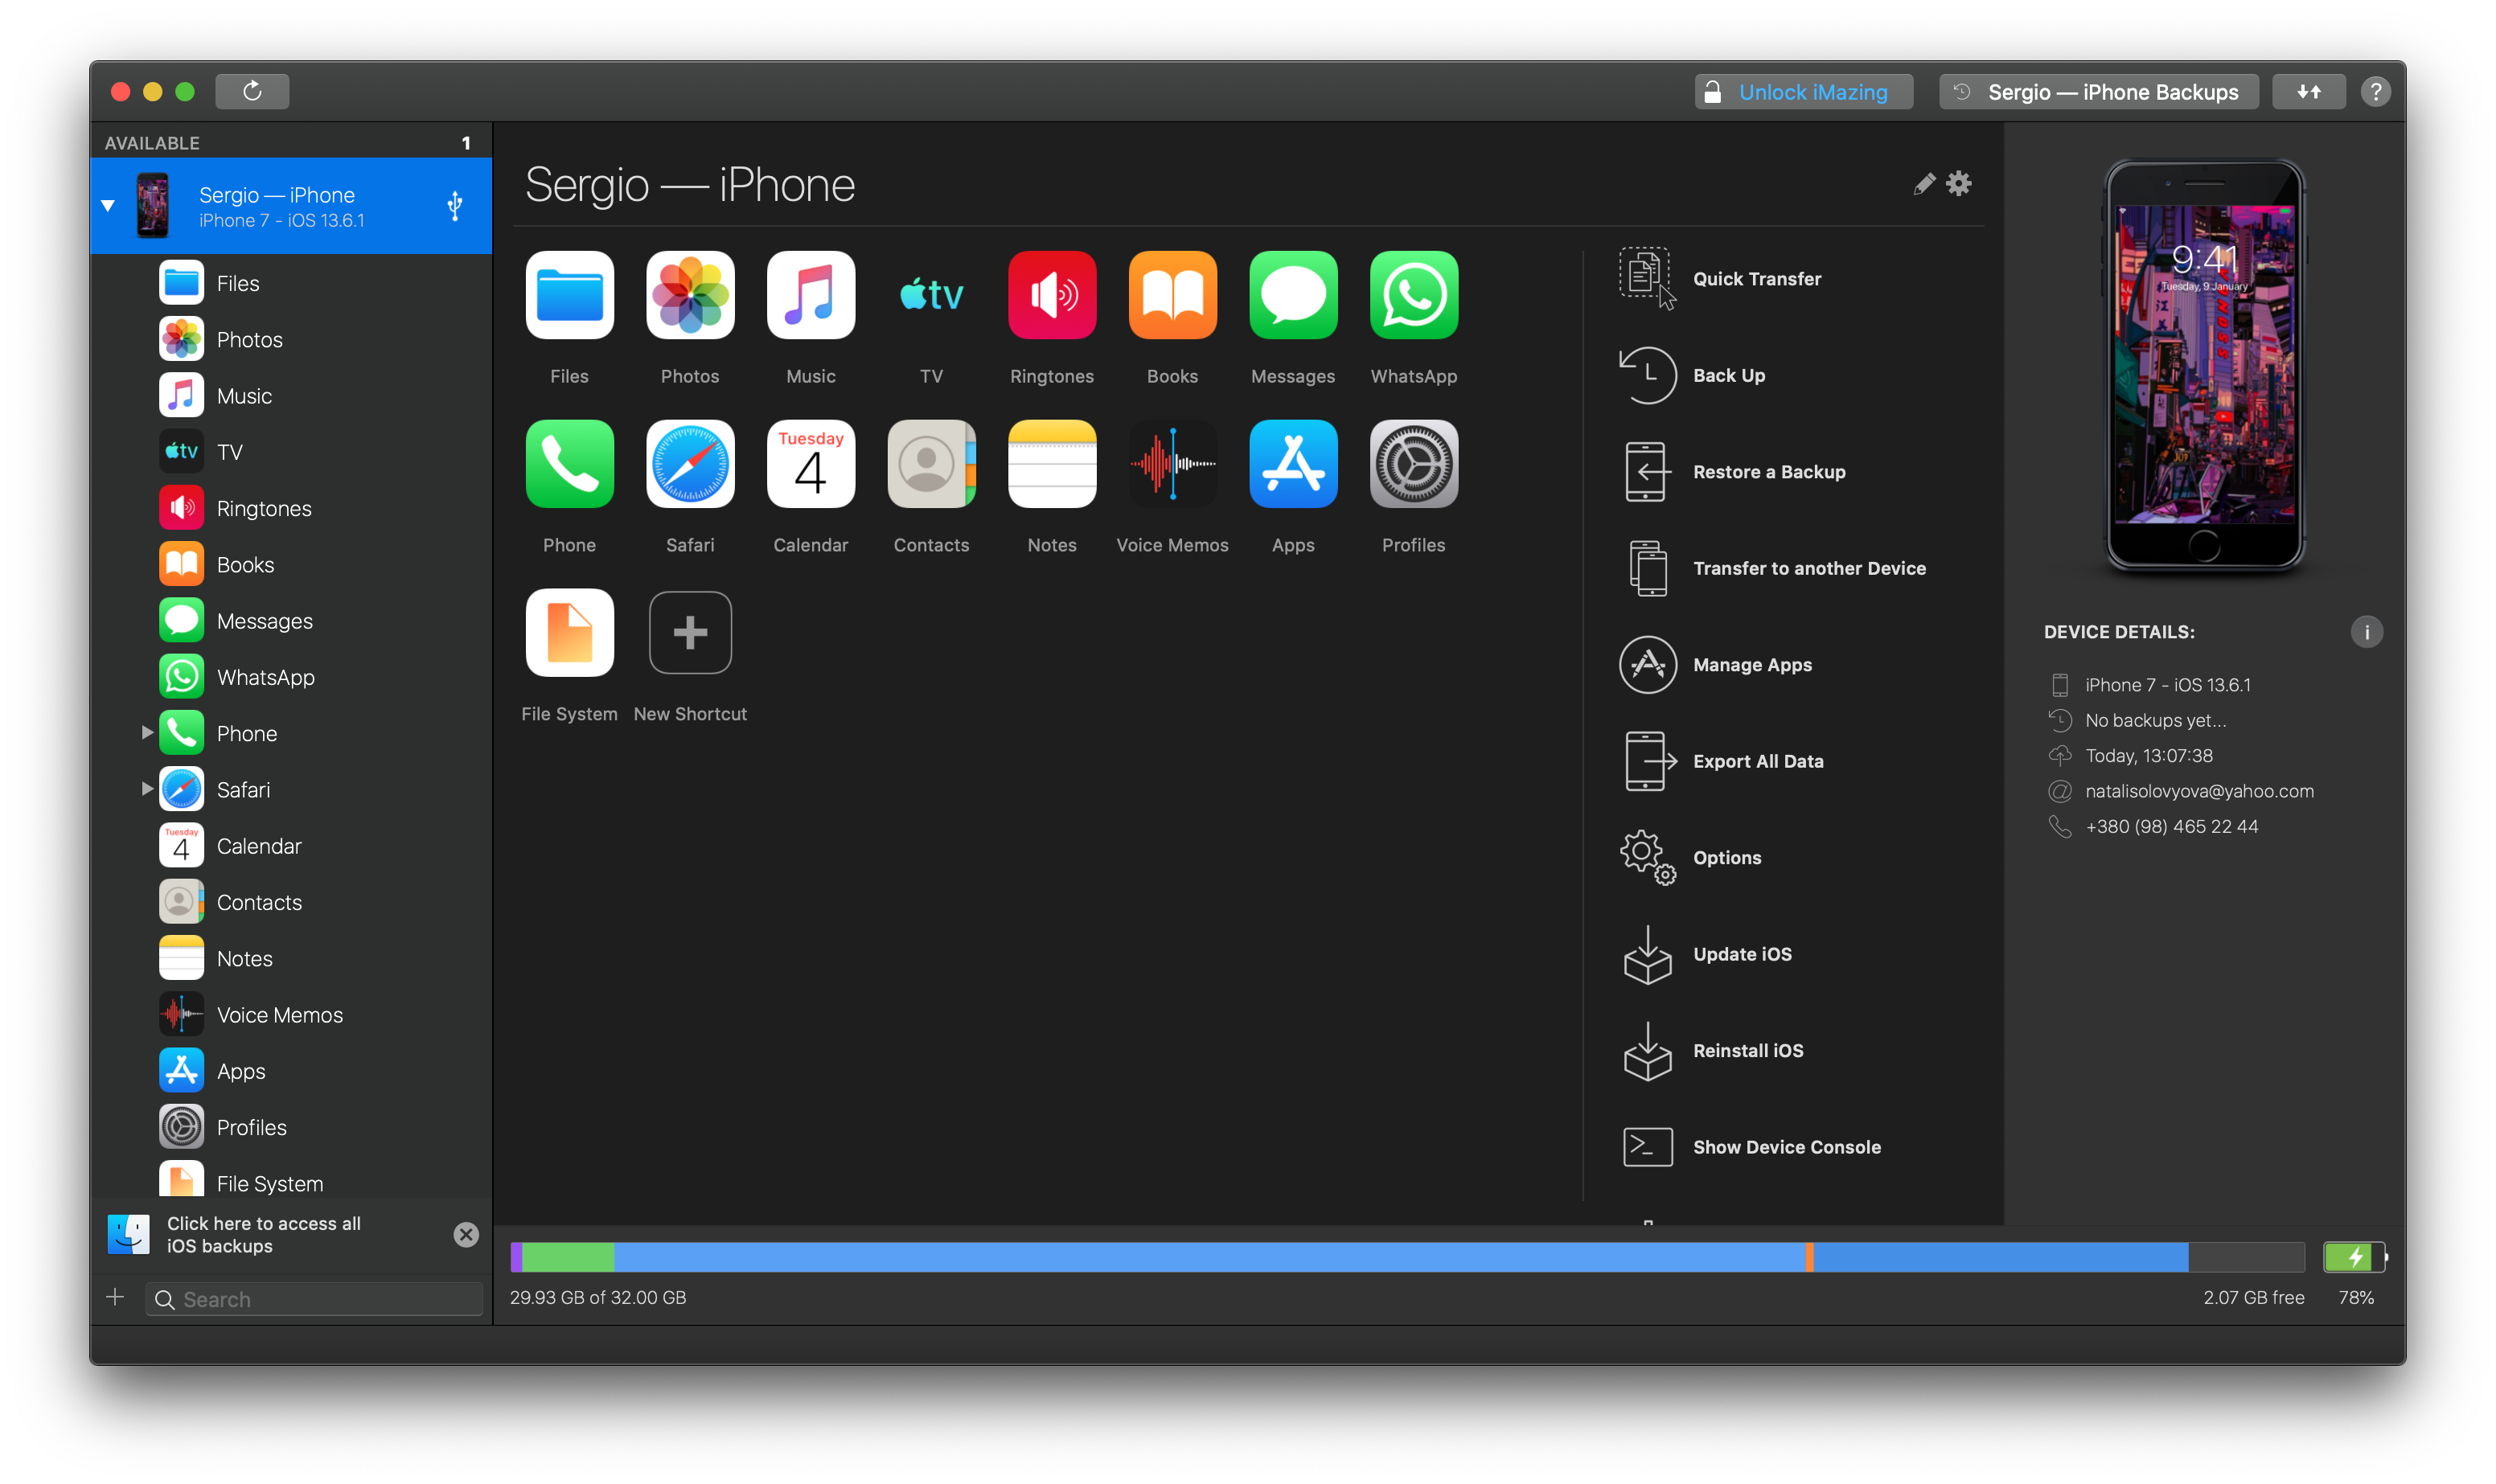
If the connection process was successful, you’re ready to go! Simply click onto your iPhone in the iMazing software and select Photos in the middle section of the software. After clicking on that, iMazing will show you all of your pictures, allowing you to browse through them.
The next step is to simply select every photo you’d like to transfer. All of the Mac or Windows-specific selecting key combinations also work within the iMazing software.
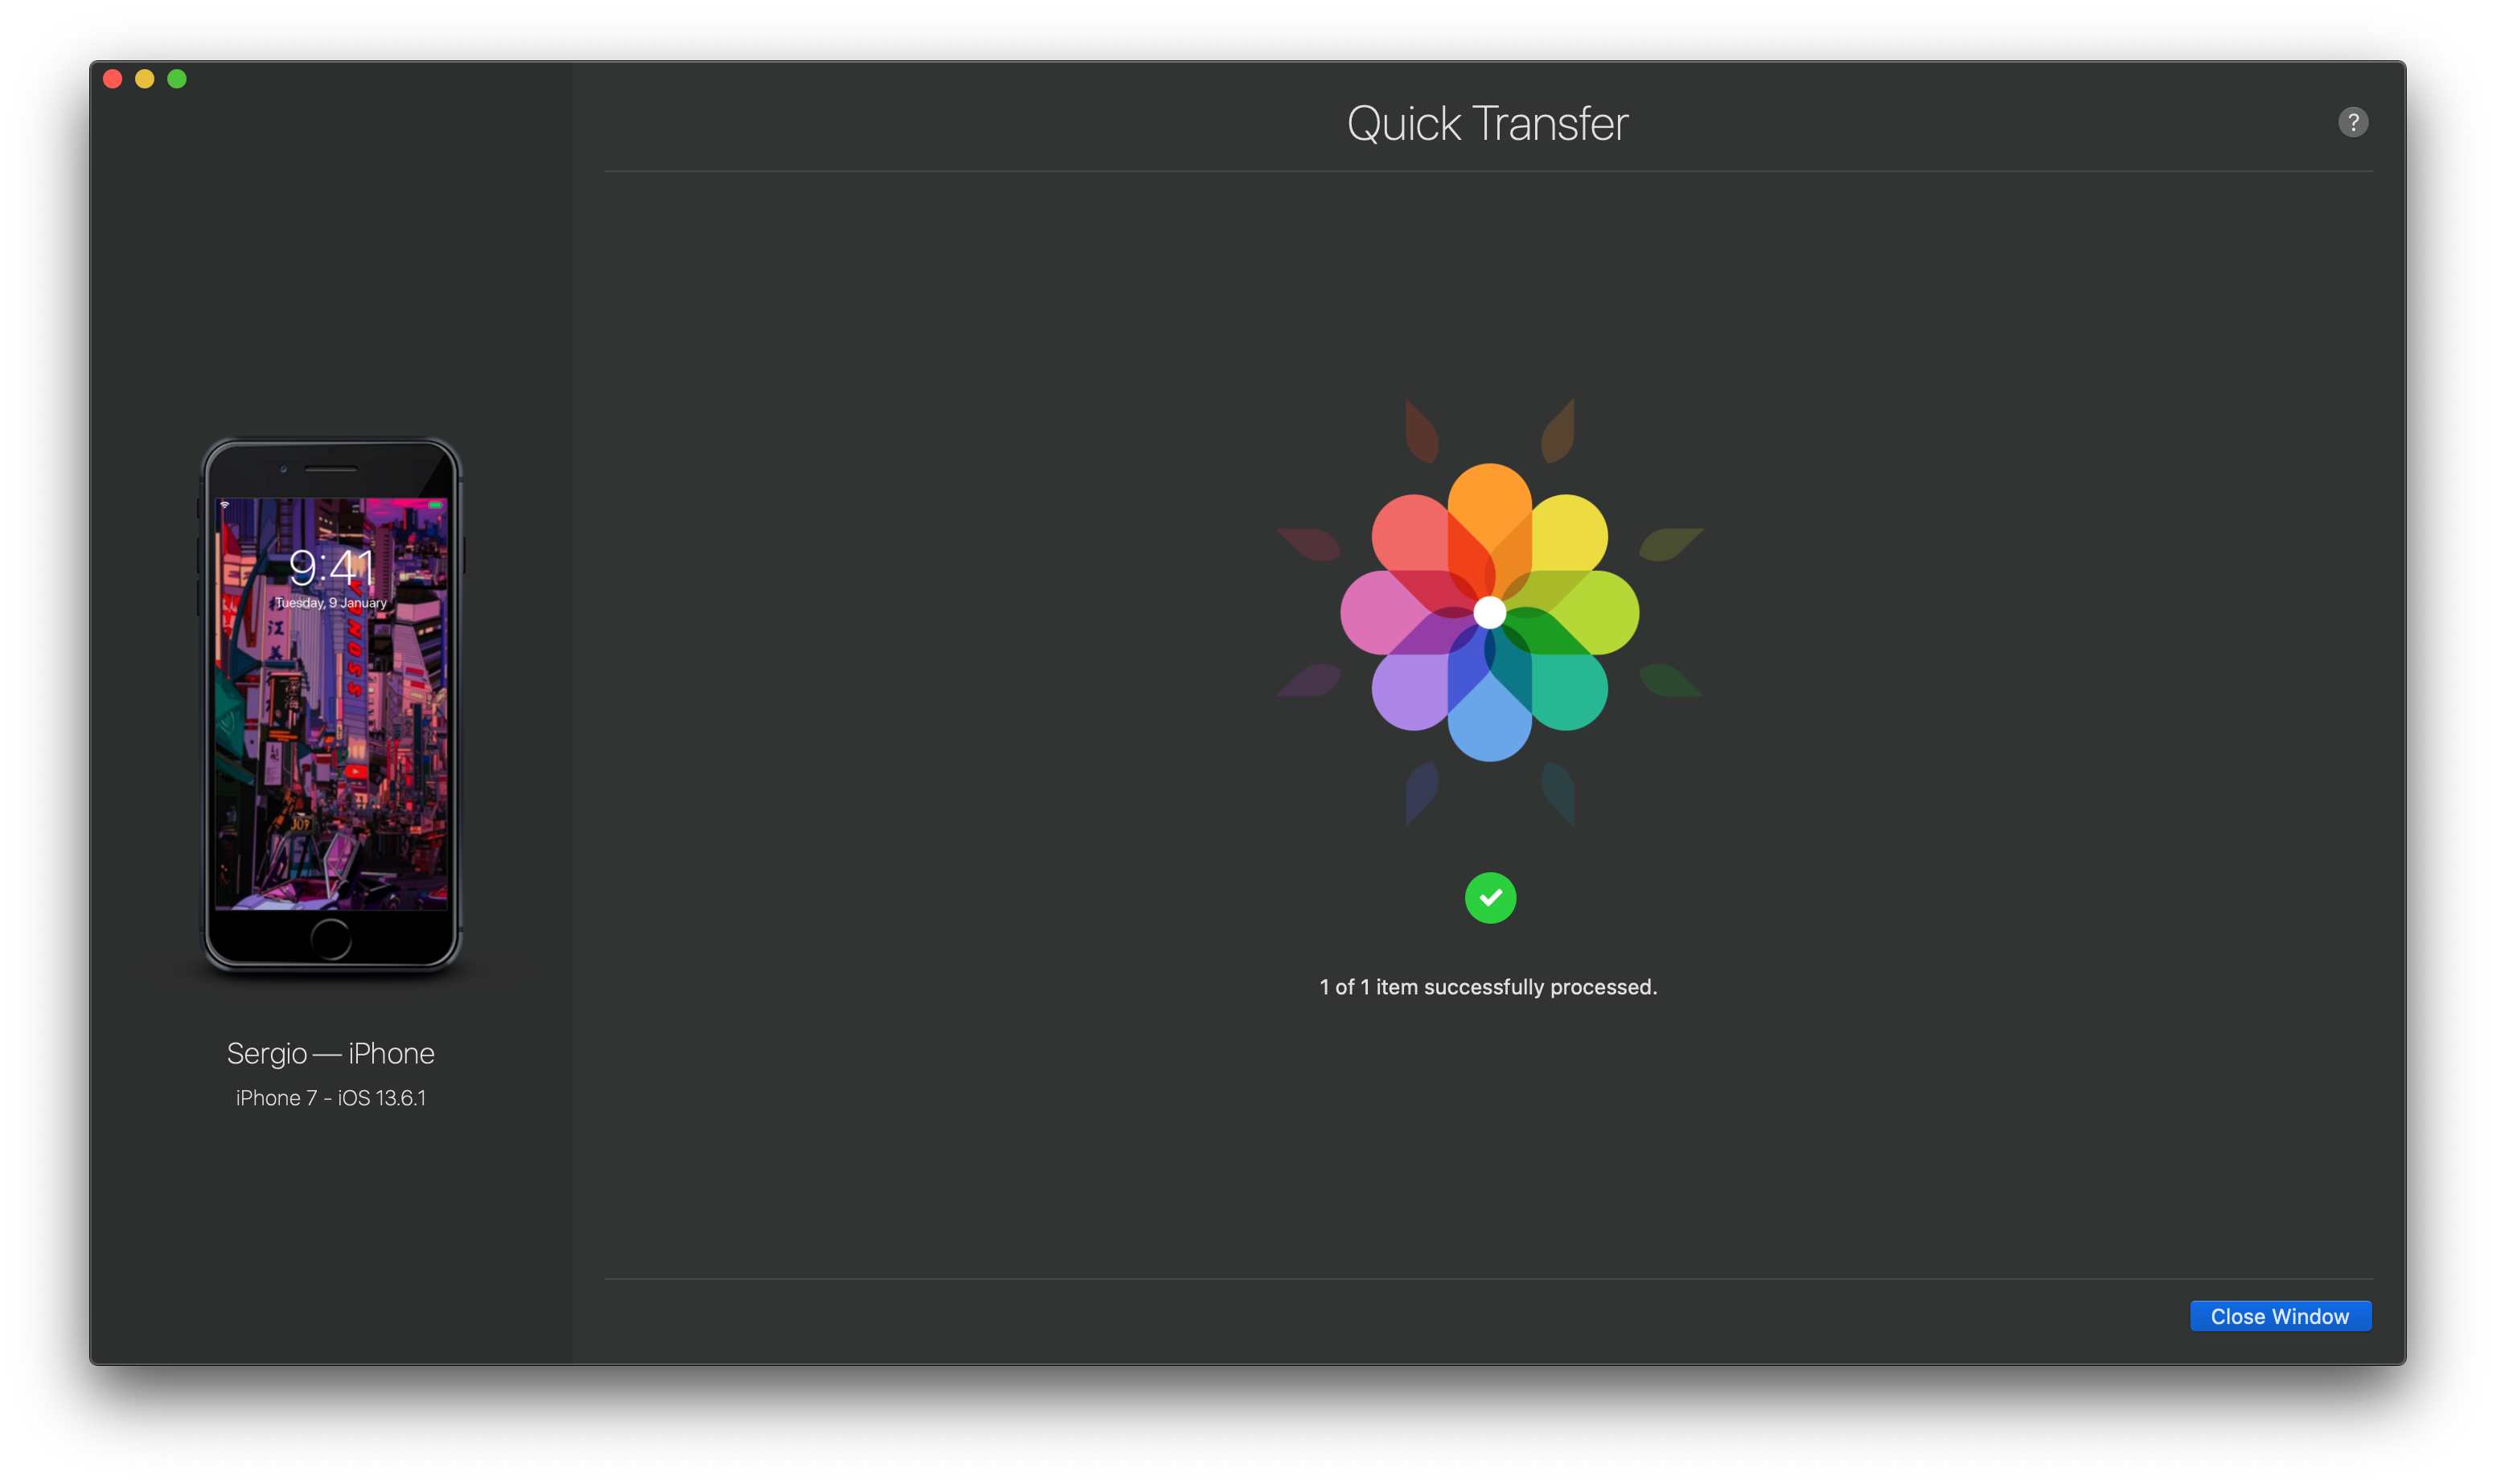
Lastly, after you’ve selected all of your photos, go to the bottom section of the software which will show you all of the possible export methods available. Choose the one you desire and a wizard window will pop open allowing you to select the transfer directory. Click on export and let iMazing do its thing.
After the export process has finished, you can enjoy all of your photos on your PC or Mac!
Solution 2. Google Drive
Compared to iCloud, Google Drive offers more free cloud storage. That’s been said, let’s jump right in and see how we can transfer files and photos using Google Drive.
Step 1: Download Google Drive
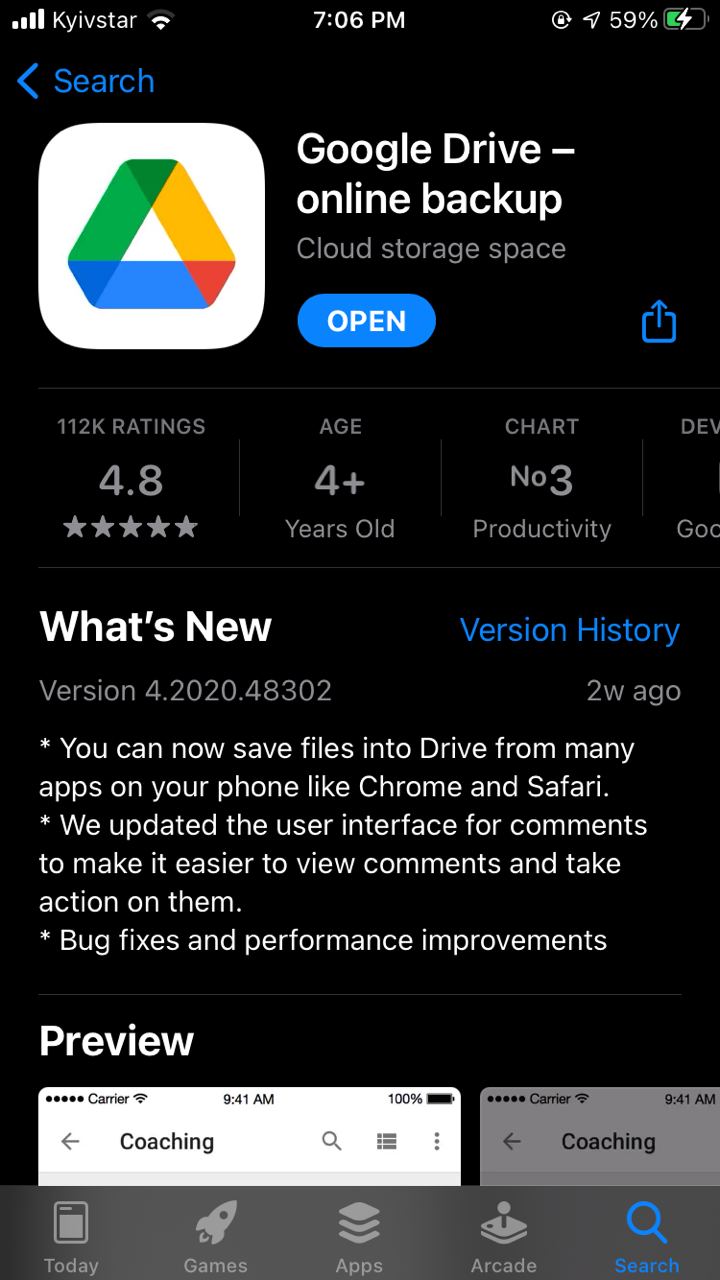
If you’re not already using the software, head over to the App Store of your iPhone to download the Google Drive App.
After that’s been done, simply open it and sign in with your preferred Google account.
Step 2: Select and Upload
When it comes to uploading files to your Google Drive there are in general two methods. One is to simply go into photos, select the items you desire and upload them to your Google Drive using the share function. Alternatively, you can also launch Google Drive and upload photos from there by clicking on Upload File.

Make sure you have a stable and fast internet connection. Let Google Drive do its thing for a little while and voila! All of your files should be uploaded to Google Drive.
Step 3: Download the files onto your Mac.
After the upload process has been completed, simply head over to Google Drive on your preferred web browser and log into it using the same credentials as you did on your iPhone.
You’re logged in? Great! Now you can see all of the photos you’ve uploaded previously. Simply select all of them, right-click and select download. Now Google Drive compresses the files putting them in one folder to make management easier for you and the download faster. After the download has been completed, simply go to your download directory, move the downloaded zip file into your desired directory and unzip it there.
Voila! All of your photos are now on your Mac!
Conclusion
It doesn’t really matter which method you prefer. The fact is, iCloud could fail, so it’s better to have multiple solutions in your backpack. If you have a stable internet connection, go with Google Drive. If you want to transfer a lot of different files at once or even want to make a custom backup, go with the features of iMazing. Either way, we hope you enjoyed the transfer process!

Josh Brown
CEO at Softorino