Let’s be real for a moment, we want to back up our iPhones. We never know when something unexpected will happen, the only thing left to do is to actually prepare ourselves for a possible data loss.
 Table of Contents
The recommendation is clear, iPhone users should back up their devices at least once a month to keep data loss to a minimum when bad things happen.
While that’s great, and there are obviously multiple ways to backup your iPhone, which we’re gonna talk about in just a minute, there might be situations and reasons to delete old backups from your iCloud. That’s what this article is about. First, let’s examine why you’d actually want to delete a backup, and then how you can create one using different methods. That’s been said, let’s jump right into it!
Why should I even bother?

At this point you might ask yourself: But if backing up my iPhone is great, why should I even bother deleting backups. Well, there are multiple reasons.
First of all, after a while, you're gonna end up having multiple backups on iCloud, because Apple keeps multiple of them in case one of them gets corrupted. all of your backups, especially if you’re having lots and lots of stuff on your device ready to backup, your iCloud could easily run out of memory. That could lead to immense problems every time you try to put something on the cloud.
So, let’s have a look at how to delete backups from your iCloud!
How can I delete backups from my iCloud account

Step 1: Open Settings
First things first, you’ve got to enter the settings of your iPhone or iPad. That should be self-explanatory.
Step 2: Click on your ID
On the very top of the settings menu, there should be an option to click on your Apple ID, go ahead and do so.
Step 3: Go to iCloud storage setting
After clicking on your Apple ID, simply head over to the iCloud section of it. If that’s been done, simply click on “Manage storage” to enter the storage section of your iCloud. From that point on, you should see the individual backups.
Step 4: Delete the backup
Tap on the backup you’d like to target, after that’s been done you’ve got the option to choose devices for which the backup will be deleted. Select your devices and tap on the delete button on the very left of the section.
A Turn Off & Delete option will present itself to you. Simply click on that and boom! Your iCloud backup has been deleted now leaving you with more available iCloud storage on your Apple cloud.
From that point on, you’ve successfully deleted an iCloud backup, but unless you want to have your iCloud storage to be full again after Apple created the next backup, you’ve got to make sure to turn off iCloud backups completely in order to prevent that.
That’s been said, let’s jump right into it to find out how to turn off automatic iCloud backups!
Turn off automatic backups on iCloud

Step 1: Go into iCloud settings
Same as with deleting your iCloud backups, you’ve got the enter your device's settings and tap on your Apple ID in order to enter advanced settings.
Step 2: Turn off iCloud backups
After you’ve entered the advanced settings, you gotta make sure to tap on the iCloud section. A beautiful toggle switch will present itself to you giving you the option to turn on or off automatic iCloud backups. Simply click on the toggle once and your iCloud backups are disabled! Well, that was easy, wasn’t it?
So, what is the alternative?
Well, I’m glad you ask. Of course, you should back up your iPhone or iPad! YOu surely don't want all of your data to be gone after you love your iPhone or it gets broken. That’s been said, you should back up your iPhone on a regular basis.
The caveat on that is, that you simply just don’t want your backup to be on iCloud where it takes up so much space on your cloud. Thankfully, there is a solution to that, down below, you’ll get a solution on how to create iPhone or iPad backups locally on your Windows machine or Mac!
The solution is called iMazing!🔥
The third-party software iMazing comes from the swiss software studios DigiDNA, which specialized in creating third party software applications working with all sorts of Apple devices providing different kinds of solutions to various kinds of issues.
iMazing, the backup, and interacting software for your Windows machine or Mac work amazingly, let me tell you why! Down below, you’ll find a step by step guide on how to make local backups with iMazing.
Step 1: Get iMazing on your machine
As mentioned earlier, iMazing is available for Windows and Mac, meaning no matter which device you’re using, you’re probably gonna find a suitable version of the software. That’s been said, we prepared some download links to get the freshest, and free version of iMazing onto your machine!
Simply download the application with one of those links and make sure to install it like any other software.
Step 2: Launch & Connect
After the installation succeeded, simply launch the software. It may take a little while on the first boot, but when it’s done, you’re gonna be left with an empty application canvas asking you to connect your device.
One cool thing about iMazing is that, same as iCloud, also wireless backups are possible to do, you can even schedule them as well as you did it on iCloud. To make that work though, your iPhone or iPad needs to be connected at least once with a wired connection.
So, go ahead, grab a lightning cable, and connect your iPhone with your PC or Mac. iMazing will automatically recognize your device. Your iPhone may ask you to unlock and trust the device you connected your iPhone with. Simply agree on that, and you’re good to go!
Having trouble connecting your device? Check out the troubleshooting guide down below if you have issues establishing a connection!
Yes, I’m the one with the issues!
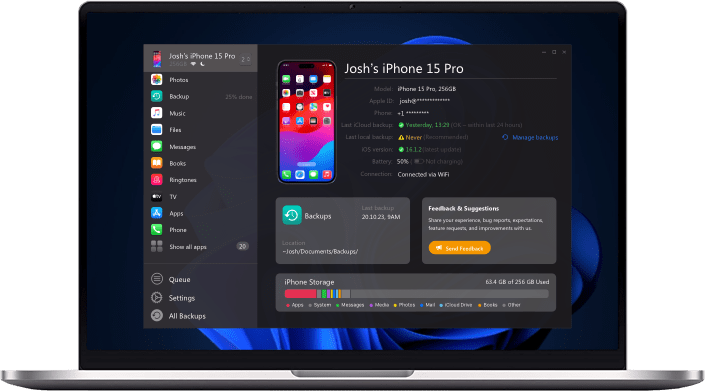
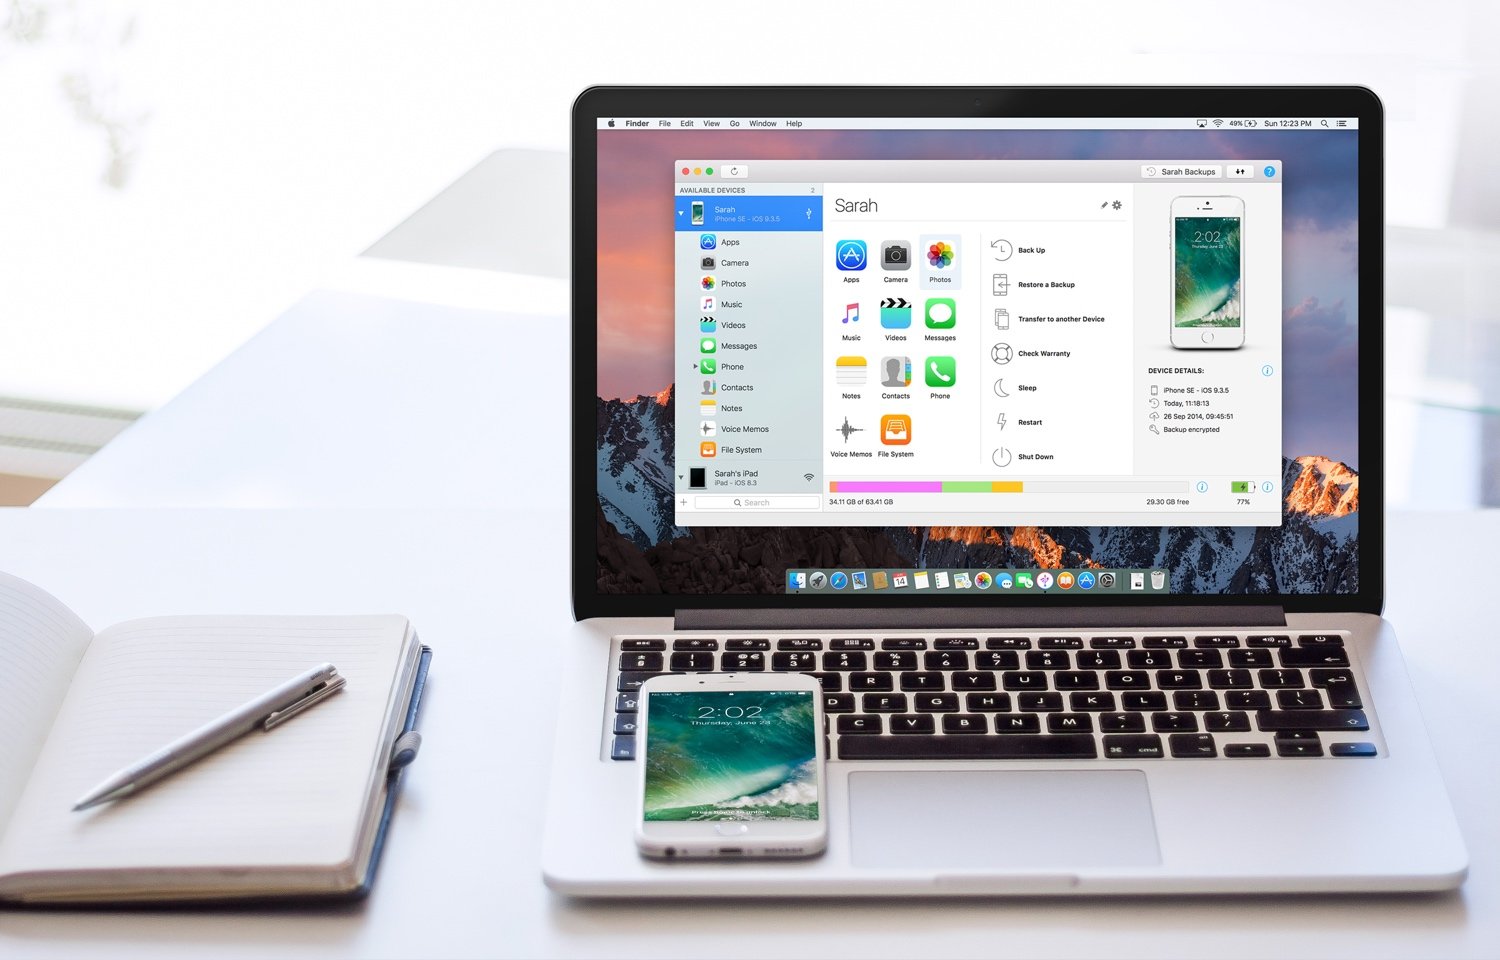
After the connection has been established, iMazing will show you an interface where you can click on your device and scroll through all sorts of data on your iPhone.
Step 3: Launch the backup

The connection has been successful? Great! Head over and click on your iPhone or iPad. In the middle section of the software, you can scroll through all of your data, and on the right side of the software interface, on the very top, there is a backup option. Click on it to get the backup experience started.
After you’ve clicked on backup, there are multiple ways to configure your backup. Change backup location on your Pc or Mac or simply schedule automatic backups. You can configure them as you wish to.
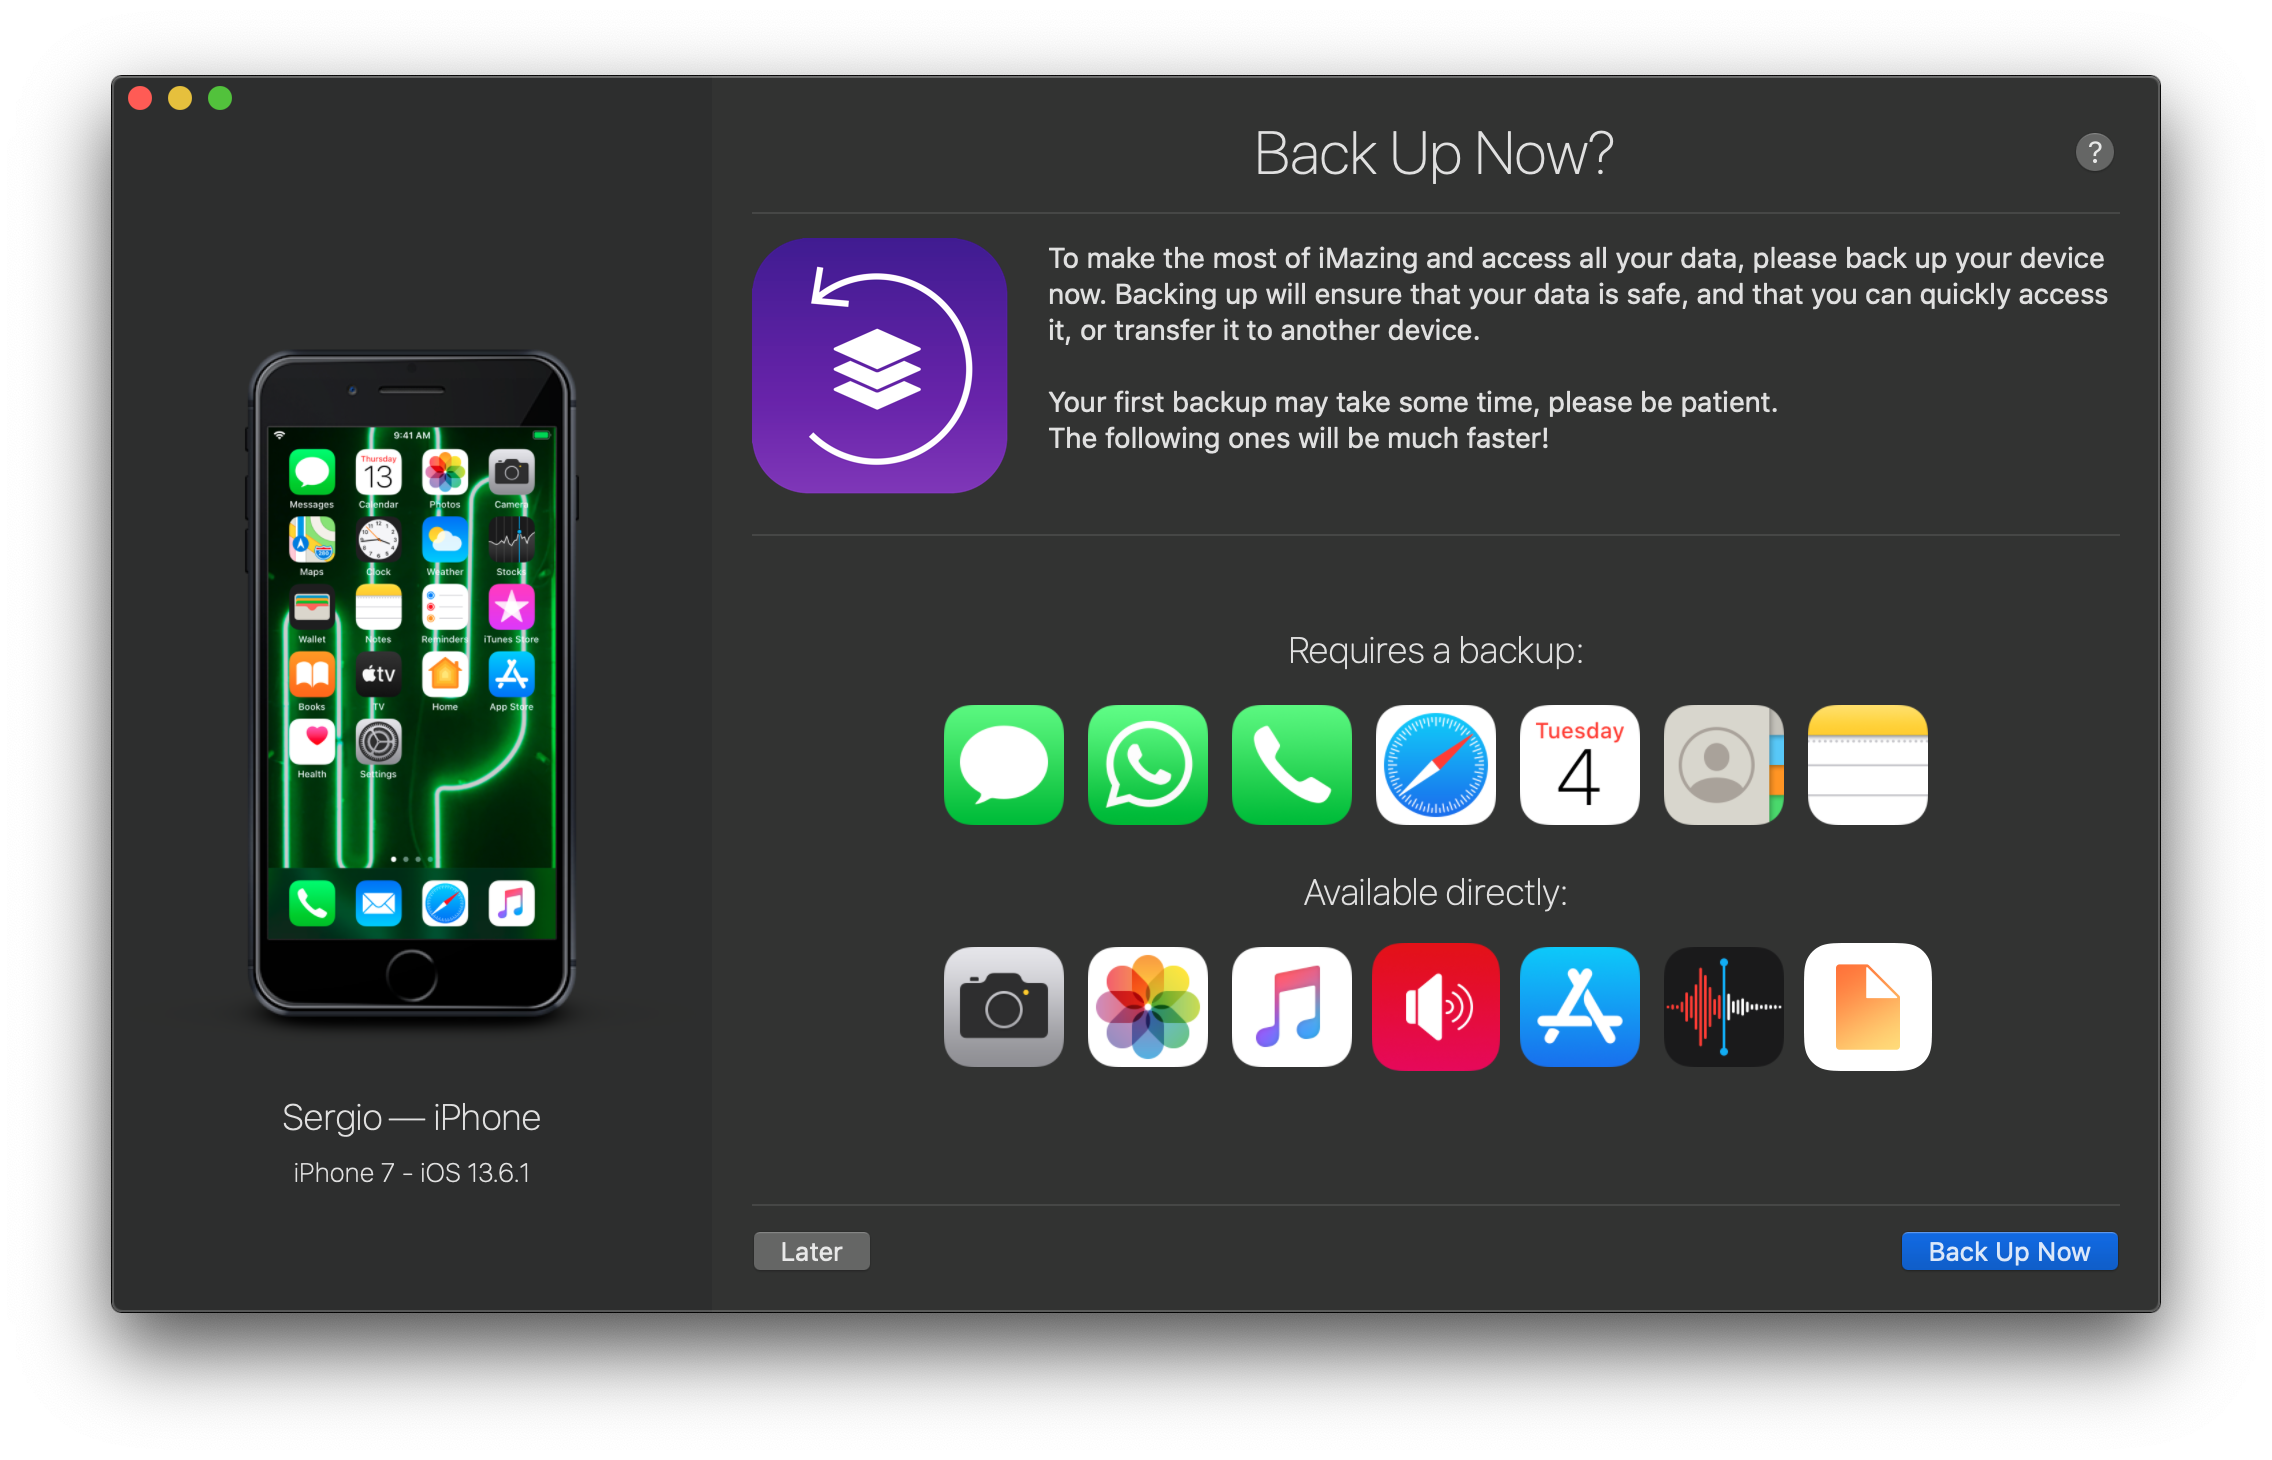
You’ve configured? Great! Let’s get started with the backup, simply click on the blue "backup now" button on the bottom of the software and iMazing will present you a progress bar to see how far your backup has come.
Leave it there for a while and make sure your Mac or Pc, if it is a Laptop, doesn’t run out of power while doing the backup.
Conclusion
Well, that was it, wasn’t it easy? Now with iMazing, you can create as many backups as you want and if something with your iPhone goes wrong, simply connect it and restore the backup on your iPhone using iMazing.
You basically have the same possibilities of data restoration and synching with more flexibility than working with iCloud and iTunes.
Backups can be messy real quick, and we all know that some things, especially data restoration fail when we most need them. It’s great that backup mechanisms exist and that you can have multiple different backup options covering your back for the worst case. iCloud backups are great and fast, if you don’t suffer from low storage on your cloud and don’t bother about flexibility, then iCloud is your way to go.
If you on the other hand want to store backups locally and maybe configure them as you like them to be, then third-party applications like iMazing are your way to go!

Josh Brown
CEO at Softorino