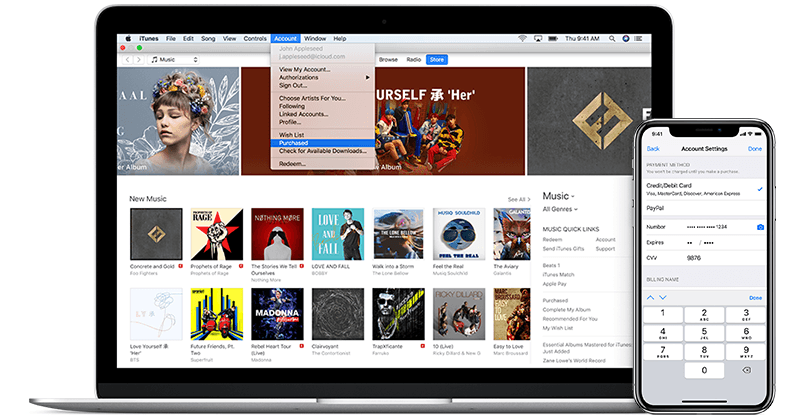
If you’re using an Apple device, you’re probably using iTunes as well to manage your music.
While iTunes has it’s benefits and works fine for most cases, there might be situations in which you just want to transfer your music into a separate folder of your PC or Mac. Maybe iTunes crashes, or you simply want to have a separate backup.
Transfer songs from iTunes into a folder
In this tutorial, you’re about to get a step-by-step guide on how to transfer music from your Apple device into a separate folder and vice versa using a free power tool called iMazing. You’re hyped? Great, let’s jump right into it!
Prep Step one: Get iMazing on your Mac/PC
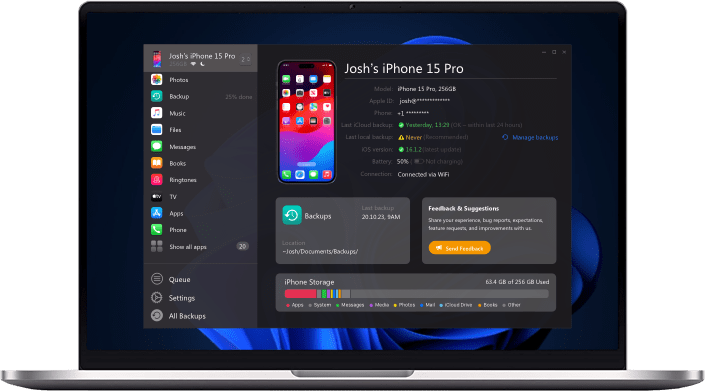
If you’re reading this guide, your machine is probably lacking iMazing. Generally speaking, iMazing is a powerful tool for either Windows or Mac which allows you to manage all of your iPhone, iPod, or iPad data and gives you smart ways to deal with backups, data transfers, and so on.
That’s been said, it’s unlikely you remove this software any time soon. So, grab a link from down below to get a fresh, free copy of the latest iMazing software.
I’m a Mac person:
Windows over here!
After the download has finished, just install the software on your machine like you’ve done it so many times before!
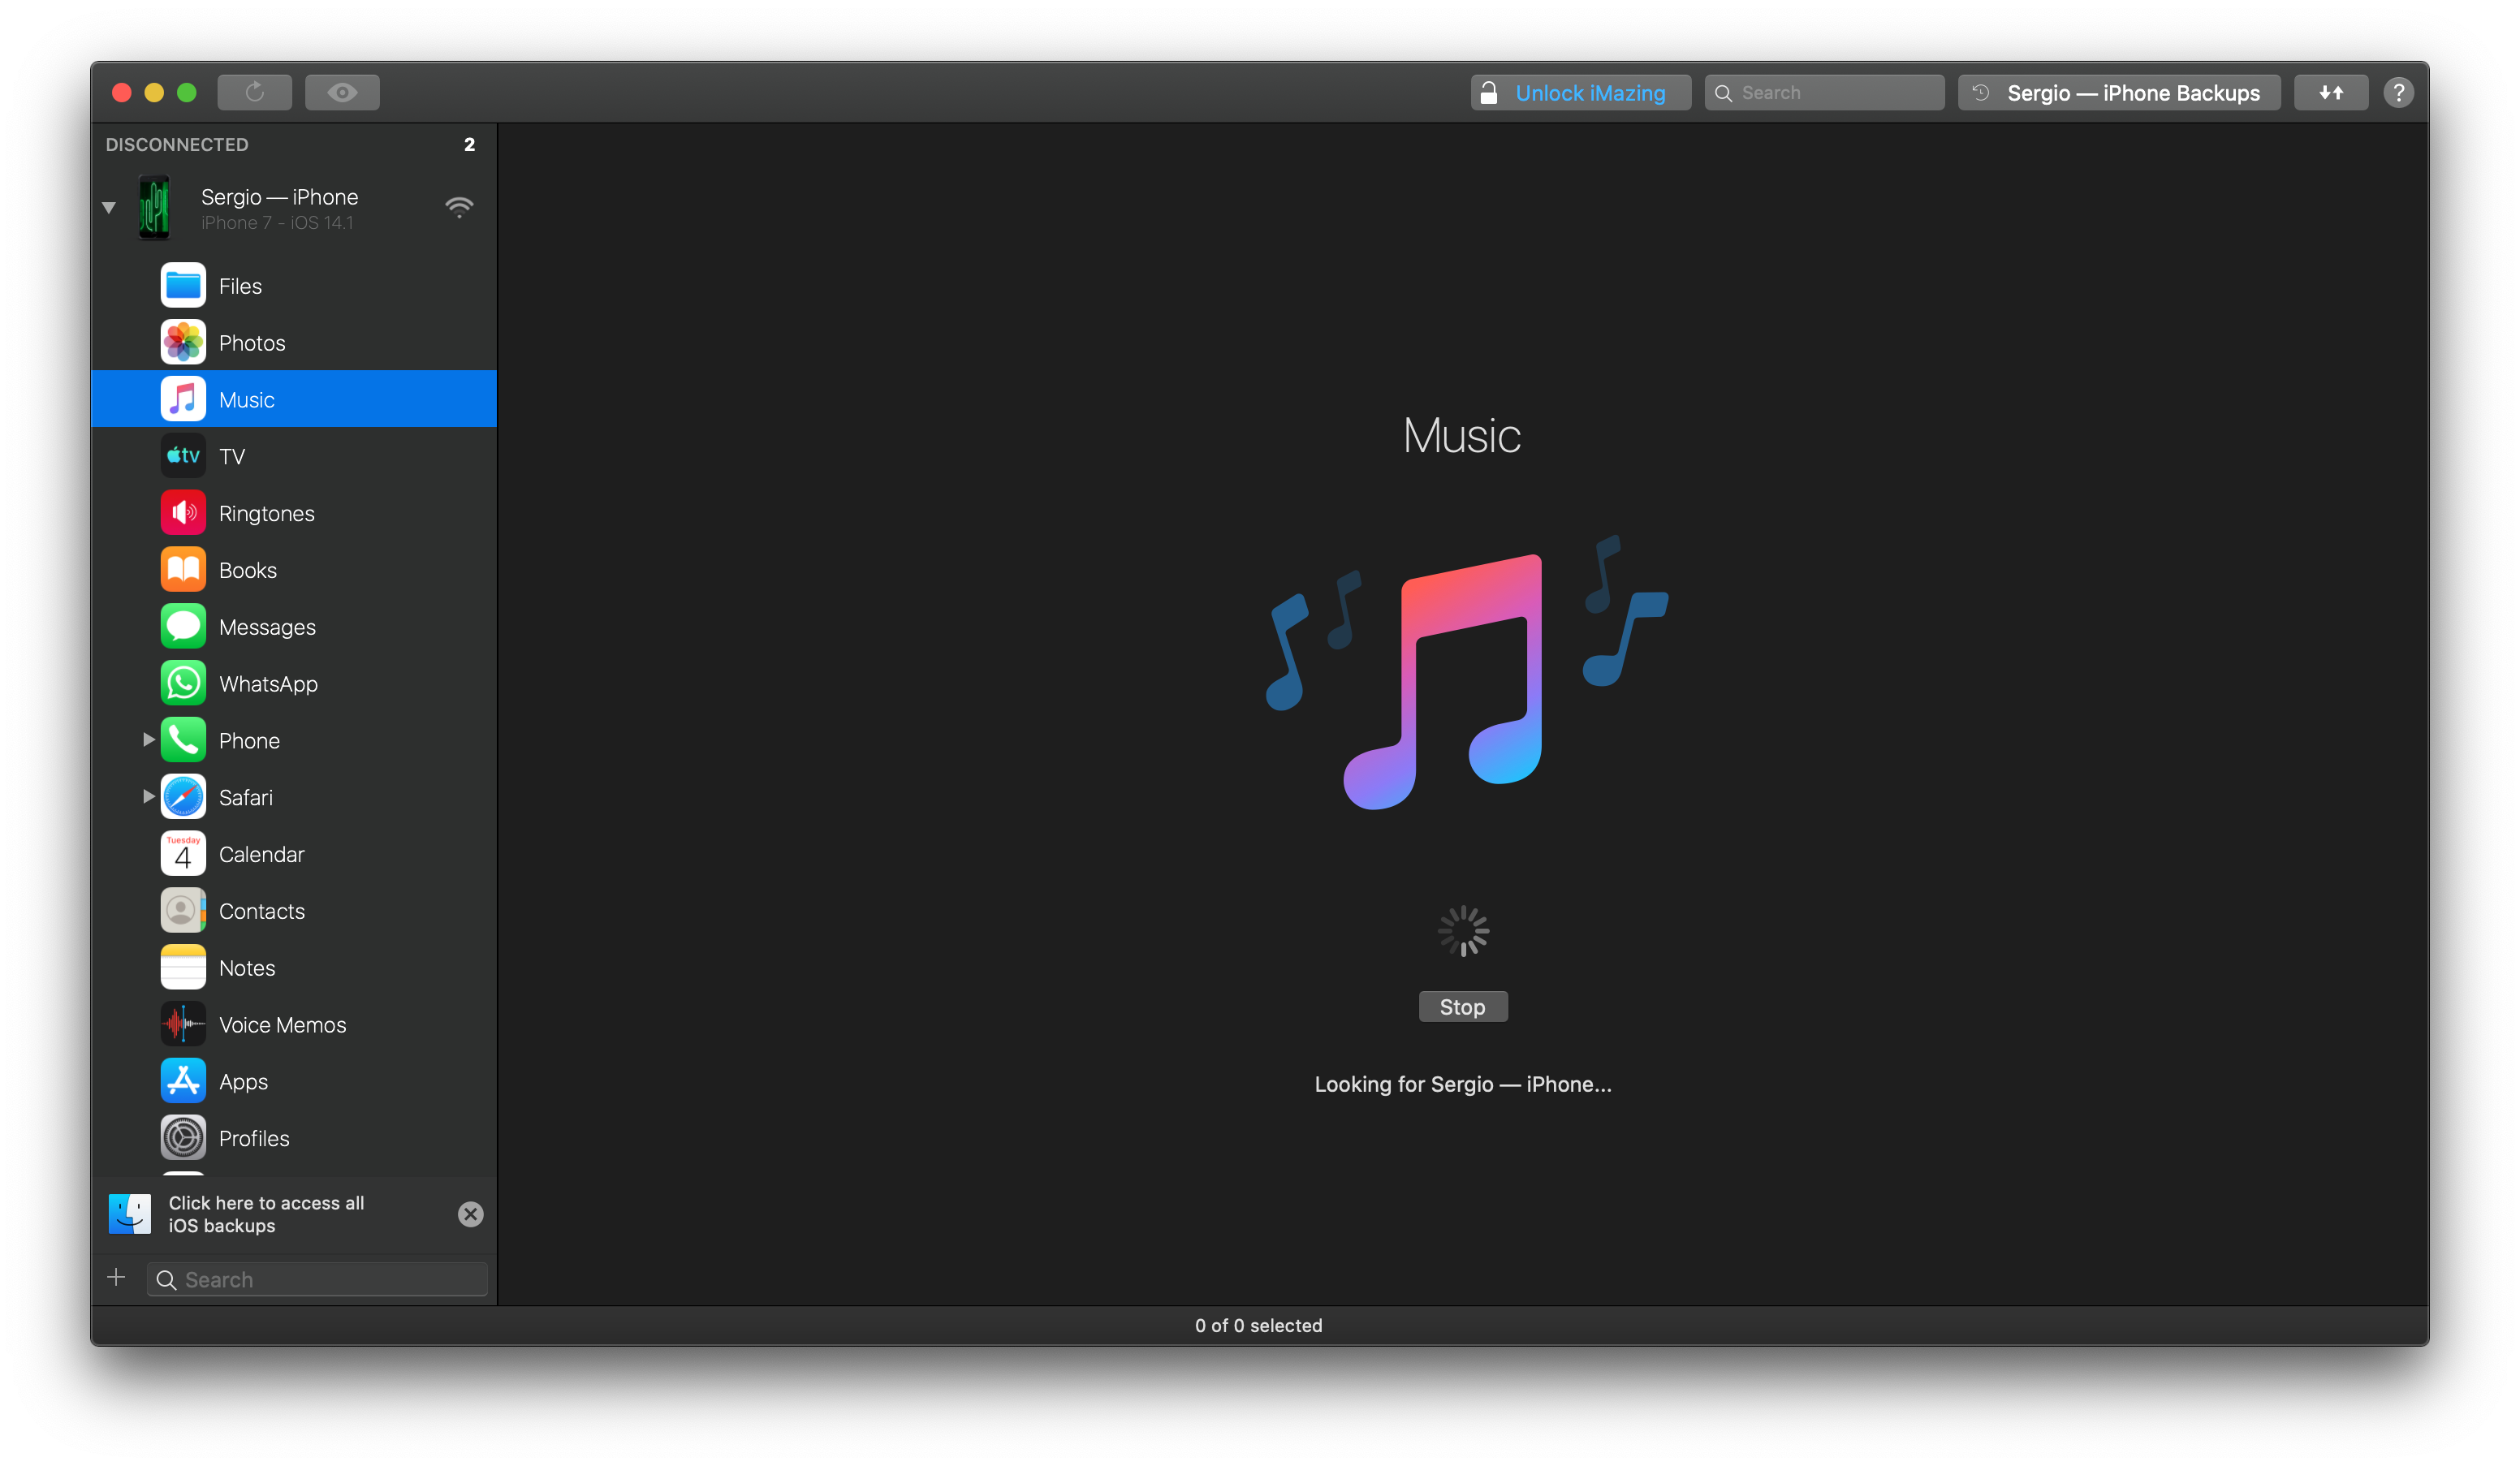
Prep Step two: Launch iMazing and connect your device
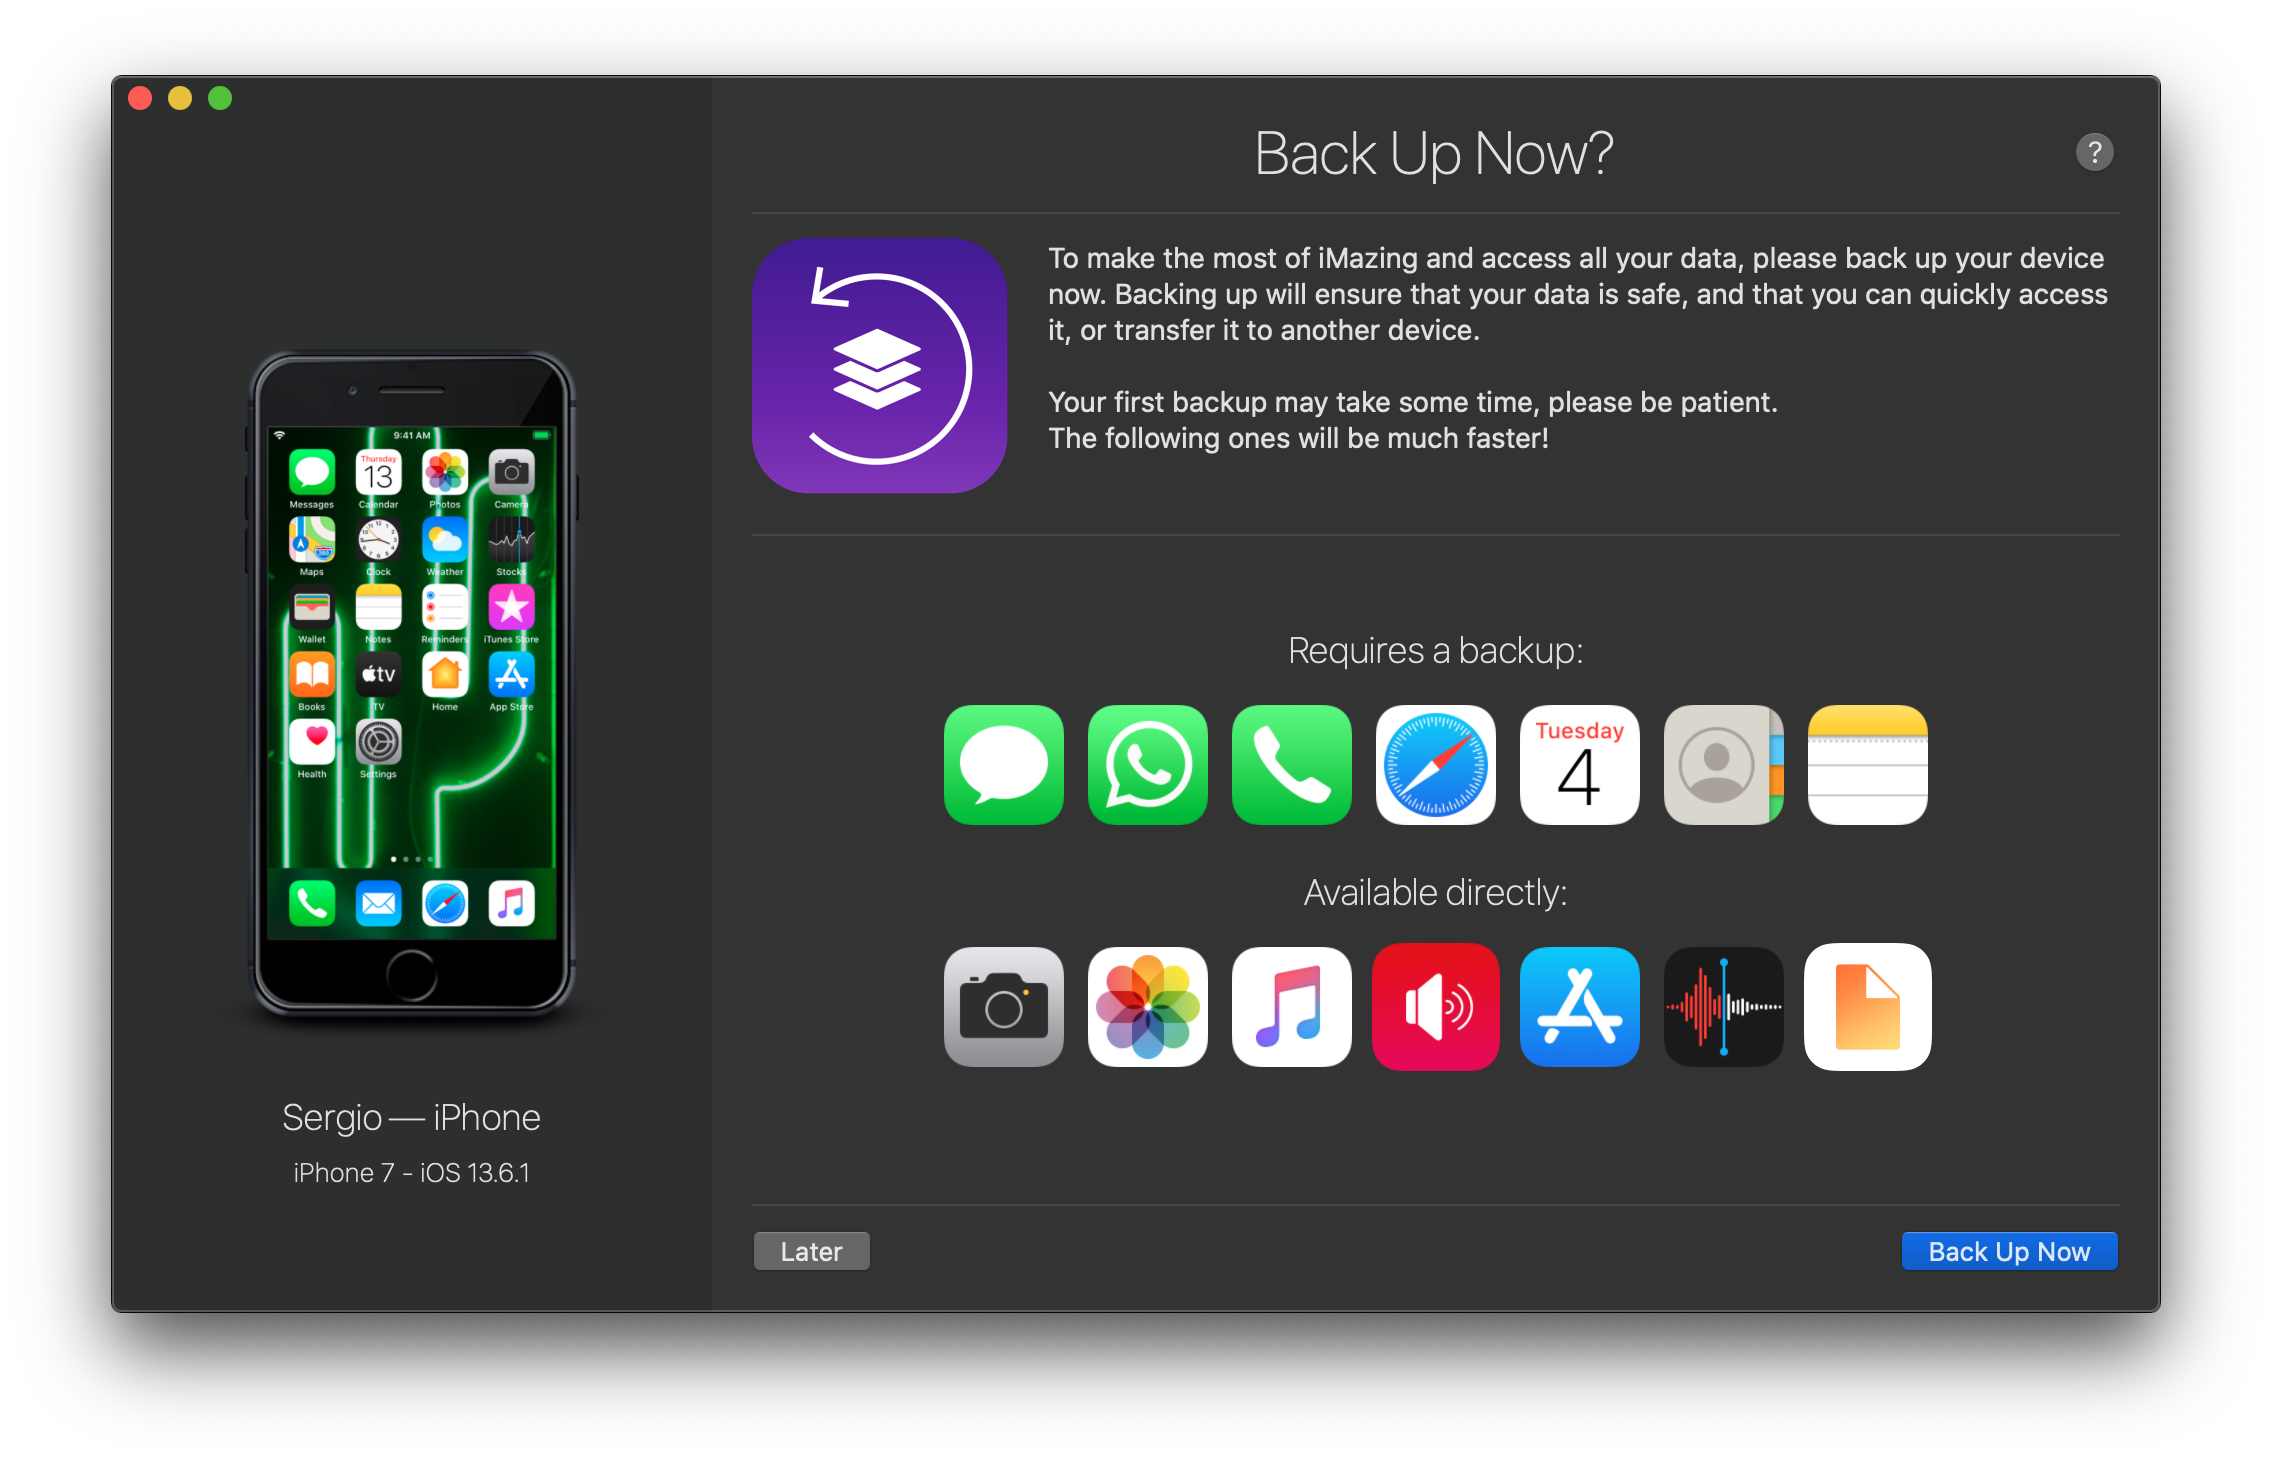
After installation, just launch iMazing and establish a reliable, wired connection between your Apple device and the machine you’re working with. iMazing features wireless data transfer as well, but if you connect your device for the first time, there is no way around using a cable for security purposes.
Your iPhone, iPod or iPad may ask you to insert your pin and asks you if you trust the device it’s attached to. Click yes and we’re ready to go!
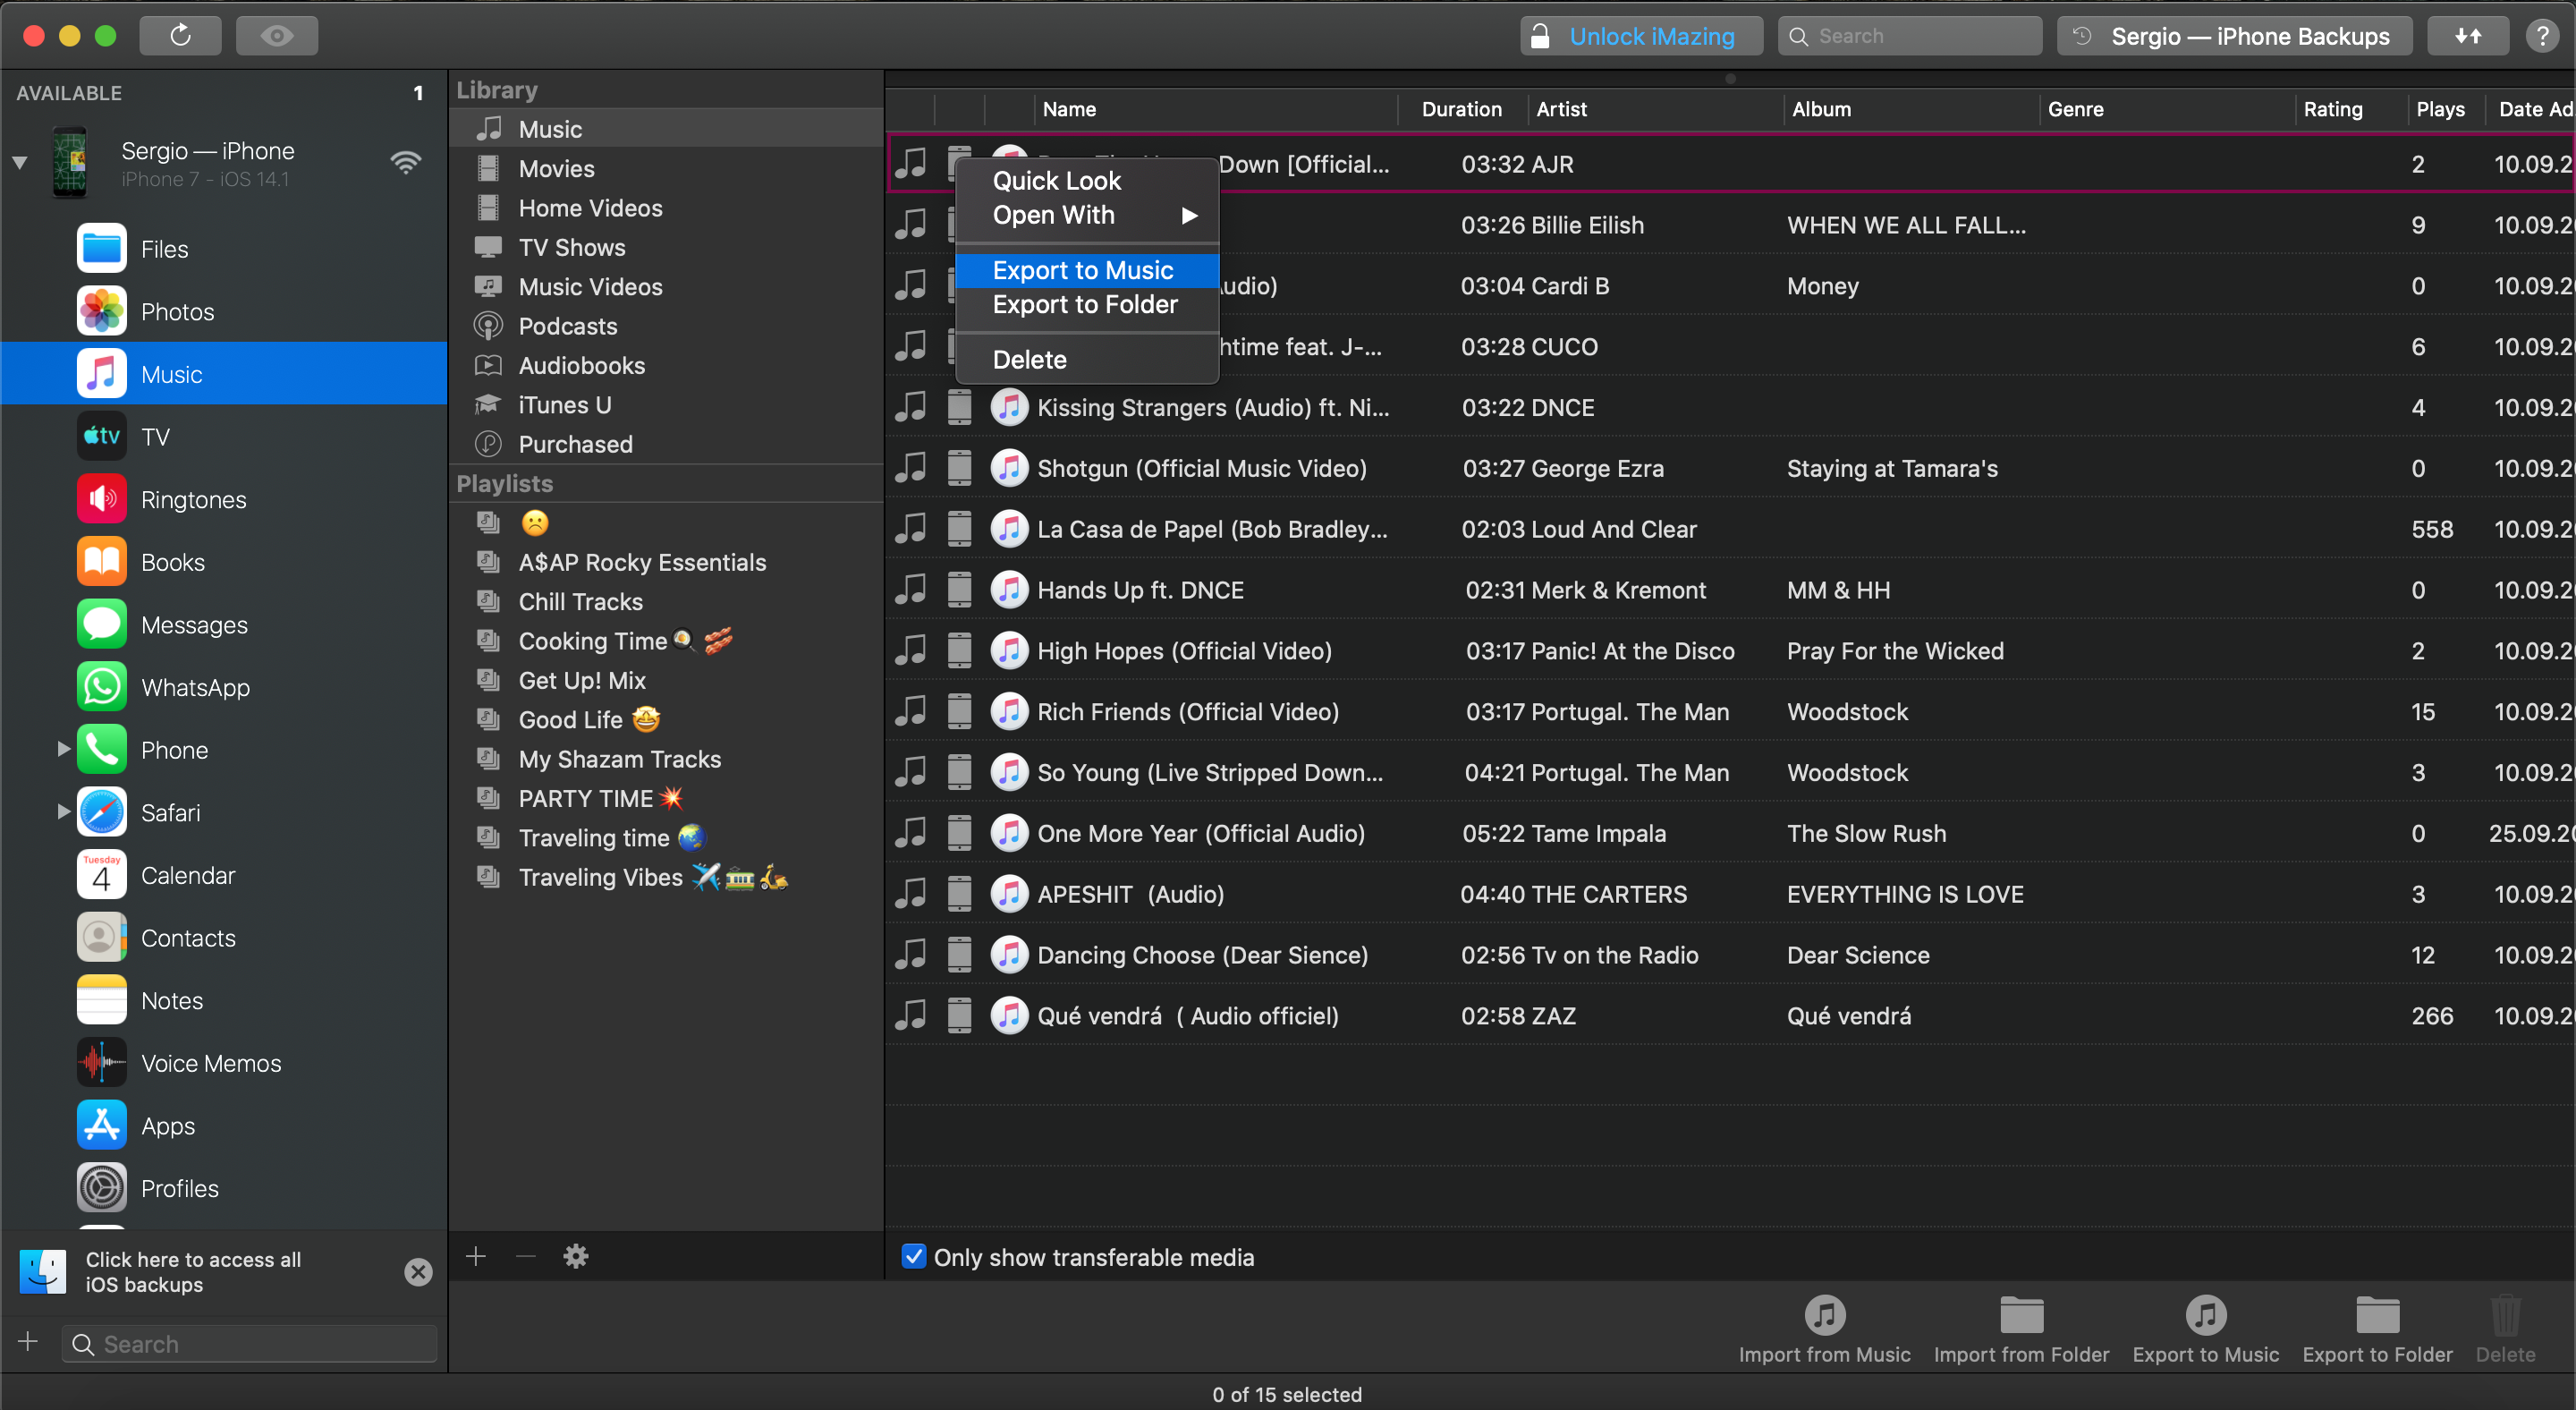
Step 1: Find and select your music
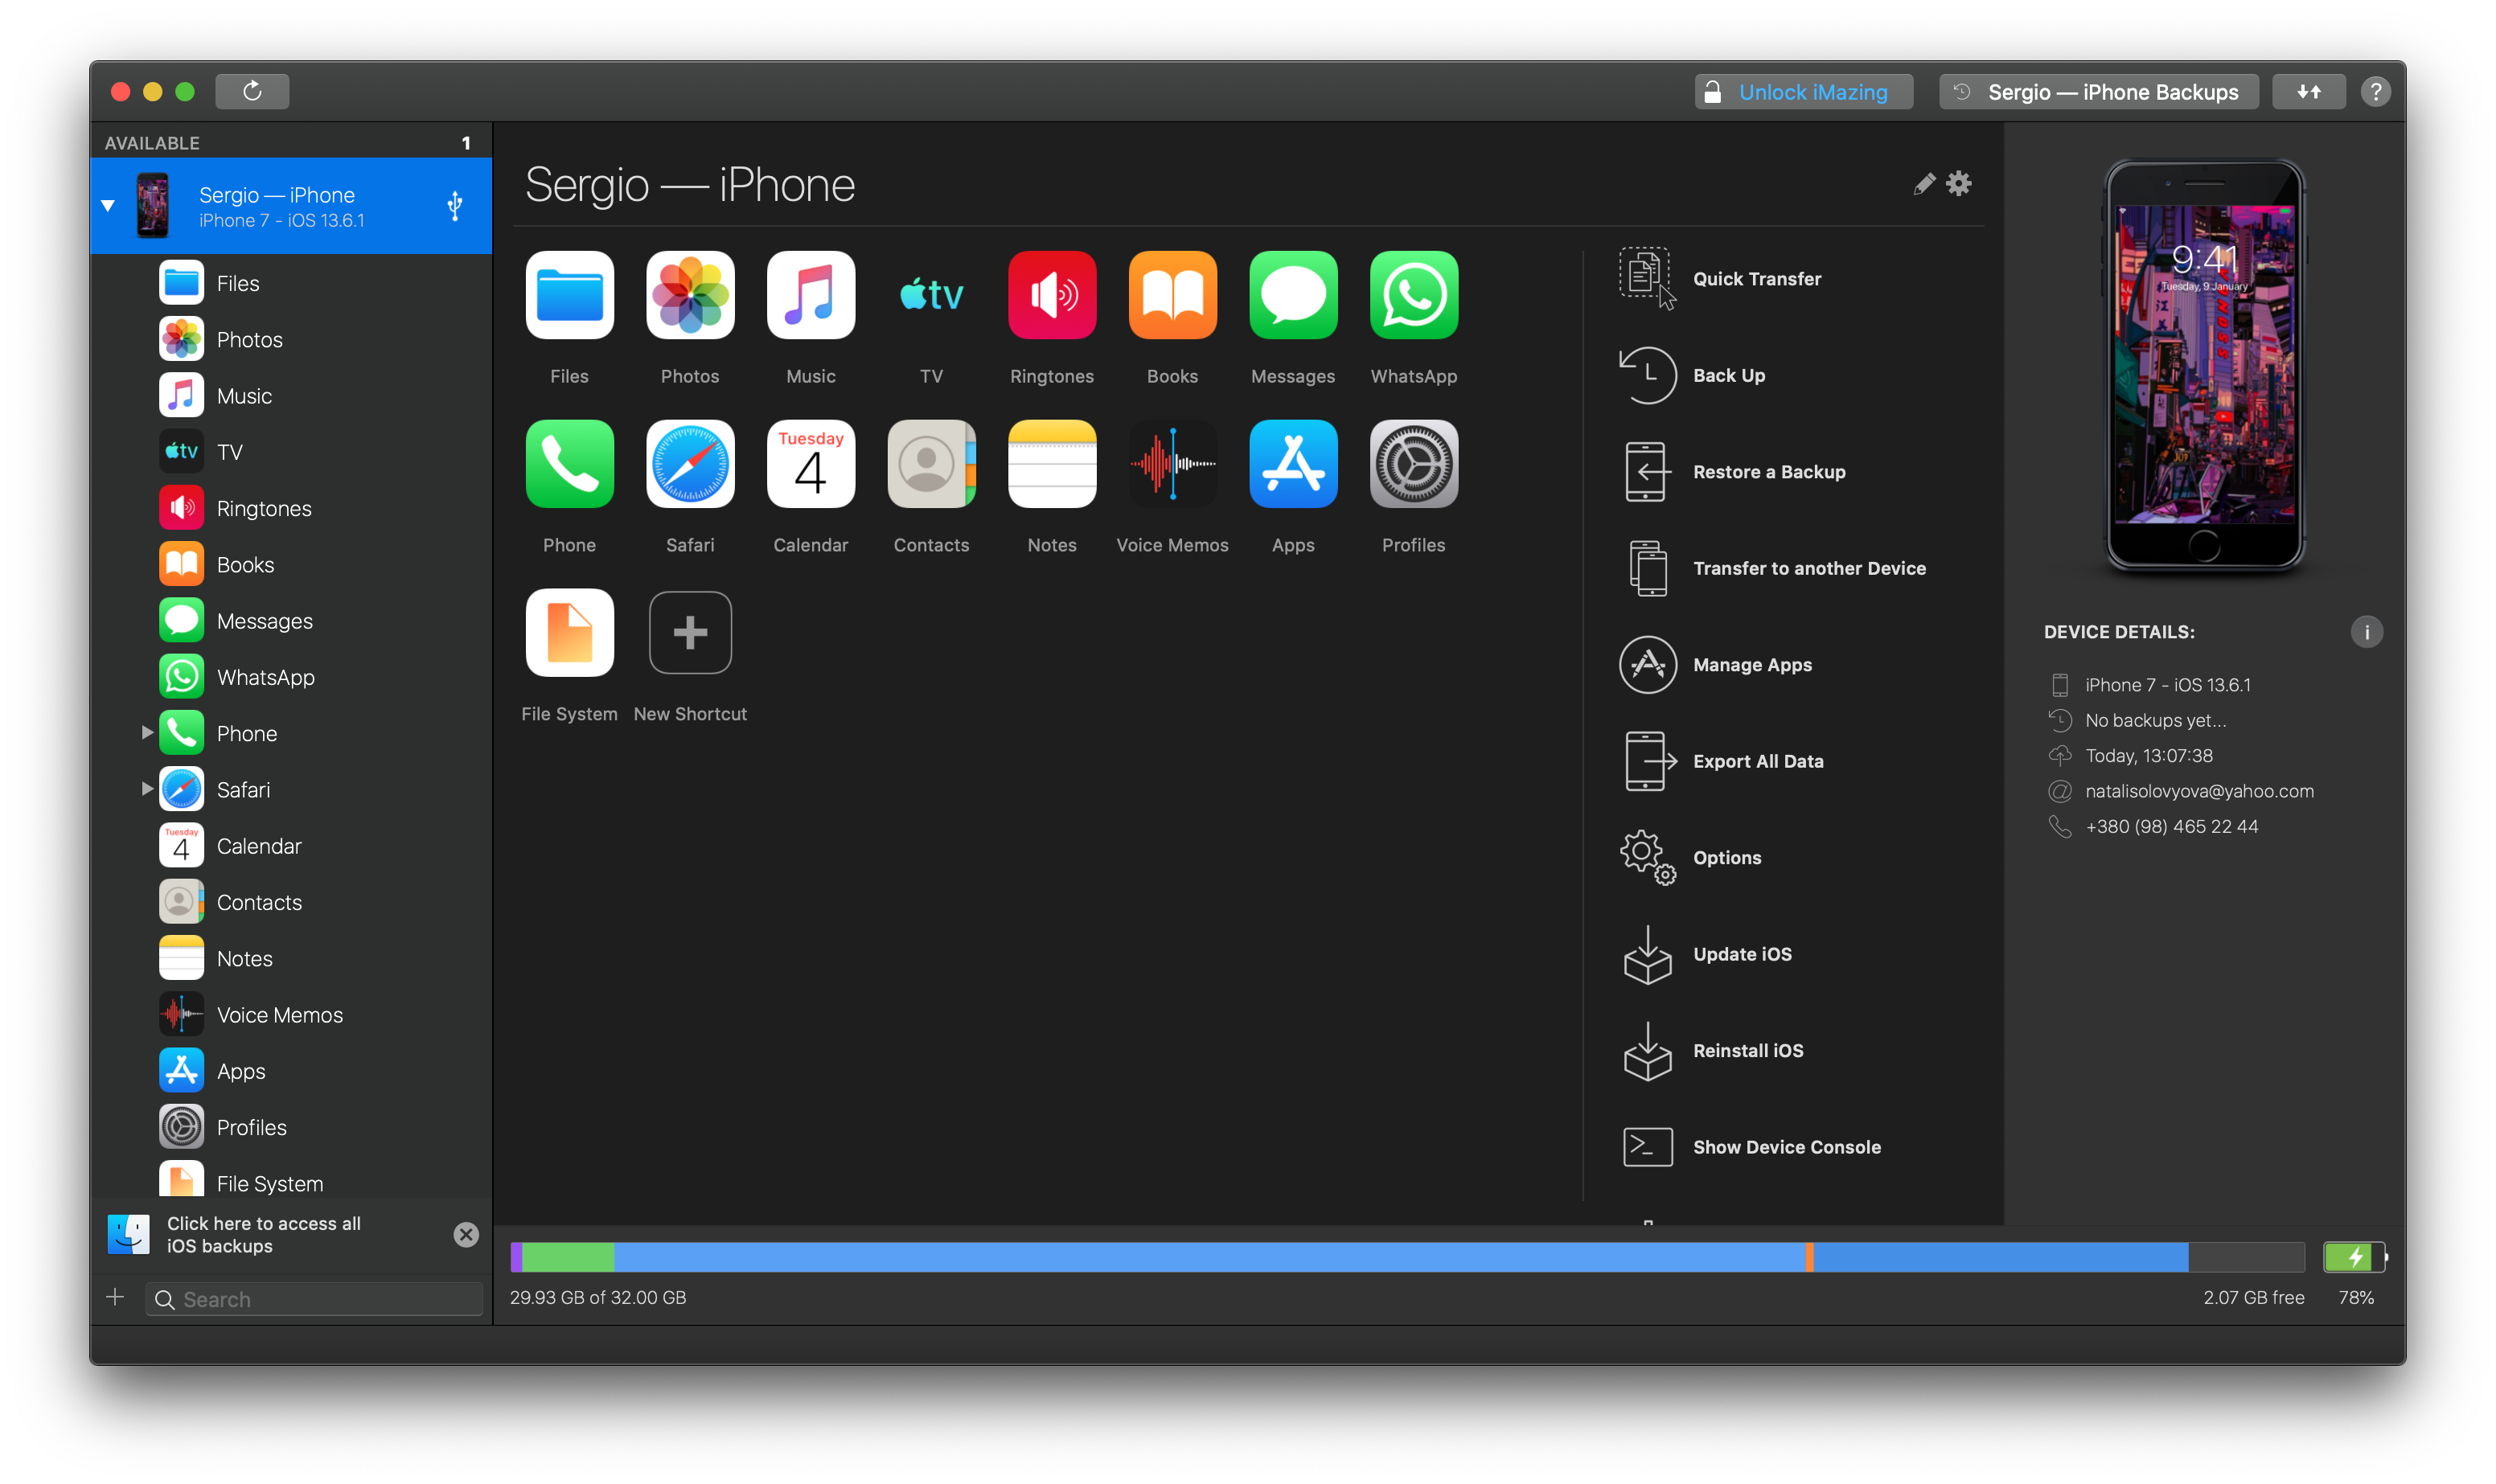
Once you’ve connected your device successfully, we can get the party started. On the very left bar, select your device and go into the music folder. Now iMazing shows you all of the individual songs on your device. Select the ones you’d like to transfer using normal selecting functions such as [CTRL] + [LEFT-CLICK], [SHIFT] + [LEFT-CLICK] or [CTRL] + [A] to select all of the music you’d like to have in a separate folder.
Step 2: Start the export
You’ve selected all of your desired songs? Great! Now to the fun part, iMazing gives you lots of different ways to transfer the music, which can all be obtained by viewing into the bottom section of the software, but we want to put them into a separate folder. So go ahead and press “Export to Folder”. iMazing greets you with a wizard guiding you through the transfer process.
Choose your destination folder, click on export, wait a little moment aaaand you’re done!
Transfer songs from a computer folder into iTunes
Great, so you’re good to go with your music! That was easy, wasn’t it? So, now let’s have a look at how to actually put music on your iPhone and so for iTunes coming from an external folder of your PC or Mac.
Step 1: Select your music
First off, make sure you have iMazing installed and connected to your Apple device. If you don’t know how to do that, don’t worry, we’ve got you covered. Just look at the initial steps from the first section above. Now, let’s get back to business. Go to the music section of iMazing and click on the bottom option called “Import from Folder”.
A wizard pops open. Just go to the destination of your folder and select all of the songs you’d like to have on your iPhone, iPad, or iPod. Make sure all of the songs have the by your device supported format such as:
MP3 (16 to 320 Kbps)
AAC - M4A (16 to 320 Kbps)
Apple Lossless
AIFF
WAV
Step 2: Start the import
After you’ve selected all of your songs, well it’s simple. Just click on start export to start the process. Make sure your device will be connected through the entire process and well, you’re done! Now you have all of your desired music on your Apple device coming from an external folder!
So, wrap it up?
Congrats! Now, all that's left is just try to transfer your favorite music from iTunes to your computer folders.
iTunes is a tricky thing, so it's better to save your songs elsewhere on your Mac or PC. Trying to do it with iMazing is simple and 100% straightforward. Time to make our lives a liiittle bit easier. Try it!😏

Josh Brown
CEO at Softorino