Once in a while, every one of us needs an upgrade.
 Table of Contents
No matter how good your old PC or Mac was, they’re going to slow down over time, workloads and requirements are getting heavier and heavier and after 4 to 5 years your machine is probably breaking down on them. With a new computer, you probably want to heave the most important files and documents from your old one on the new machine.

While that is easy, you simply have to copy and paste them over, but nowadays the way we work has changed. We use our iPhones as expansion devices to our main workstations, manipulating documents on them, or keeping important notes within our iPhones.
The question occurs: How can I get my iPhone files and documents on my new machine with the least amount of work possible? Well, we’re here to find out! Down below you’ll get three solutions on how to easily synch up important files from your iPhone to your new PC or Mac.
Solution 1: iMazing
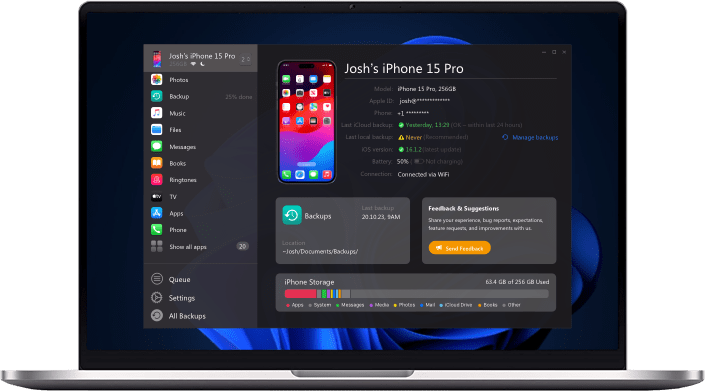
When we talk about iMazing, we talk about a third party application, compatible with Windows and Mac from the swiss software studio DigiDNA. The tool we cover in just a moment is known for its versatility when it comes to syncing up all sorts of Apple devices with your PC or Mac, even allowing you to make custom, wireless backups of your devices in case anything goes wrong with them.
So, let's get started, let's find out how to transfer your most important files to your new machine.
Step 1: Get iMazing onto your machine
First things first, we got to make sure you get the iMazing software on your new PC or Mac. To do so, we prepared two links where you can download the freshest, free copy of iMazing. Go ahead and click on one of them.
After the download has completed, simply install the software like you have done so many times before.
Step 2: Launch & connect
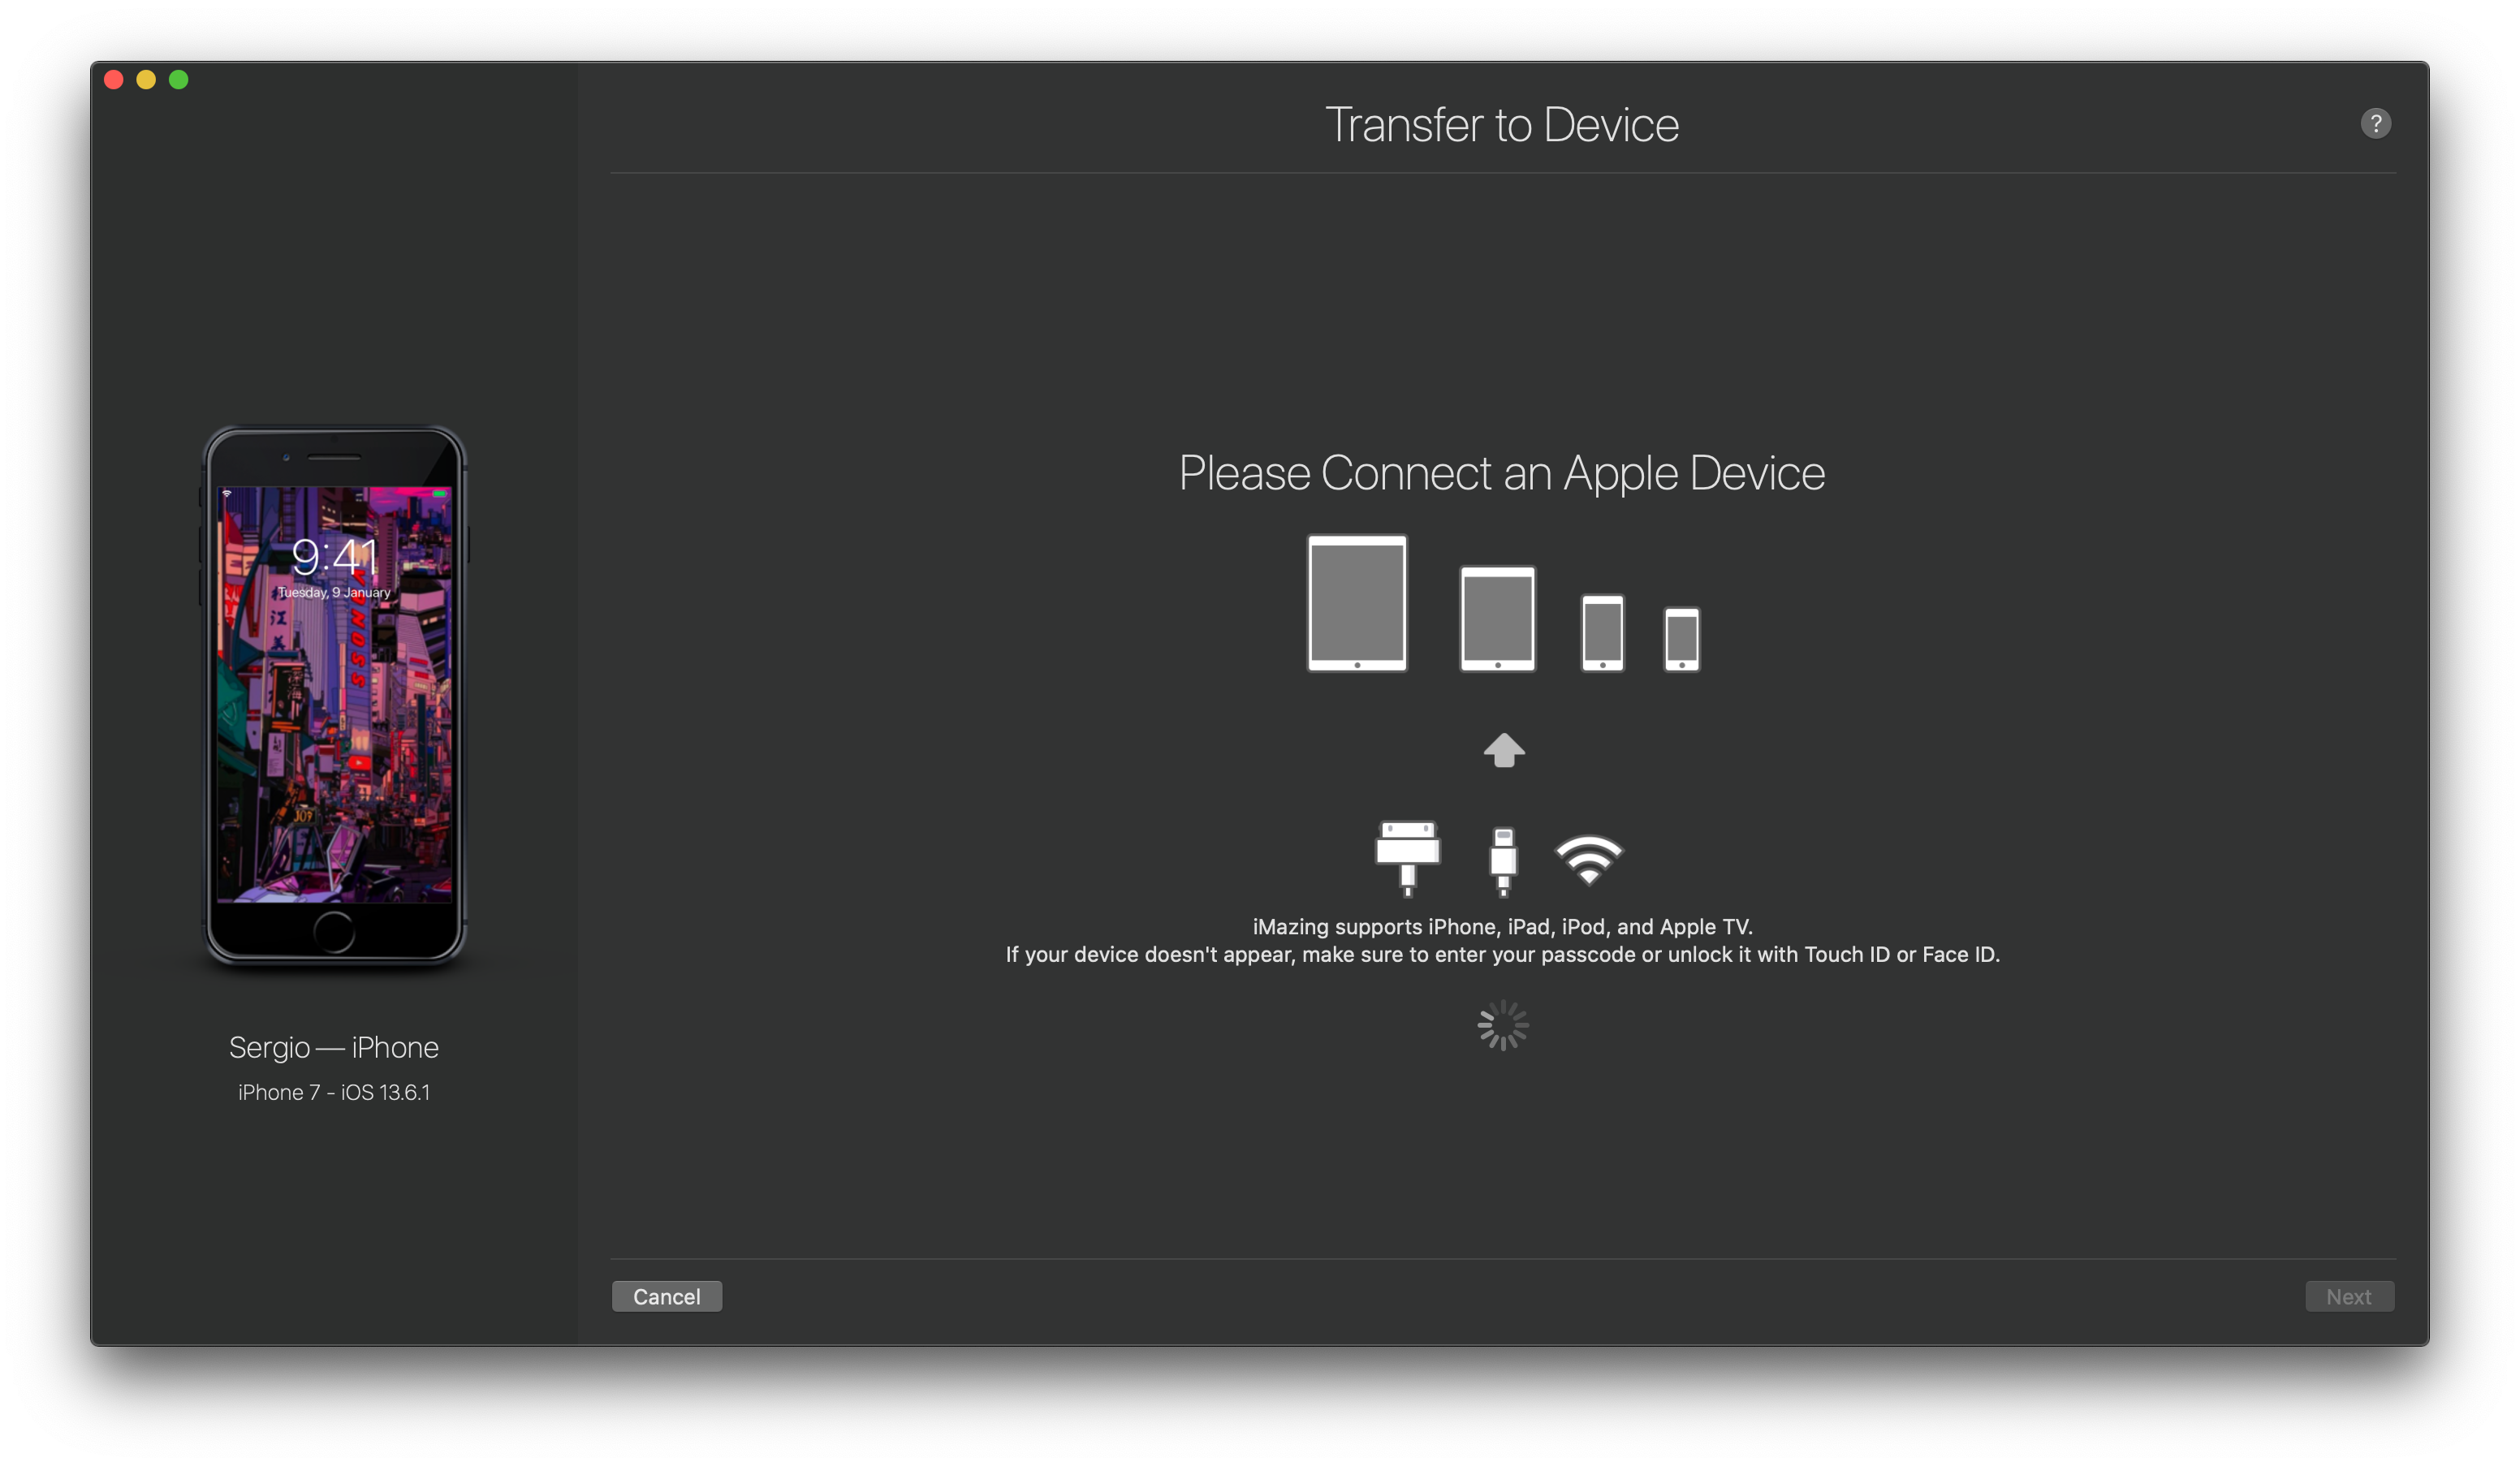
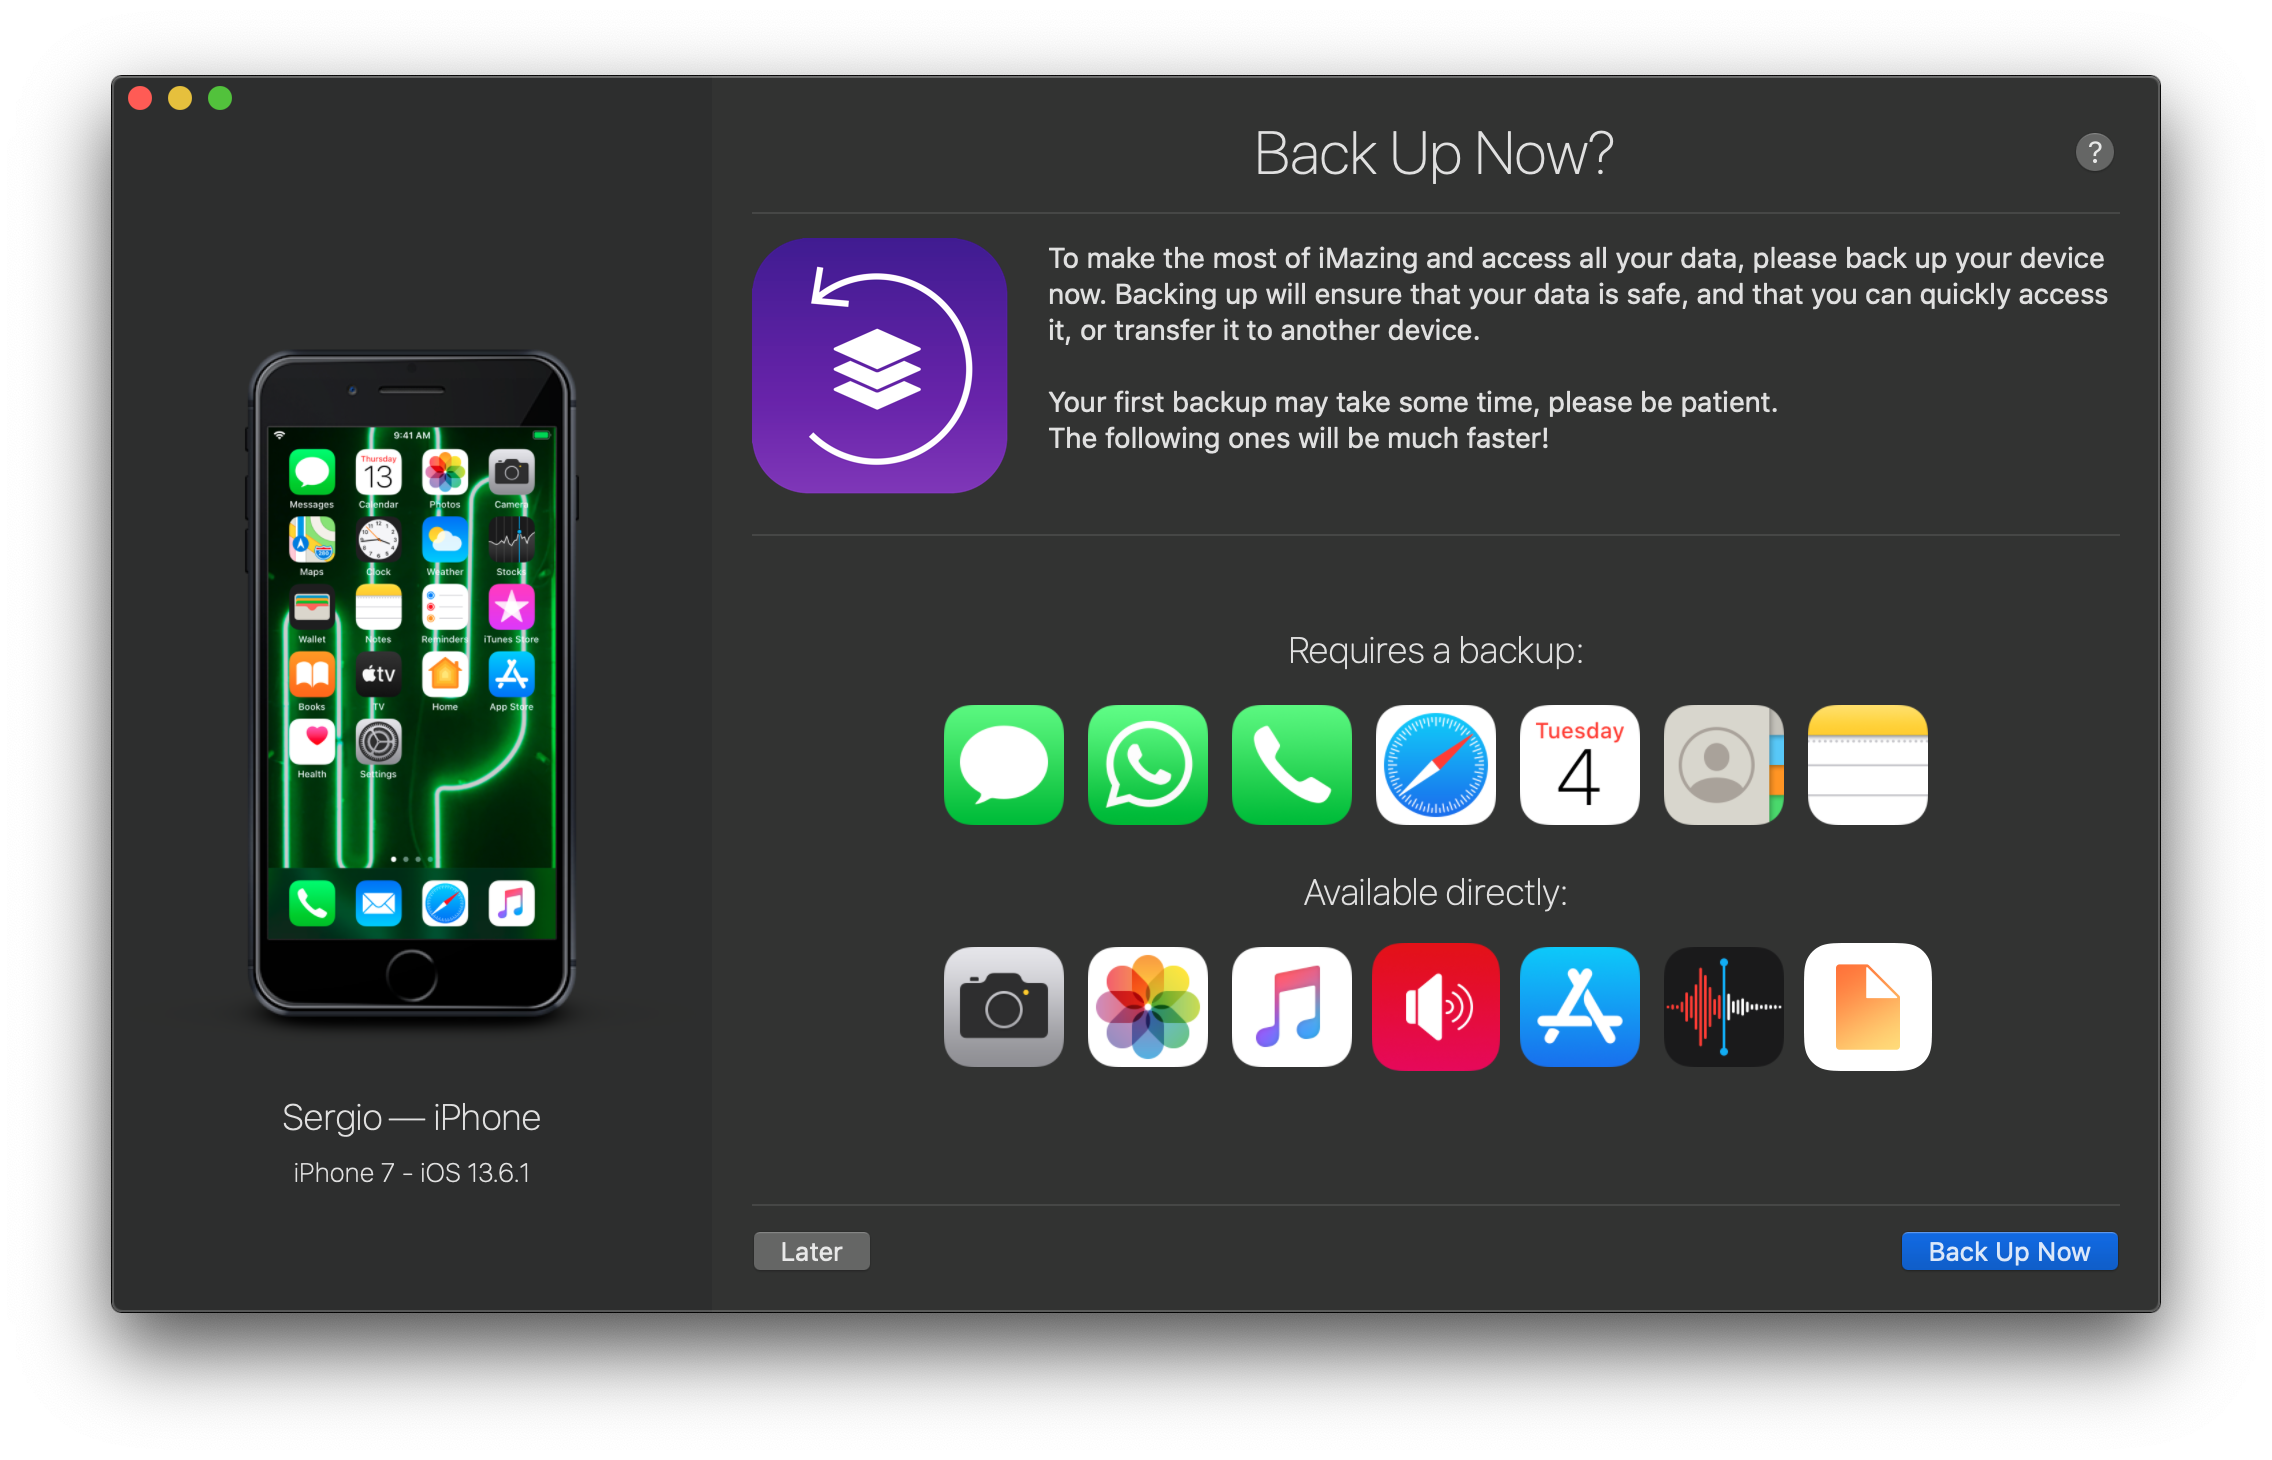
After you've successfully managed to install iMazing, it's time to get the party started. Simply open iMazing and wait for it to launch. The software will ask you to connect your Apple device, in our case your iPhone. One of the cool features of iMazing is that it allows you to do everything in wired, or wireless mode.
In order to sync your documents up wirelessly, your iPhone has to be connected at least once successfully in wired mode. That's been said, grab your lightning cable and connect your iPhone. Your iPhone might ask you to unlock and trust the device it's connected to. Allow that by clicking on “trust” and go ahead and the software should be ready to go!
Step 3: Sync your Files
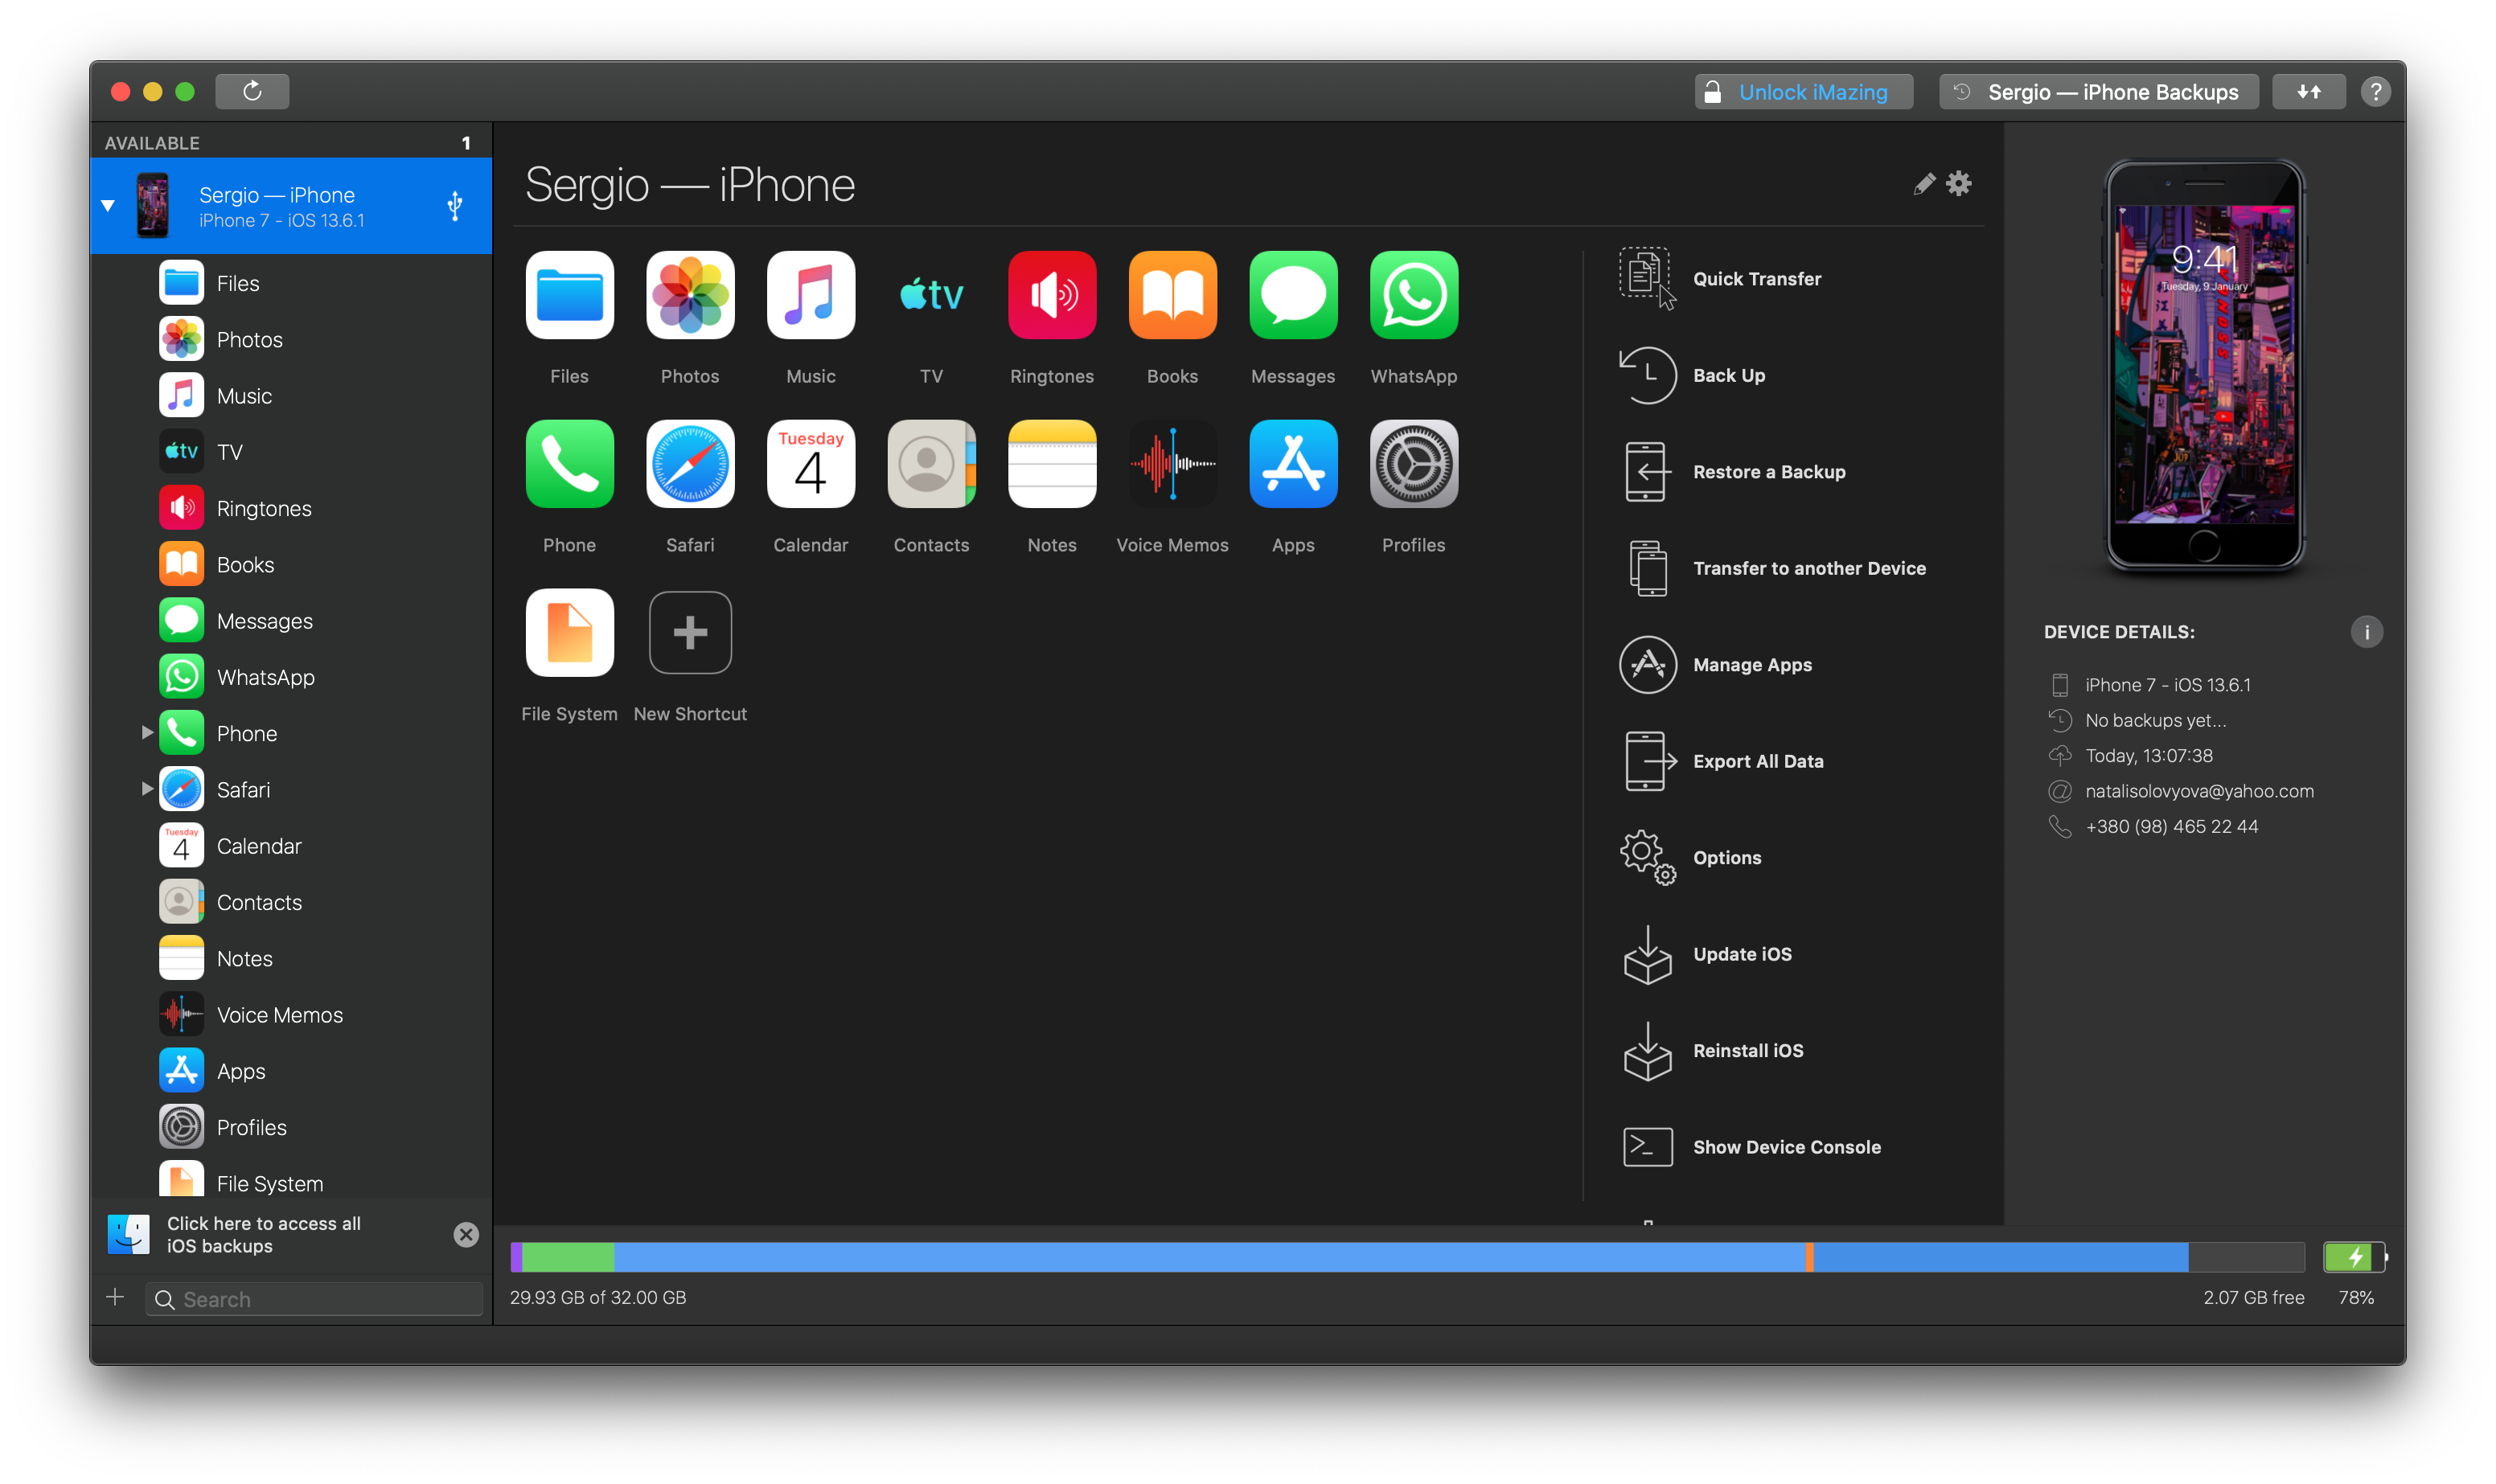
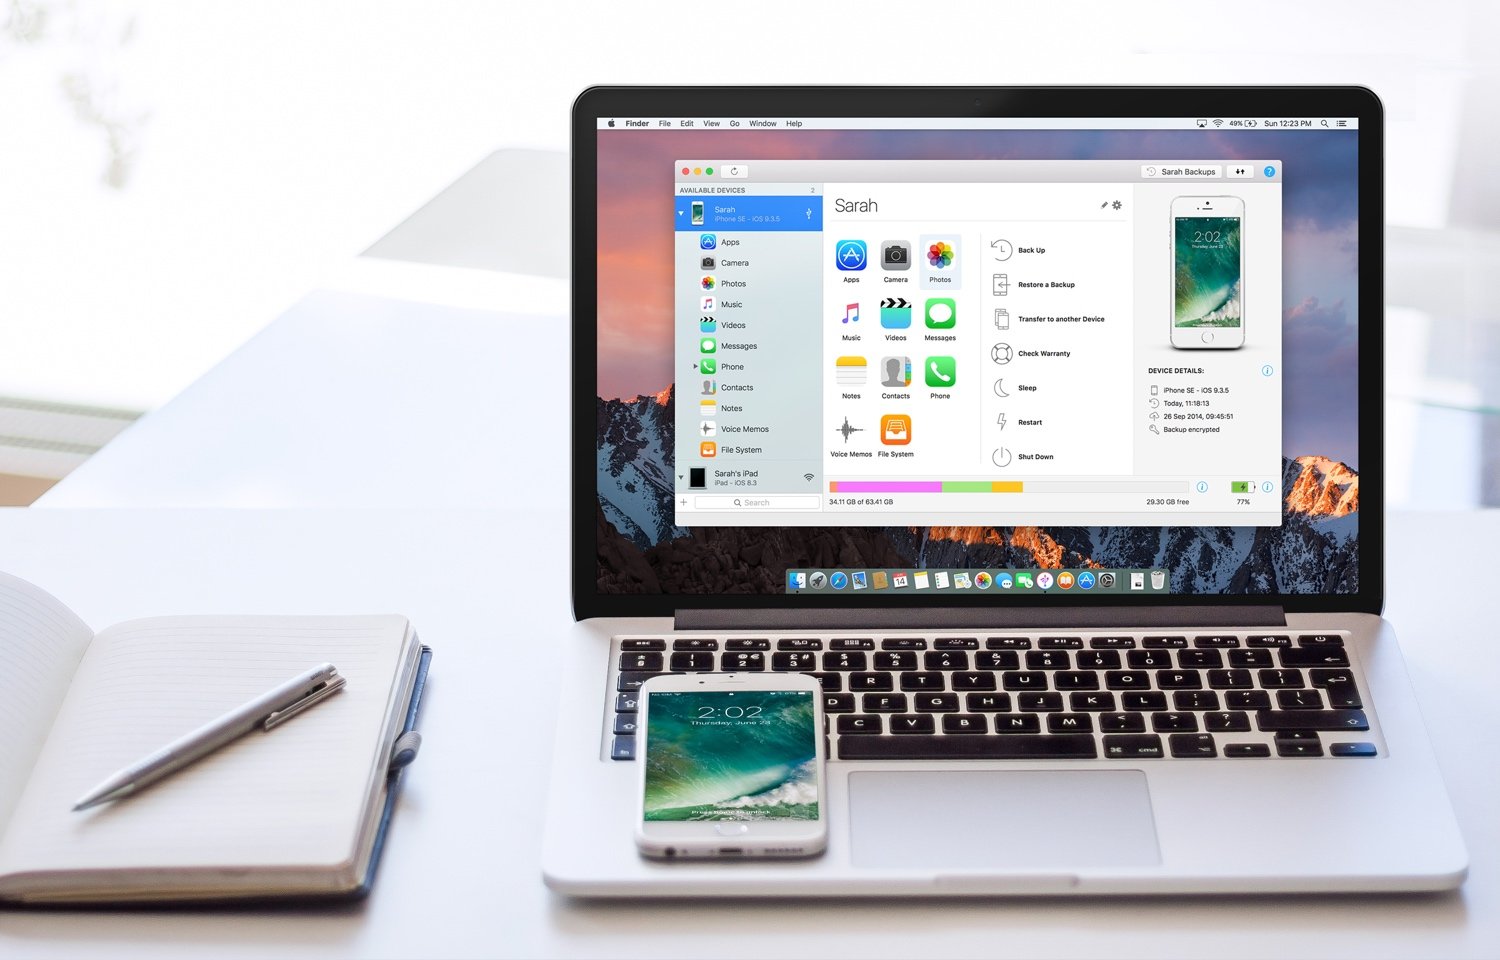
Now if the connection was successful, you can click on your iPhone in the iMazing software revealing all sorts of files you can transfer by looking on the left bar of iMazing. Photos, videos, notes, or files, it doesn’t really matter what you’d like to sync, all sorts of files are covered with iMazing. Simply click on e.g. contacts and a window pops open with all of your contacts.
As with any files, you can simply select as many as you want and choose one of the export methods on the bottom right of the iMazing software. This process stays the same no matter which type of files you'd like to transfer. Simply select and choose the way you want them to get exported.
After you've chosen that, a wizard window pops open allowing you to select the directory you want your exported files to go. Click on export after you’ve configured everything successfully and let iMazing do its thing. You're done! that was easy right?
So, now let's have a look at two cloud services achieving a successful data transfer.
Solution 2: Google Drive
By now, we probably don't have to introduce you to the services of Google Drive. It's one of the most used cloud services out there allowing you to sync files with your machine.
Step 1: Install the App
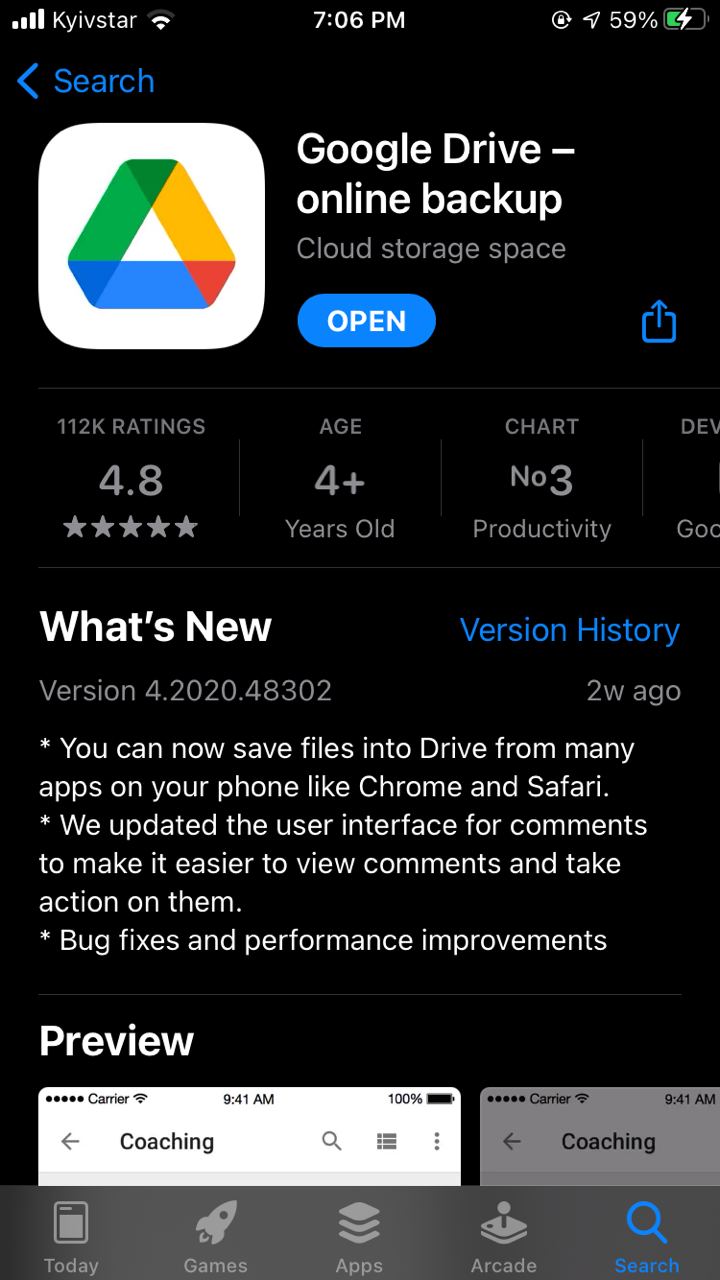
In order to get started, you simply have to download Google drive onto your iPhone. Simply head over to the App Store and search for Google Drive. After the application has been installed, launch it and sign in with the Google account you want your files to be connected with.
On your new PC or Mac, you can also download an application, but it's not necessary due to the fact that Google Drive is mainly a web application. Simply head over to your web browser and open Google Drive while signing in with the same account you did on your iPhone.
Step 2: Upload files
Google Drive is a cloud service, meaning you simply can upload the files you desire making them available everywhere you've got an internet connection. Head over to the Google Drive app and click on upload files. You can now browse through the data manager of your iPhone and select the photo documents or any type of file you'd like to get uploaded.
Alternatively, you can also go directly to a file and share it on your Google Drive. Both options work equally great. Be aware, that Google Drive is a purely internet-based application, meaning the upload happens over a network. That's been said, make sure you’re somewhere with a great internet connection. otherwise, the upload can take a while. Also, make sure the internet connection is stable so your uploads can finish successfully.
Step 3: Get the files on your machine

After you've successfully uploaded your files to Google Drive, simply head over to Google Drives' web page and you should see all of the files you have uploaded. Alternatively, you can also configure folders to listen to Google Drives Web API so you can have all of your Google Drives files synched up with a folder on your PC, but we recommend the other way if things should stay as easy as possible.
Now simply select the files you want to download and right-click on one of them followed by selecting download. Google Drive will now compress your files into a RAR file which you can simply unzip afterward.
Head over to your download directory and put the files wherever you want them to be.
That was easy right? Now let's have a look at one of the easiest solutions for iPhone and Mac users. Meet iCloud.
Solution 3: iCloud
iCloud is natively integrated into all iPhones and Macs. That's been said, this should be a fast one. Let's get started!
Step 1: Turn on iCloud
First things first, let's make sure you've activated iCloud on your iPhone. Simply head over to your device's settings and tap on your Apple ID. Head over to iCloud and make sure the toggle switch activating iCloud stays ON.
Step 2: Upload your files
Head over to the file manager of your iPhone and select as many files as you want to upload to iCloud. After you’ve selected them, simply tap on the "Move" in the upper right corner and choose the iCloud folder you want to move your files to. Let it do its thing and wait a little while. Your files should now automatically upload onto iCloud. Make sure to have a stable and fast internet connection to cut down on upload duration.
Step 3: Get your files
If you own a Mac, iCloud should already be integrated into the system. Simply make sure you've signed up with the same Apple ID and all of your files should show up in the iCloud application. From there on you can simply select them and download them into the directory you want them to be in.
If you, on the other hand, own a PC, you can head over to iCloud.com and sign in with your Apple ID in order to see all of the files. If that was successful, you’ll get an equal experience to Google Drive. Simply select and download. That was it!
Conclusion
File transfers should be easy and sure they are with all of the great technology we own now. Depending on your needs, there is no clear winner, all of the three solutions work equally great. When it comes to speed though and you don't own a very fast internet connection, we highly recommend using iMazing.
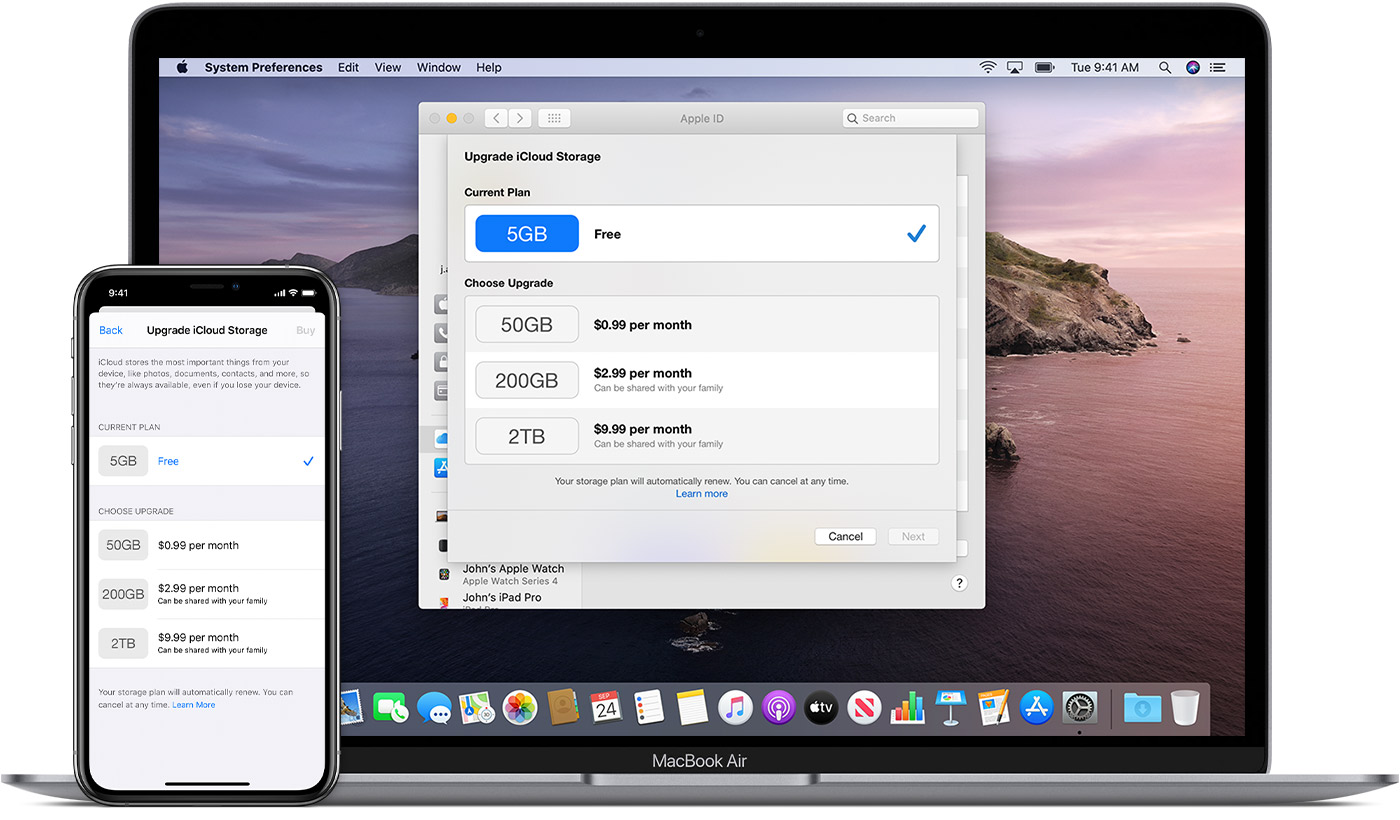
The lightweight application transfers files real fast leaving you with a great user experience. If you upgrade from Mac to Mac and your internet connection is great, head over to iCloud, just be aware that the free subscription plan of iCloud only offers 5GB of storage.
If you're upgrading to a PC with fast internet you can give Google Drive a shot! The only downside to it is that upload and download speeds are managed by Google depending on how many people are using it right now which could lead to a high amount of time needed in order to get your files up- and downloaded. That’s been said, choose wisely and have fun while doing it!

Josh Brown
CEO at Softorino