
Converting MP4 to Apple TV is relatively easier because you can easily import it using the Apple TV app on your Mac or through iTunes.
However, it is pertinent to note that your Apple TV will only play videos in MP4 format if they are encoded with MPEG-4 or H. 264 codec. Additionally, the audio codec also needs to be in AAC format. The multimedia video container format known as MP4 is encoded with various audio or video codecs. Thus, if the files you’re trying to import to your computer are of any format not natively supported by Apple, you might face unwanted challenges during the import process.
If this sounds like a strenuous and time-consuming process to you, we understand and have excellent news to make your day! Beamer, which is a video streaming Apple TV app has been specifically designed for Apple TV users who want to avoid the hassle of converting their videos before playing them on their TV.
In this article, we will explain how you can convert MP4 to Apple TV as well as use Beamer as a more user-friendly alternative. We will also explain why Beamer is a better alternative, all the advantages you will enjoy with this budget-friendly app, and, finally, answer some related FAQs. So, without further ado, let’s get started!
 Table of Contents
How to Convert MP4 to Apple TV?
There are two different ways to convert MP4 to Apple TV. The first is for users who are using their Mac to convert videos, while the latter is for users who are using Windows PC or laptops to convert video files. Let’s take a look at what the steps for each of these two ways entail:
Convert MP4 to Apple TV on Mac
You can use your Mac to import video files to your Apple TV app and add them to your media library. The following steps will show you how to do this:
- Launch the Apple TV app on your Mac
- Click on File and then select Import
- Locate the file/folder you want to convert
- Click open and wait for the Apple TV app to place a copy of the files/folder in your TV’s home folder
Convert MP4 to Apple TV on Windows PC
For those users who don’t own a Mac, using a Windows PC or laptop will be the best option. M4V, MOV, MP4, H. 264, and MPEG-4 are all Apple-supported video formats. Any other format will not be supported by iTunes and thus will present problems when you’re trying to sync the files. That said, the following steps will help you convert MP4 to Apple TV using a Windows PC:
- Launch the iTunes App
- Locate the Movies option at the top left of the pop-up menu
- Click on Library
- Select the file you want to add to your Apple TV
- Click on File > Convert > Create iPad or Apple TV Version
It is pertinent to note that the iTunes video converter can take anywhere between several minutes and several hours to convert MP4 videos to Apple TV, depending on the length and contents of the file as well as the computer you’re using.
Beamer – An Apple TV App to Stream Videos without Using a Video Converter
Want to skip the hassle of using a video converter to view your video files on your Apple TV? Beamer is the perfect app to consider if you want to watch hours' worth of videos and movies on your Apple TV without using a video converter and waiting for hours before your movie night can begin!
The video streaming app supports all video formats, including those not natively supported by Apple TV and other Apple products such as iPhone, iPad, and Mac. The formats include but are not limited to AVI, MKV, WMV, MOV, FLV, SRT, SUB/IDX, etc. However, you might face trouble playing Blu-ray and DVD files through Beamer, since they are copyright protected.
We’ll discuss all the benefits of using Beamer later on in this article. For now, let’s take a look at all the steps you can take to use the app:
Step 1. Download the App
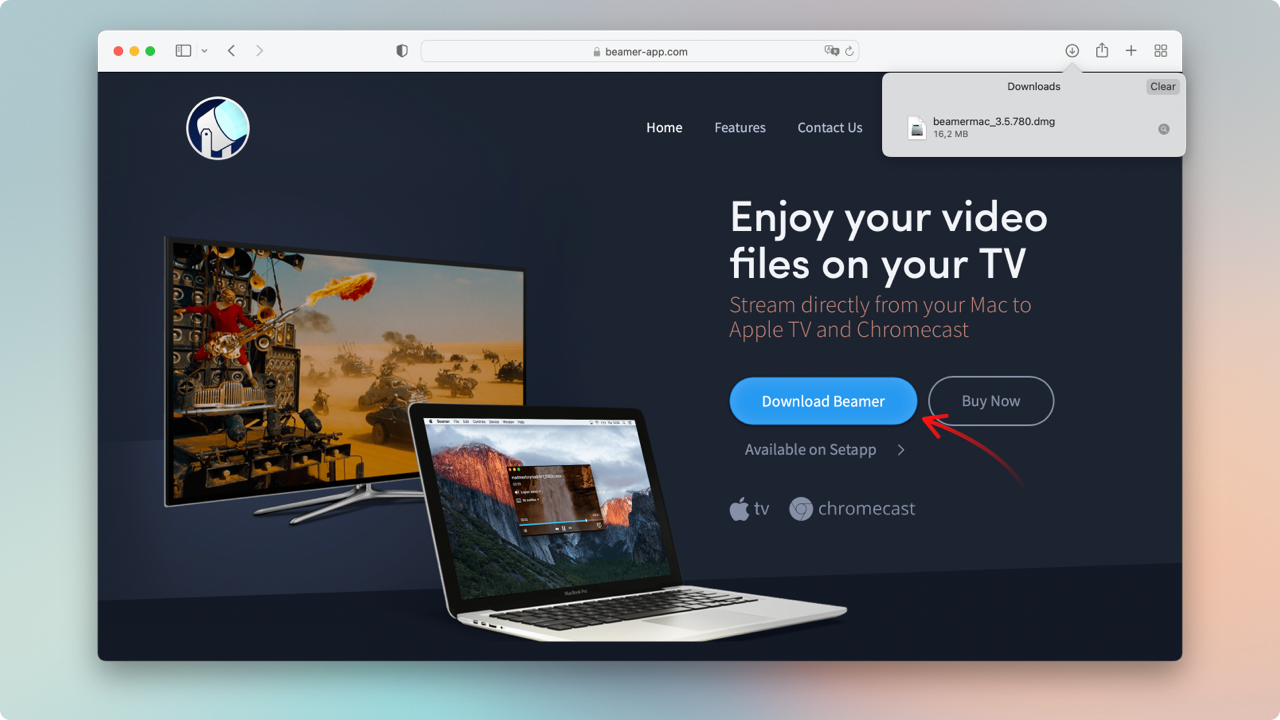
Using your Mac, download the Beamer app from its official website. You can download the free version of the app to test it out before investing in the paid version. The free version allows 15 minutes of watch time via the Beamer app, so you can get accustomed to all the features and get a demo before you make a purchase decision. If you like the app, you can then proceed to download the paid version, which allows unlimited playback, making playlists, and queuing videos.
Step 2. Launch Beamer
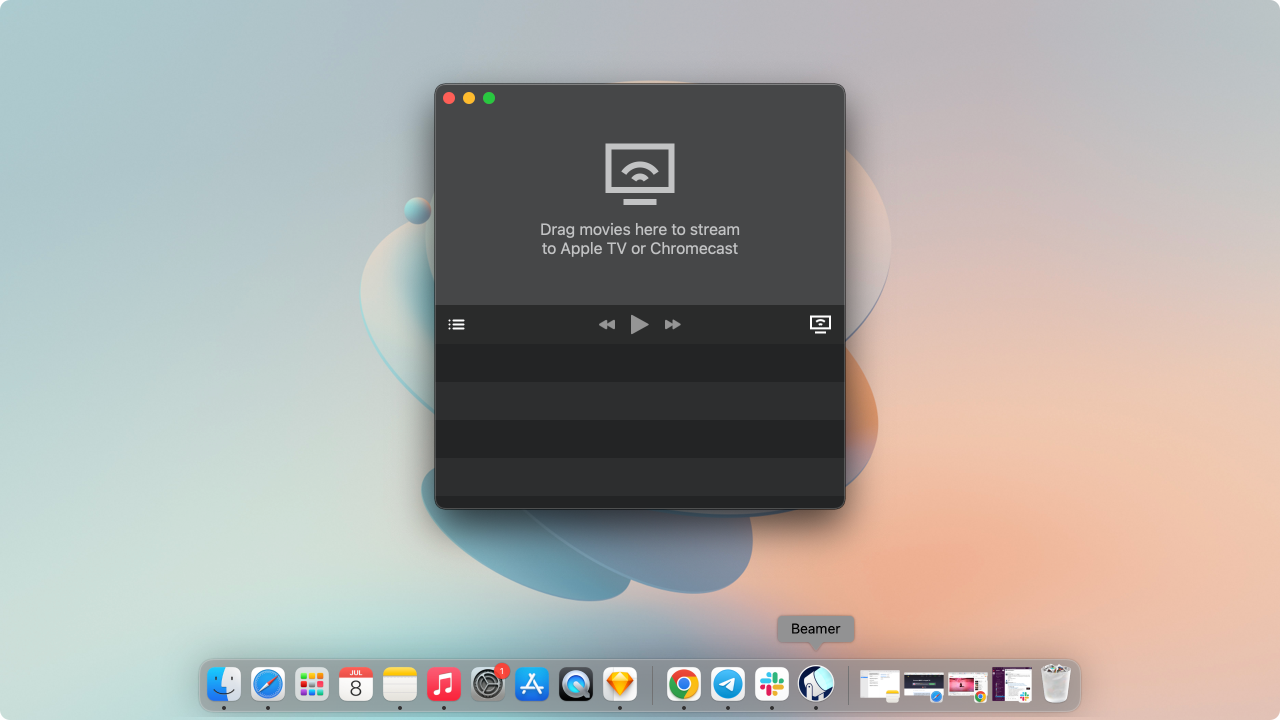
When the download has been completed, you can launch the application, which will open a small window with a message that reads “Drag movies here to stream to…”
Step 3. Choose Your Apple TV
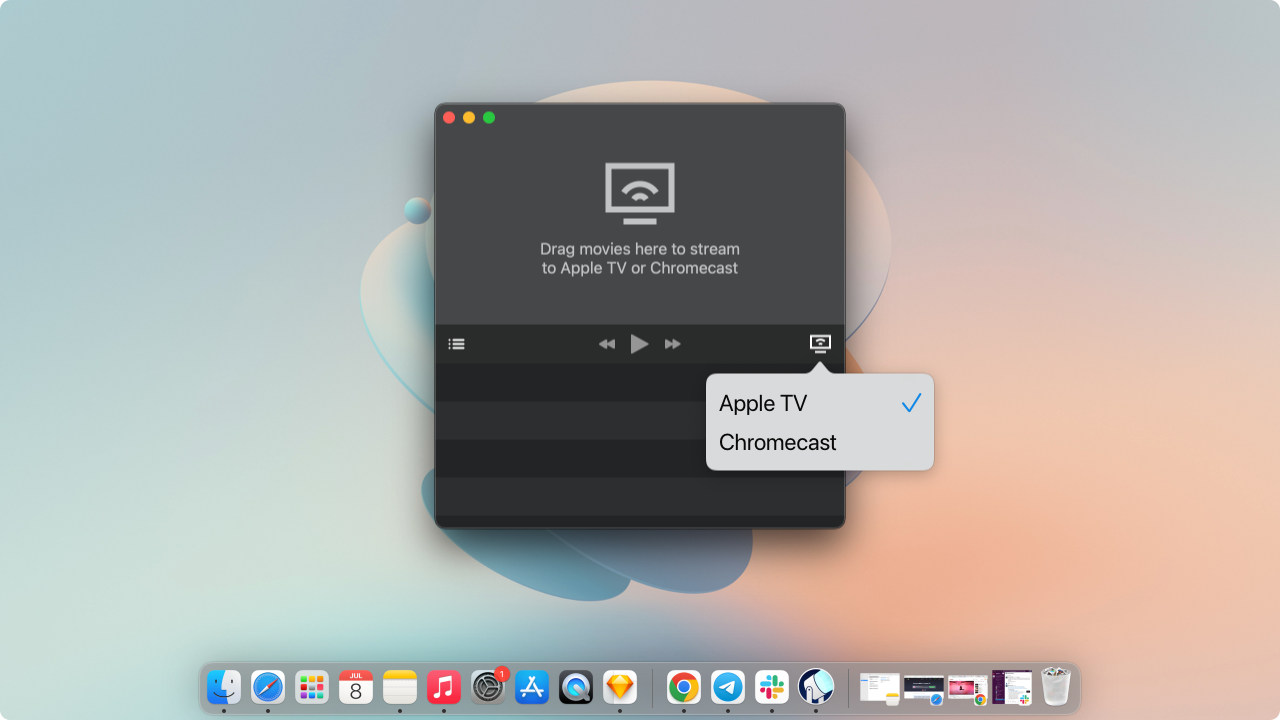
Whether you’re using an Apple TV or Google Chromecast, you can use the Beamer app to locate your device after ensuring that it’s connected to the same Wi-Fi network. The device menu is situated at the lower right corner of the window and will showcase all the available devices that you can choose from to stream your video files.
Step 4. Drag, Drop, and Enjoy!
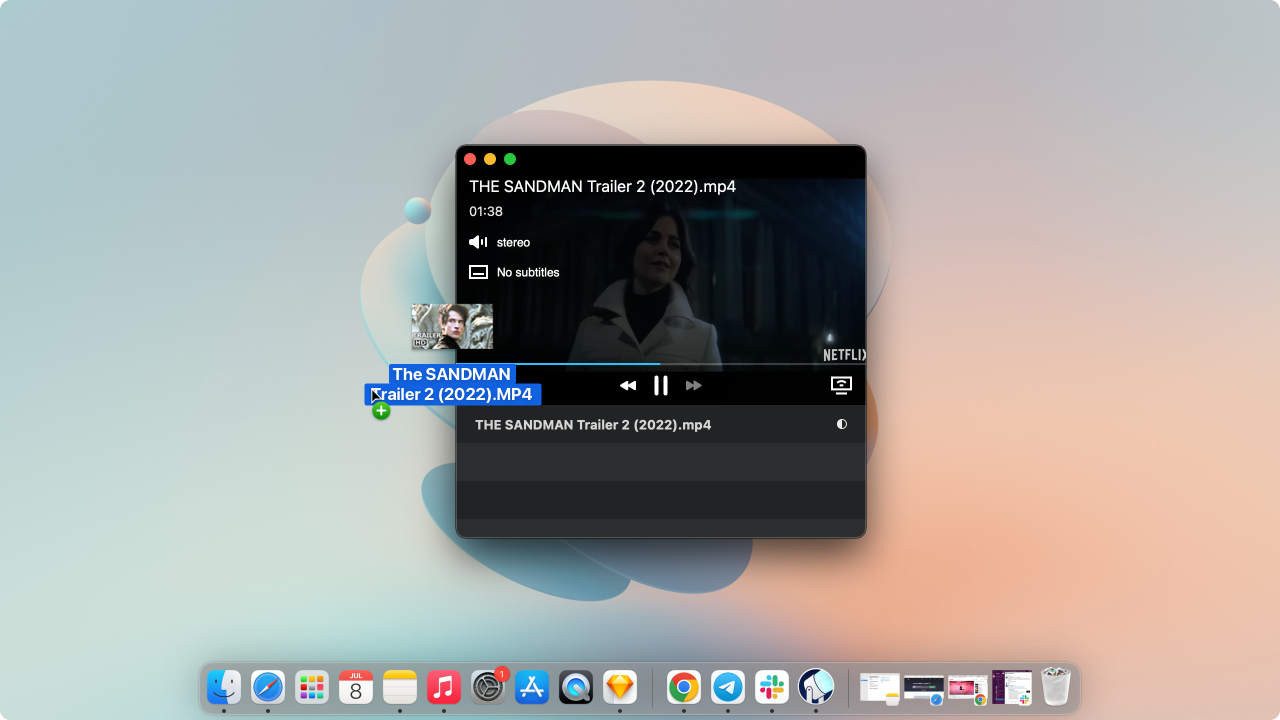
Once you’ve selected the device, which, in this case, might be your Apple TV or Google Chromecast, you can head on to select the video file[s] that you want to stream. There’s no need to transcode the file into an Apple-friendly format; you can simply drag and drop as many video files as you like into the window and the playback will begin immediately.
Why Should You Use Beamer Instead of Importing Them to Apple TV App or iTunes?
As mentioned earlier, while the Apple TV app and iTunes support MP4 video format, you will need to ensure that the MP4 is encoded with MPEG-4 or H. 264 codec as well as AAC audio codec. Moreover, even importing Apple-friendly videos via the Apple TV app or iTunes can take several hours, making the process inefficient, specifically for those who like to enjoy a hassle-free viewing experience.
The import process also means you’re creating duplicate files on your PC, which leads to additional space being utilized. With Beamer, you can enjoy the free space as the app automatically removes the watched videos from the playlist and can virtually watch all video formats in one go without wasting any time.
Play Video Files and Enjoy Unlimited Benefits of Beamer at a Minimal Cost
Want to know more benefits of using Beamer? The following are some of our favorites:
1. Stream All Video Formats in One Sitting
With Beamer, you don’t have to go through the hassle of using third-party video converters to view video files on your Apple TV or Google Chromecast. You can essentially watch varying video formats in one sitting without having to take any additional steps other than the drag and drop method.
2. Enjoy the Best Video and Audio Quality
You can watch videos at up to 1080p and with Surround Sound support, meaning you can view all videos just as you would on your laptop or TV originally. Beamer uses its native streaming capabilities and high bitrate to provide the best video quality, regardless of the file formats.
3. Add Subtitles without Any Hassle
If there are any associated subtitle files or embedded subtitles, Beamer will automatically detect them and add them to the playback. Blu-ray, DVD, MPL(2), Subviewer, SubRip, etc., you can add any external subtitle file in any format, including embedded or text-based formats, through this app.
4. Let Beamer Do All the Hard Work for You
Skipped an important part of the video and want to rewind? Want to skip a scene you’ve already seen? Want to pause the video to grab a bag of popcorn? You don’t have to do any of that with your Mac; you can do all of these with your Apple TV remote without having to move even an inch more than you would to grab your remote! Also, you can double-click the Apple TV remote’s Play button to view the next video on your playlist queue.
5. Create Playlists and Adjust Queues
Speaking of playlists and queues, Beamer allows users to add as many videos to the window as possible and you can also adjust the queue according to your preferences. If you’ve added a video file by mistake, you can remove it manually or let Beamer get rid of the files you’ve watched after adding them to the playlist. The player window can be used to view all the videos and the total time duration of the playlist.
Want to know more about converting MP4 to Apple TV? Read the FAQs below!
FAQs
Can you convert MP4 to Apple TV?
You can use iTunes or Apple TV App on your Mac to convert MP4 to Apple TV. However, only MP4 files with MPEG-4 or H. 264 codec and AAC audio codec are supported by these two apps.
How do I stream MP4 from PC to Apple TV?
To stream MP4 from PC to Apple TV without using a video converter first, you’ll need to use third-party apps, such as Beamer.
How do I transfer videos to the Apple TV app?
To transfer videos to the Apple TV app, you’ll need to ensure that the file format is supported by Apple and then import the file or folder you want to copy.
How do I transfer videos to the Apple TV app?
What video formats can be streamed to Apple TV without a video converter?
- The Apple TV app supports the following video formats:
- MPEG-4 video up to 2.5 Mbps, 640 by 480 pixels, 30 fps, Simple Profile with AAC-LC audio up to 160 Kbps, 48kHz, stereo audio in .m4v, .mp4, and .mov file formats
- H.264 Baseline Profile level 3.0 or lower with AAC-LC audio up to 160 Kbps per channel
- H.264 video up to 1080p, 60 fps, High or Main Profile level 4.2 or lower
- HEVC SDR up to 1080p, 30 fps, Main/Main 10 profile

Josh Brown
CEO at Softorino

