Before we start
Here's a little-known fact about iTunes: iTunes can't transfer music from iPod to your desktop. It just doesn't work in reverse. So, here AltTunes is your great solution!
![]() Table of Contents
Table of Contents
How to transfer music from your iPod to PC with AltTunes
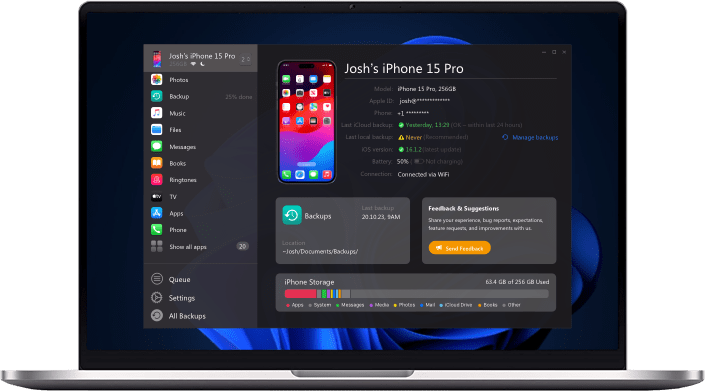
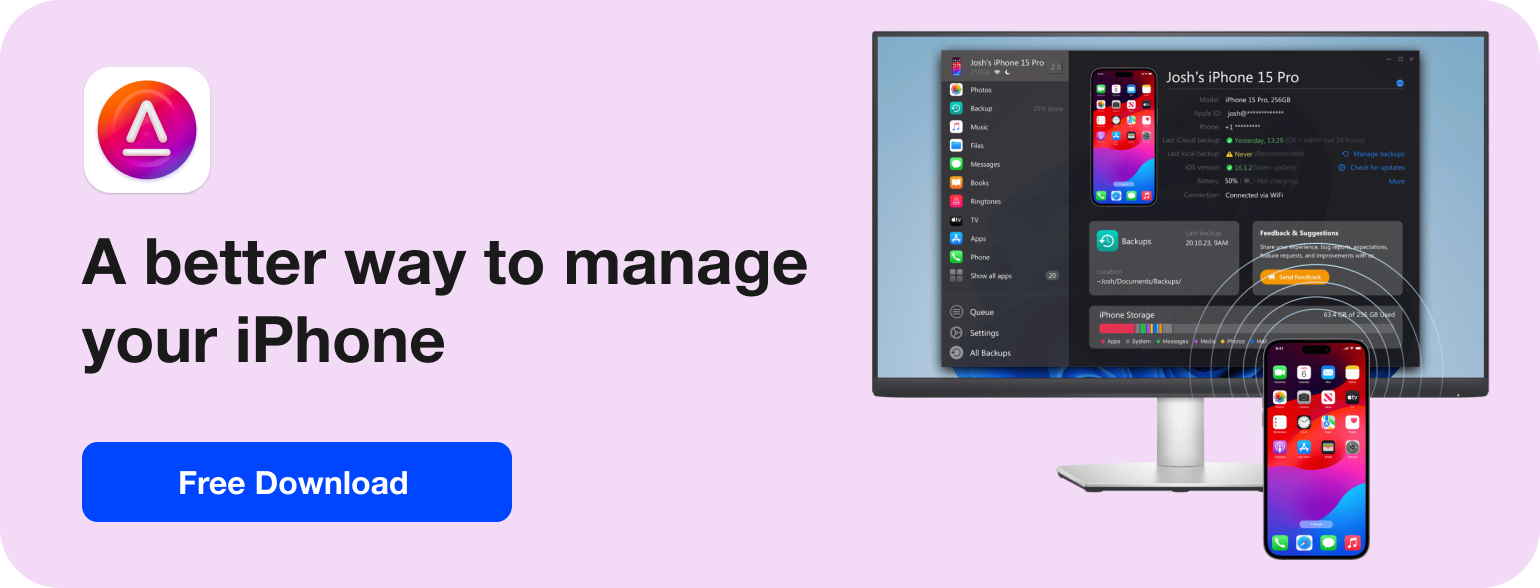
AlTunes is an iPod companion app brought to you by Softorino. It allows you to back up, export, and manage your music completely, without iTunes or extra apps. With AltTunes, you can transfer all your gigabytes of music in a few clicks, no more.
Step 1. Install AltTunes to your PC
AltTunes is a desktop companion app for your iPhone, becoming your essential device manager for backup purposes. In addition to facilitating backups, it offers versatile file transfer capabilities for various data types, including images, music, videos, contacts, text messages, and more.
The app is available for free download and usage during the free trial period. Feel free to give it a try!
Step 2. Connect your iPod
Plug your device with a standard USB cable you use for your device. Tap ‘Trust’ on your device. AltTunes will recognise your songs the minute it is connected.
Step 3. Select the songs you want to transfer
It goes off without a hitch.
Still not convinced? Here’s a quick Overview of why AltTunes is a breakin’ awesome way to add music from iPod to computer. Here’s what AltTunes (and you) can do:
- Clear UI helps you navigate in a simple way! Export music to PC with no fuss.
- Your music collections stay beautifully organized! Artworks, names, tags stay intact.
- Besides music, you can export videos, text messages, contacts, apps, etc.
- Run a complete iPod backup using AltTunes.
- Enrich your music collection using AltTunes as you can sync multiple devices.
AltTunes offers a range of functionalities beyond backup
- Export text messages & contacts
- Add music & movies to your iPhone bullet-speed and no quality loss
- Easily set up a new iPhone in a matter of a click.
- Transfer apps, documents, ebooks, pictures back and forth from your device
- You no longer need to be tied to 1 iTunes library. Sync as many devices as you wish.
How to transfer music from your iPod to PC with iTunes
Transferring music from your iPod to your PC using iTunes is a straightforward process that ensures a seamless transfer of your iTunes Store purchases. Here are the steps:
1. Connect your iPod to your PC using a USB cable.
2. Open iTunes on your PC and ensure it is updated to the latest version.
3. In iTunes, go to "File" > "Devices" > "Transfer Purchases from [Your iPod's Name]." This will transfer all your iTunes Store purchases to your PC.
How to transfer music from your iPod to PC manually
Manual transfer of music from your iPod to PC offers a hands-on approach for users who prefer more control over their file management. Get your steps:
1. Enable your iPod for disk use: In iTunes, go to your iPod settings, select "Summary," and check the "Enable disk use" option.
2. Connect your iPod to your PC using a USB cable.
3. Open File Explorer on your PC and locate your iPod under "This PC."
4. Navigate to the "iPod_Control" folder and then to the "Music" folder.
5. Copy and paste the music files from your iPod to a folder on your PC.
Bottom Line
Transferring music from your iPod to your PC offers various methods catering to different preferences and needs. Whether you choose the user-friendly AltTunes app for a seamless experience, opt for the traditional iTunes method for iTunes Store purchases, or manually manage your files for a hands-on approach, the key is to find the method that suits your style.
With the right tools and steps, you can effortlessly enjoy your iPod music on your PC, making the process a breeze. Choose the method that fits your requirements and preferences to make the most of your music collection.
FAQ
Can I transfer music from my iPod to my PC using iTunes?
While iTunes is primarily designed for one-way synchronization (PC to iPod), it doesn't provide a direct option for transferring music from your iPod to your PC. The article offers alternative methods, including using AltTunes, a companion app that facilitates easy backup and management of your iPod music without the need for iTunes.
Is AltTunes a free app, and how can I use it to transfer music from my iPod to PC?
AltTunes is a desktop companion app brought to you by Softorino. It is available for free download and usage during the free trial period. To use AltTunes, follow the steps outlined in the article: Install the app on your PC, connect your iPod using a standard USB cable, and easily transfer your selected music files with just a few clicks. AltTunes provides a convenient alternative to iTunes for seamless music transfer.
Why would I choose manual transfer over using AltTunes or iTunes?
Manual transfer is suitable for users who prefer hands-on control over their file management. If you want to organize your music library personally, enabling your iPod for disk use through iTunes and manually copying files to your PC using File Explorer is an effective method. This FAQ provides a step-by-step guide for users who prefer a more hands-on approach to transferring music from their iPod to their PC.

Josh Brown
CEO at Softorino