Before we start
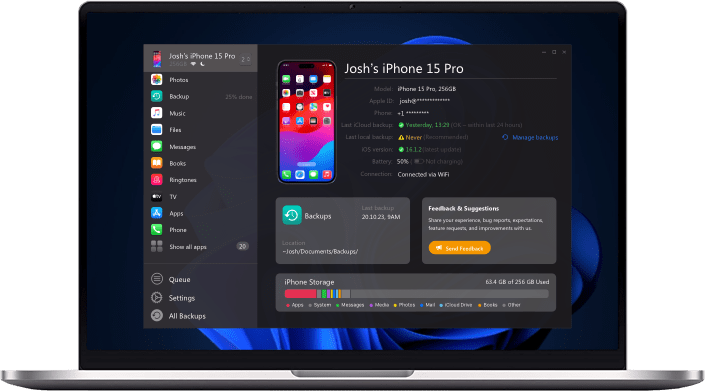
Exporting photos from iPhone to a Windows PC can indeed feel cumbersome, with the sorting process taking up valuable time. However, there's a simple solution: the AltTunes app on your PC. Just a few clicks are all it takes to get the job done.
If you're looking for alternatives, you can use iTunes along with Windows' built-in Photos app for easy photo import. Additionally, manually importing photos using File Explorer is another option. But for a streamlined process, AltTunes offers a quick and efficient solution in just a few steps.
![]() Table of Contents
Table of Contents
How to transfer photos from iPhone to PC with AltTunes
Step 1. Install AltTunes to your PC
AltTunes is a desktop companion app for your iPhone, becoming your essential device manager for backup purposes. In addition to facilitating backups, it offers versatile file transfer capabilities for various data types, including images, music, videos, contacts, text messages, and more.
The app is available for free download and usage during the free trial period. Feel free to give it a try!
Step 2. Pair it with your iPhone
The subsequent step to export iPhone photos to your PC involves connecting both devices through USB. Launch AltTunes and, specifically for the first time, use your iPhone's charging cable. If your device is locked, unlock it and allow the "Trust this computer" prompt.
After a few seconds, your iPhone will be successfully paired. While this process may feel a bit cumbersome for the first time, you can opt for the Wi-Fi mode for subsequent connections. Just ensure that both devices are connected to the same Wi-Fi network.
Step 3. Choose the device and start picking images
Now, here's how to transfer photos from your iPhone to your PC without using USB. Once your iPhone is connected, it will appear in the left sidebar.
1. Select your iPhone, and all the system apps will be displayed.
2. Choose Photos, and AltTunes will present all the images. (Refresh if you don't see the recent ones)
3. Select the photos you want to save on your PC. (Use the Ctrl/Command and Shift keys to select multiple photos)
4. Click the Export button. In the dialog box that opens, choose where to store those precious moments.
5. Confirm your selection, and the transfer is complete.
Alternatively, you can drag and drop the selected photos onto the desktop or an open folder instead of clicking the Export button.
How to transfer photos from iPhone to PC with Photos App
Step 1. Connect your iPhone to the PC.
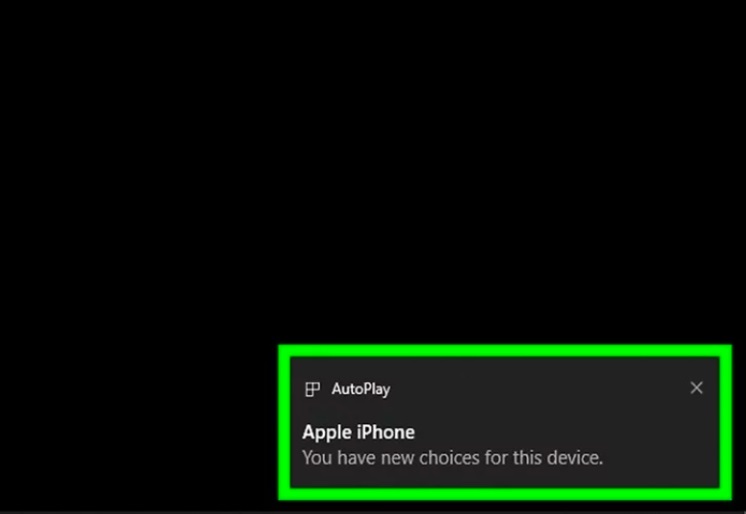
To connect your iPhone to the computer, use the USB charging cable that came with your phone. If this is the first time connecting your iPhone to the computer, you'll need to tap "Trust" on the iPhone and then enter your iPhone's passcode, use Touch ID, or Face ID. Additionally, ensure that your iPhone is updated to the latest software version.
Step 2. On your computer, open iTunes
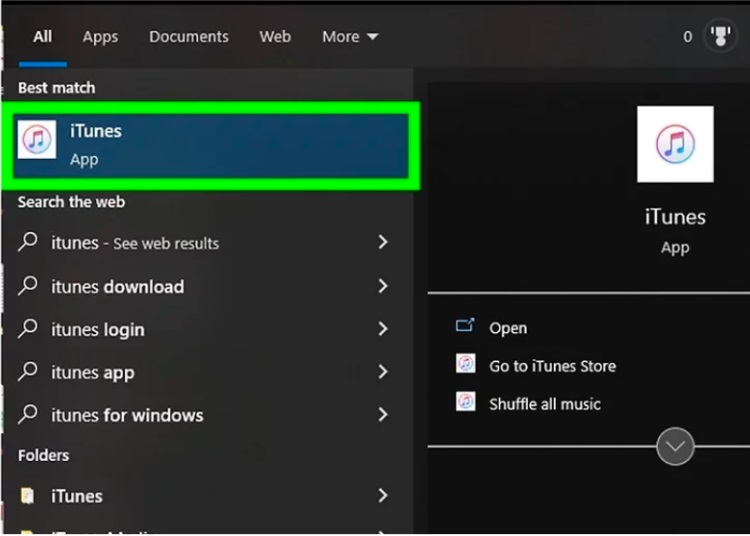
It seems like you are describing the iTunes logo, which is a multicolored musical note on a white background. To enable a Windows computer to recognize an iPhone, you must open iTunes and allow the phone to connect to it. If you don't have iTunes installed, you'll need to download and install it. Make sure you have iTunes version 12.5.1 or later for compatibility.
Step 3. Wait for the "Device" icon to appear
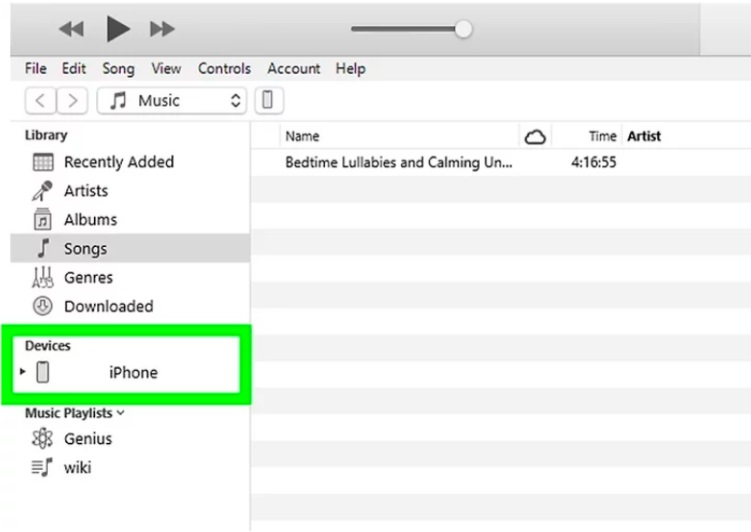
The iPhone-shaped icon you're describing will appear in the upper-left side of the iTunes Library page. Once it shows up, you can proceed. It might take a few seconds for your iPhone to connect to iTunes. If the Library tab near the top of the iTunes window isn't highlighted, click on it to shift to Library view.
Step 4. On your computer, open the Photos app
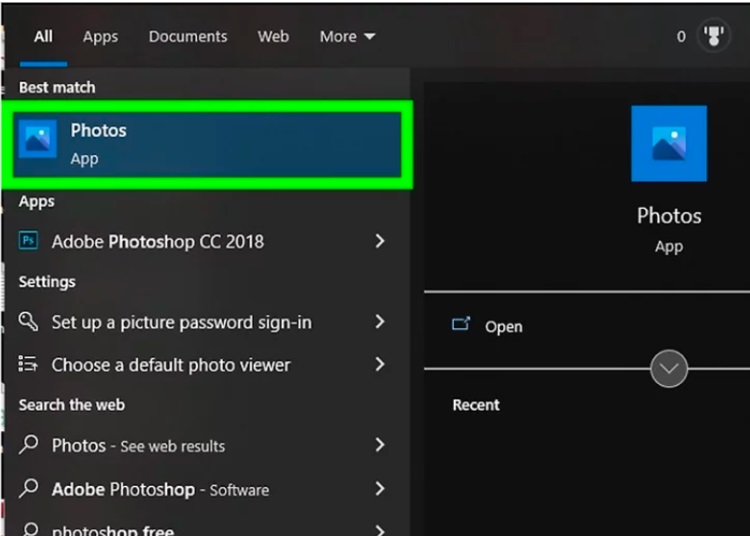
The description sounds like the icon for the Microsoft Photos app, which features two mountains on a blue background. To find this app, click on the Start menu, and you can locate Photos in your App Library or simply type "Photos" into the search bar.
Step 5. Click the "Import" icon
The icon of the down-arrow in front of a photo square sounds like the download icon. You can find this in the top-right corner of the Photos window. Clicking on it will open a drop-down menu.
Step 6. Click From a connected device
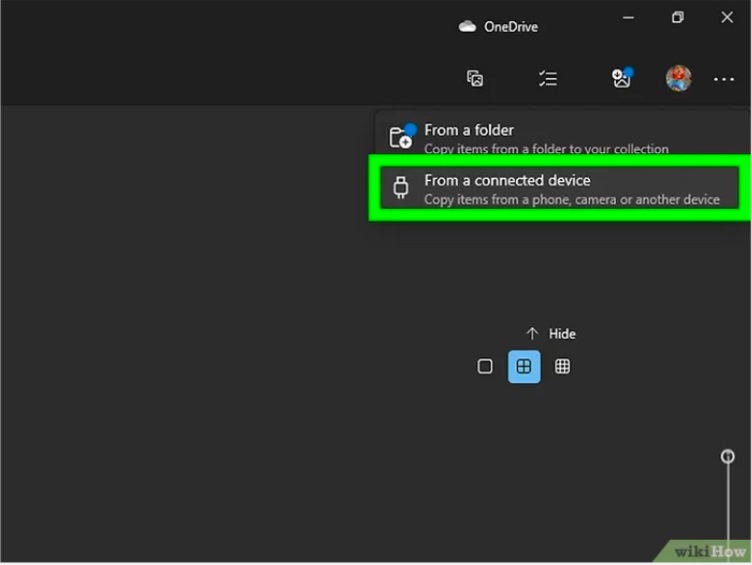
The bottom option in the drop-down menu, which initiates your computer to look for new photos and videos, is likely the "Import from a USB device" or a similar option. This is where your computer starts searching for new media content to import from the connected device.
Step 7. Select the pictures you want to import and click Continue
When you select items in the Photos app, each chosen item will have a checkmark in the top-right corner of its preview image. Alternatively, you can click on "Select All" at the top to choose all the pictures and videos at once.
Step 8. Click Import
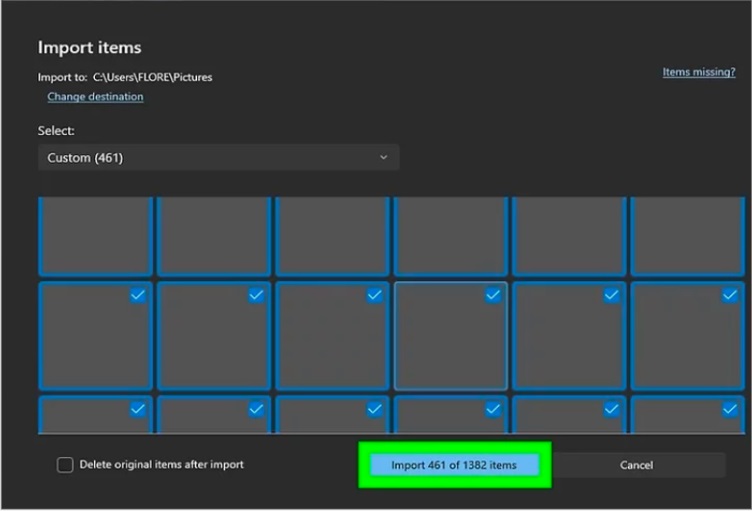
Once you have selected the items, clicking on the "Import" button will start importing the images and videos from the iPhone to your computer. If you don't want to keep the original photos or videos on the iPhone after importing, you can check the box next to "Delete imported items from Apple iPhone after importing." This option allows you to free up space on your iPhone by removing the imported media.
How to transfer photos from iPhone to PC with File Explorer
Step 1. Connect your iPhone to the PC
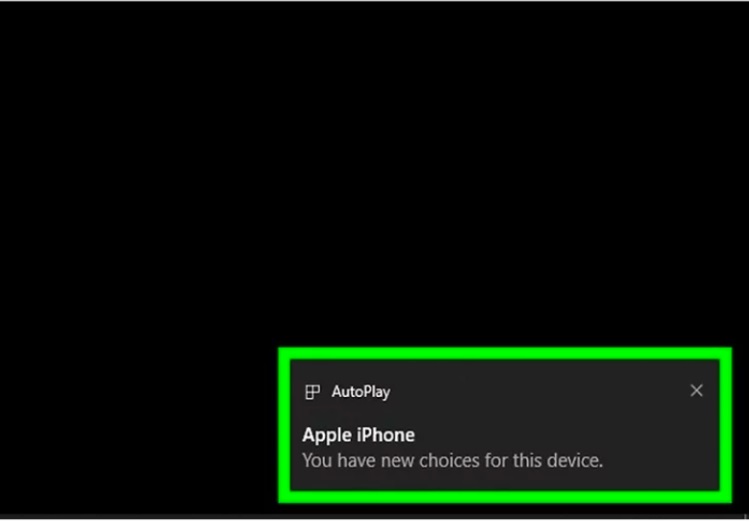
Use the USB charging cable that came with your phone.
Step 2. Unlock your iPhone
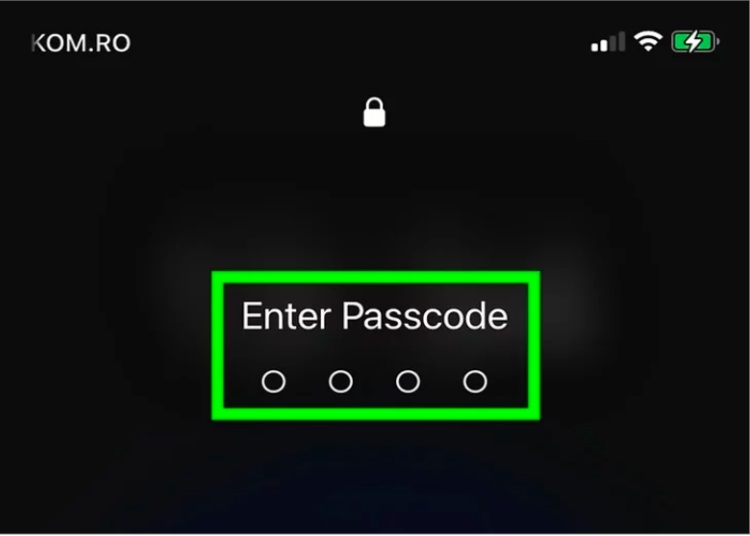
After connecting your iPhone to your computer using the USB charging cable, unlock your iPhone using Touch ID or your phone's passcode. Doing so will prompt a question on your iPhone asking if you want to trust the computer you just connected to. You'll need to confirm the trust to establish a secure connection between your iPhone and the computer.
Step 3. On the iPhone, tap Trust or Allow
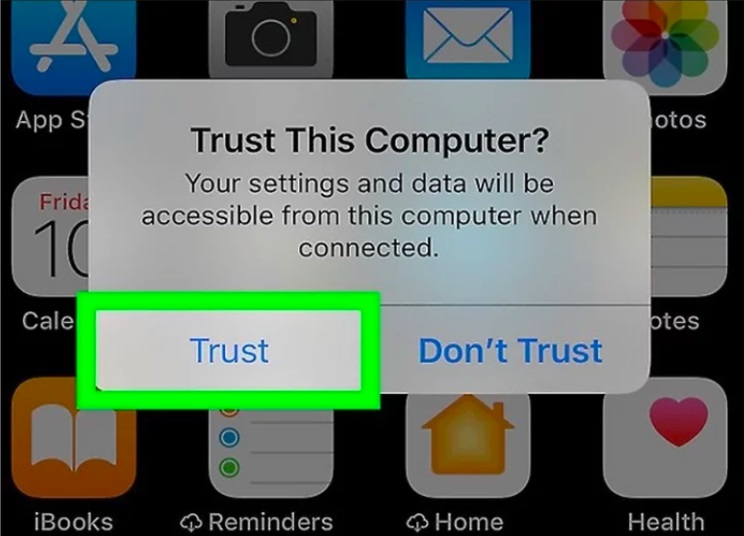
Exactly, confirming the trust between your iPhone and the computer allows the iPhone to share data with the computer. This enables you to download pictures and videos or perform other data-related tasks between the two devices.
Step 4. On your computer, open the File Explorer
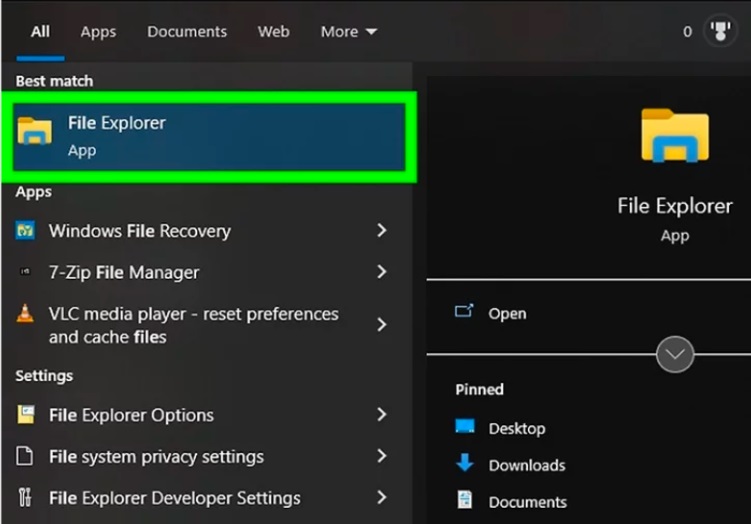
File Explorer allows you to browse files and devices connected to your computer.
Step 5. Locate the connected iPhone
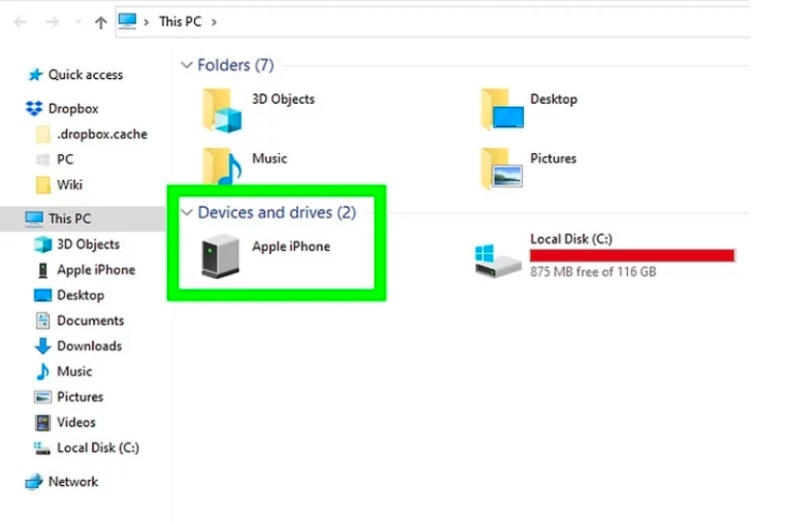
In the File Explorer window, your iPhone should be listed on the left side under "This PC." Click the arrow next to This PC to see a list of connected devices. If, for any reason, the iPhone doesn't appear, try disconnecting it and then plugging it back in. This action may help the computer recognize the iPhone and display it in the File Explorer window.
Step 6. Right-click on the iPhone and select Import pictures and video
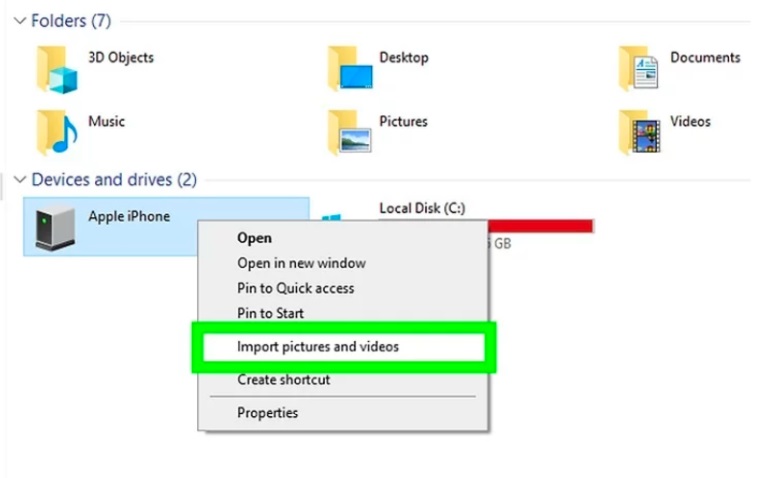
It's near the bottom of the drop-down menu. If you have a lot of photos, it may take a few moments to load.
Step 7. Select the Import all new items now option and click Next
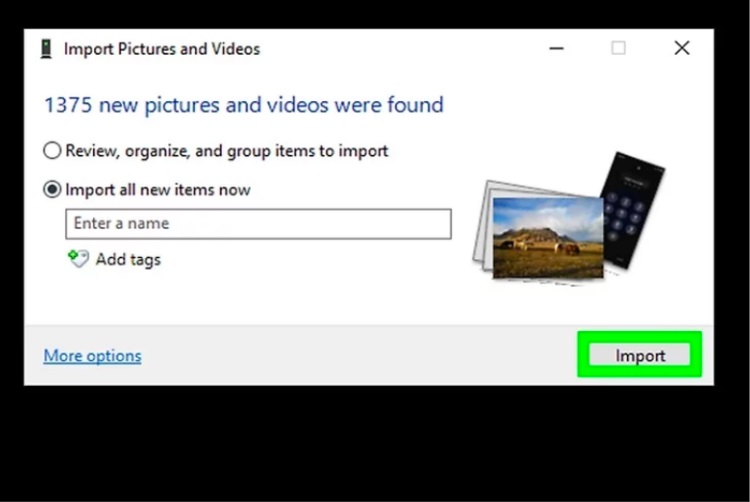
When you connect your iPhone to your computer and open File Explorer, it will automatically import all the images and videos stored on your iPhone to your Pictures folder. After the import is complete, the Pictures folder will open automatically.
If you prefer more control over the import process:
1. You can select "Review, organize, and group items to import" if you only want to choose specific folders or photos.
2. A window will open to show your importing status. Depending on the number of files being transferred, this process can take up to ten minutes or longer.
3. Check the box next to "Erase after importing" if you want to delete the photos from your iPhone once the process is complete. This option can help free up storage space on your phone.
Step 8. Locate your photos
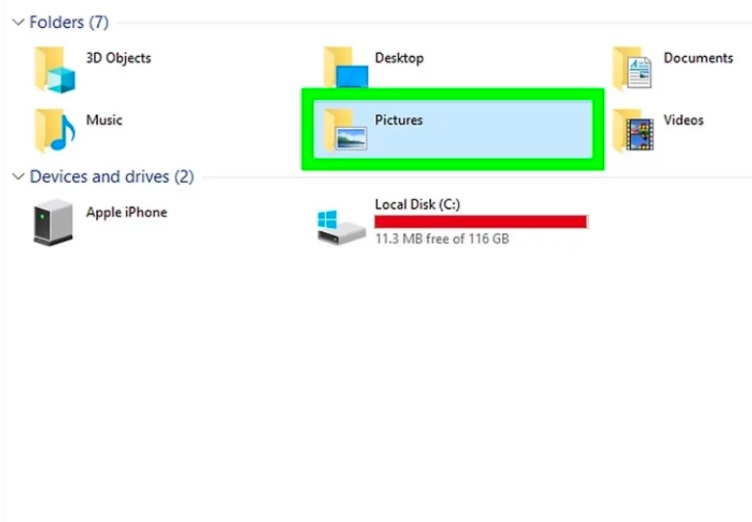
After the import is complete, the folder containing the imported images and videos will automatically open in your Pictures folder. To locate it, open File Explorer and click on Pictures. Alternatively, you can search for it in the Start menu. This allows you to access and organize the imported media easily.
Bottom Line
Yes, AltTunes is indeed a versatile software that is compatible with most iPhones and other iOS devices. You can use it to export iOS photos to a Windows PC or save your memories to an external drive. AltTunes allows you to import photos onto an external drive, helping you free up storage space on your iPhone.
In practical terms, you don't need to worry about storage constraints. AltTunes also serves as a wireless backup solution that doesn't require syncing with either iTunes or iCloud, providing you with flexibility and convenience.
FAQ
Can I transfer photos from my iPhone to PC without using iTunes?
Yes, you can transfer photos from your iPhone to PC without using iTunes. The article outlines two alternative methods: using AltTunes, a user-friendly companion app for effortless file transfer, and utilizing the built-in Photos app on your Windows PC.
Is AltTunes free to use, and how does it work for photo transfer?
AltTunes is available for free download and usage during the free trial period. To use AltTunes for transferring photos, install the app on your PC, connect your iPhone via USB, and follow the steps outlined in the article. AltTunes simplifies the process with a few clicks, allowing you to manage and transfer photos easily.
Can I transfer photos wirelessly using AltTunes?
Yes, AltTunes provides a wireless mode for connecting your iPhone to your PC. After the initial USB connection and pairing, you can use the Wi-Fi mode for subsequent transfers. It's essential to ensure that both devices are connected to the same Wi-Fi network. AltTunes offers versatility in photo transfer options, making it a convenient choice for users looking for wireless solutions.


