Welcome to the ultimate 2000-guide (in plain English) on how to transfer photos from computer to iPhone. We covered all the most popular methods to get the job done: AirDrop, iTunes, iCloud Photos, iMazing.
Sharing photos from Computer to iPhone became increasingly difficult. This breakdown will help! Jump to the needed section using the table of contents below.
 Table of Contents
How to Transfer Photos photos from Computer to iPhone using iMazing
iMazing is everything you need for effective iPhone management. It’s iTunes re-imagined, the way this software was supposed to be. It’s stylish, powerful, smart. Basically, it harnessed the power of 26 different apps into just 1 solution!
iMazing and your iPhone is the match made in Softorino heaven. We spent 5 years forging this software. All our previous utilities (WALTR & YouTube Converter) naturally grew into iMazing.
It’s pretty simple to execute if you need to transfer photos from computer to iPhone.
Step 1. Download & install iMazing
iMazing works great on any Mac or Windows computer. It has a free trial, meaning you can test all features at no cost.
You can download iMazing for free from the developer’s official website.
Simply click on the button below to download the app to your HDD. If you are using macOS, go ahead and move the .dmg file into the Applications folder. On Windows, you need to use the installation wizard.
Step 2. Connect your iPhone
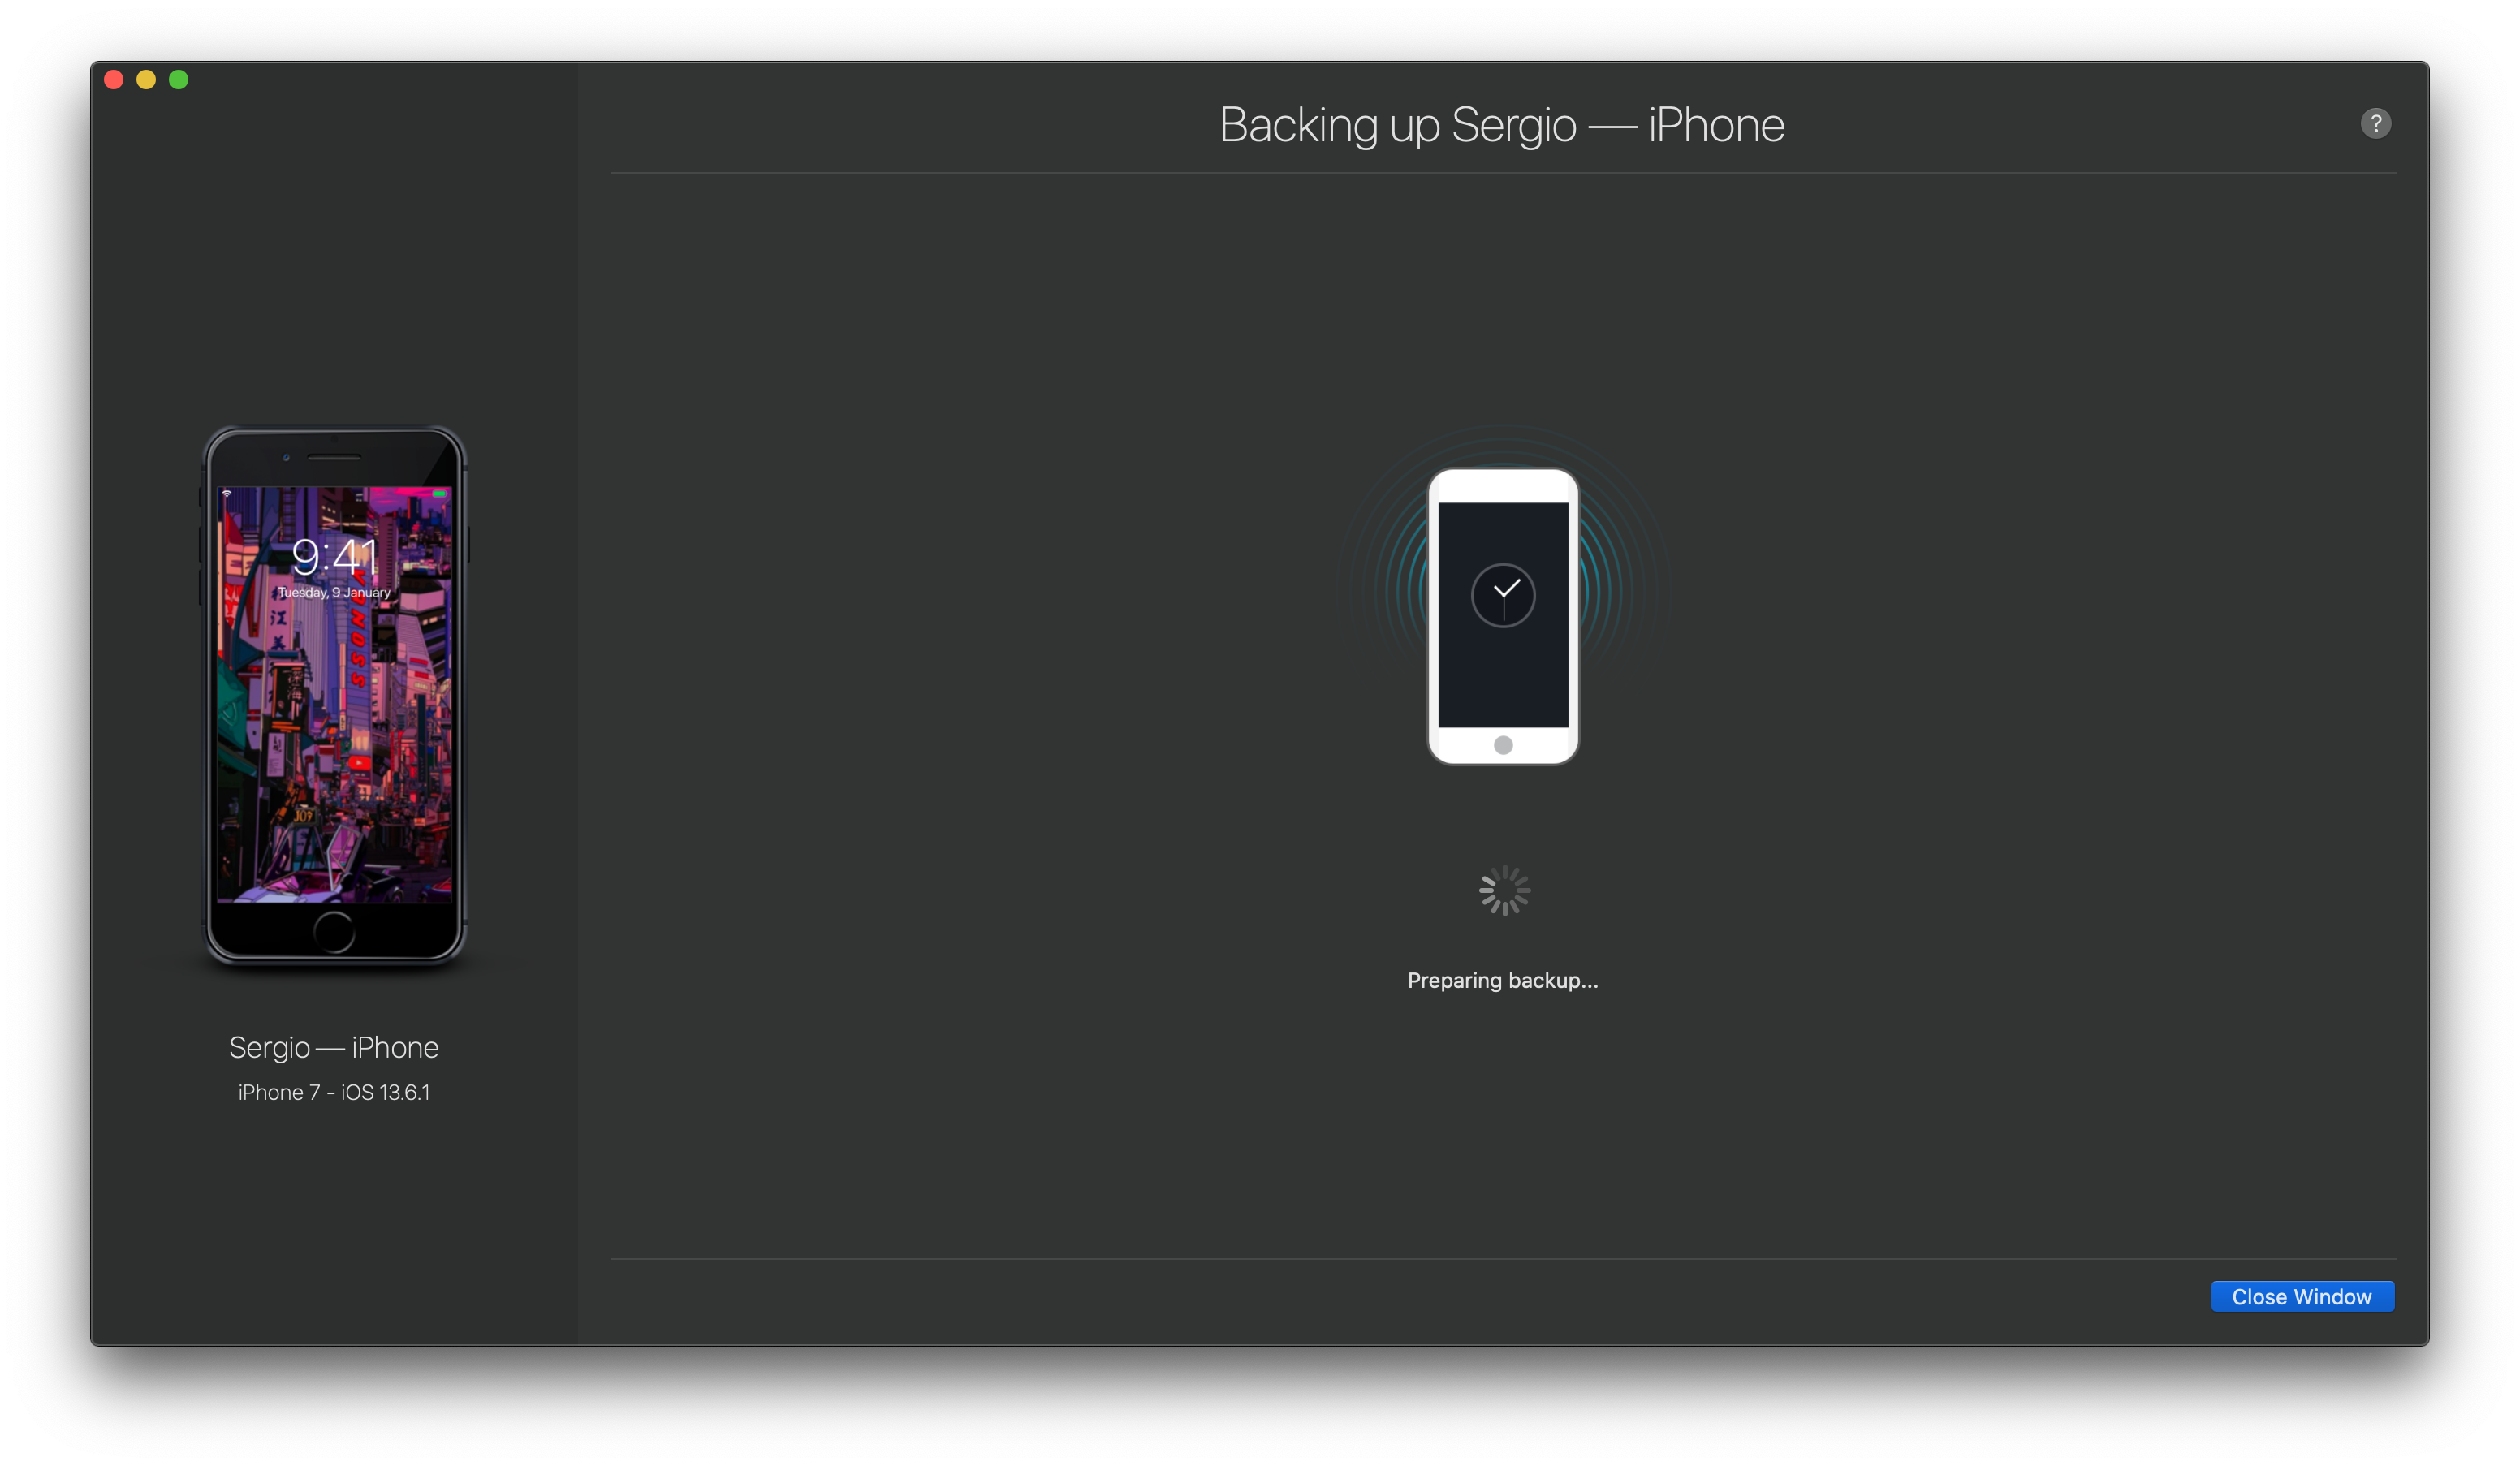
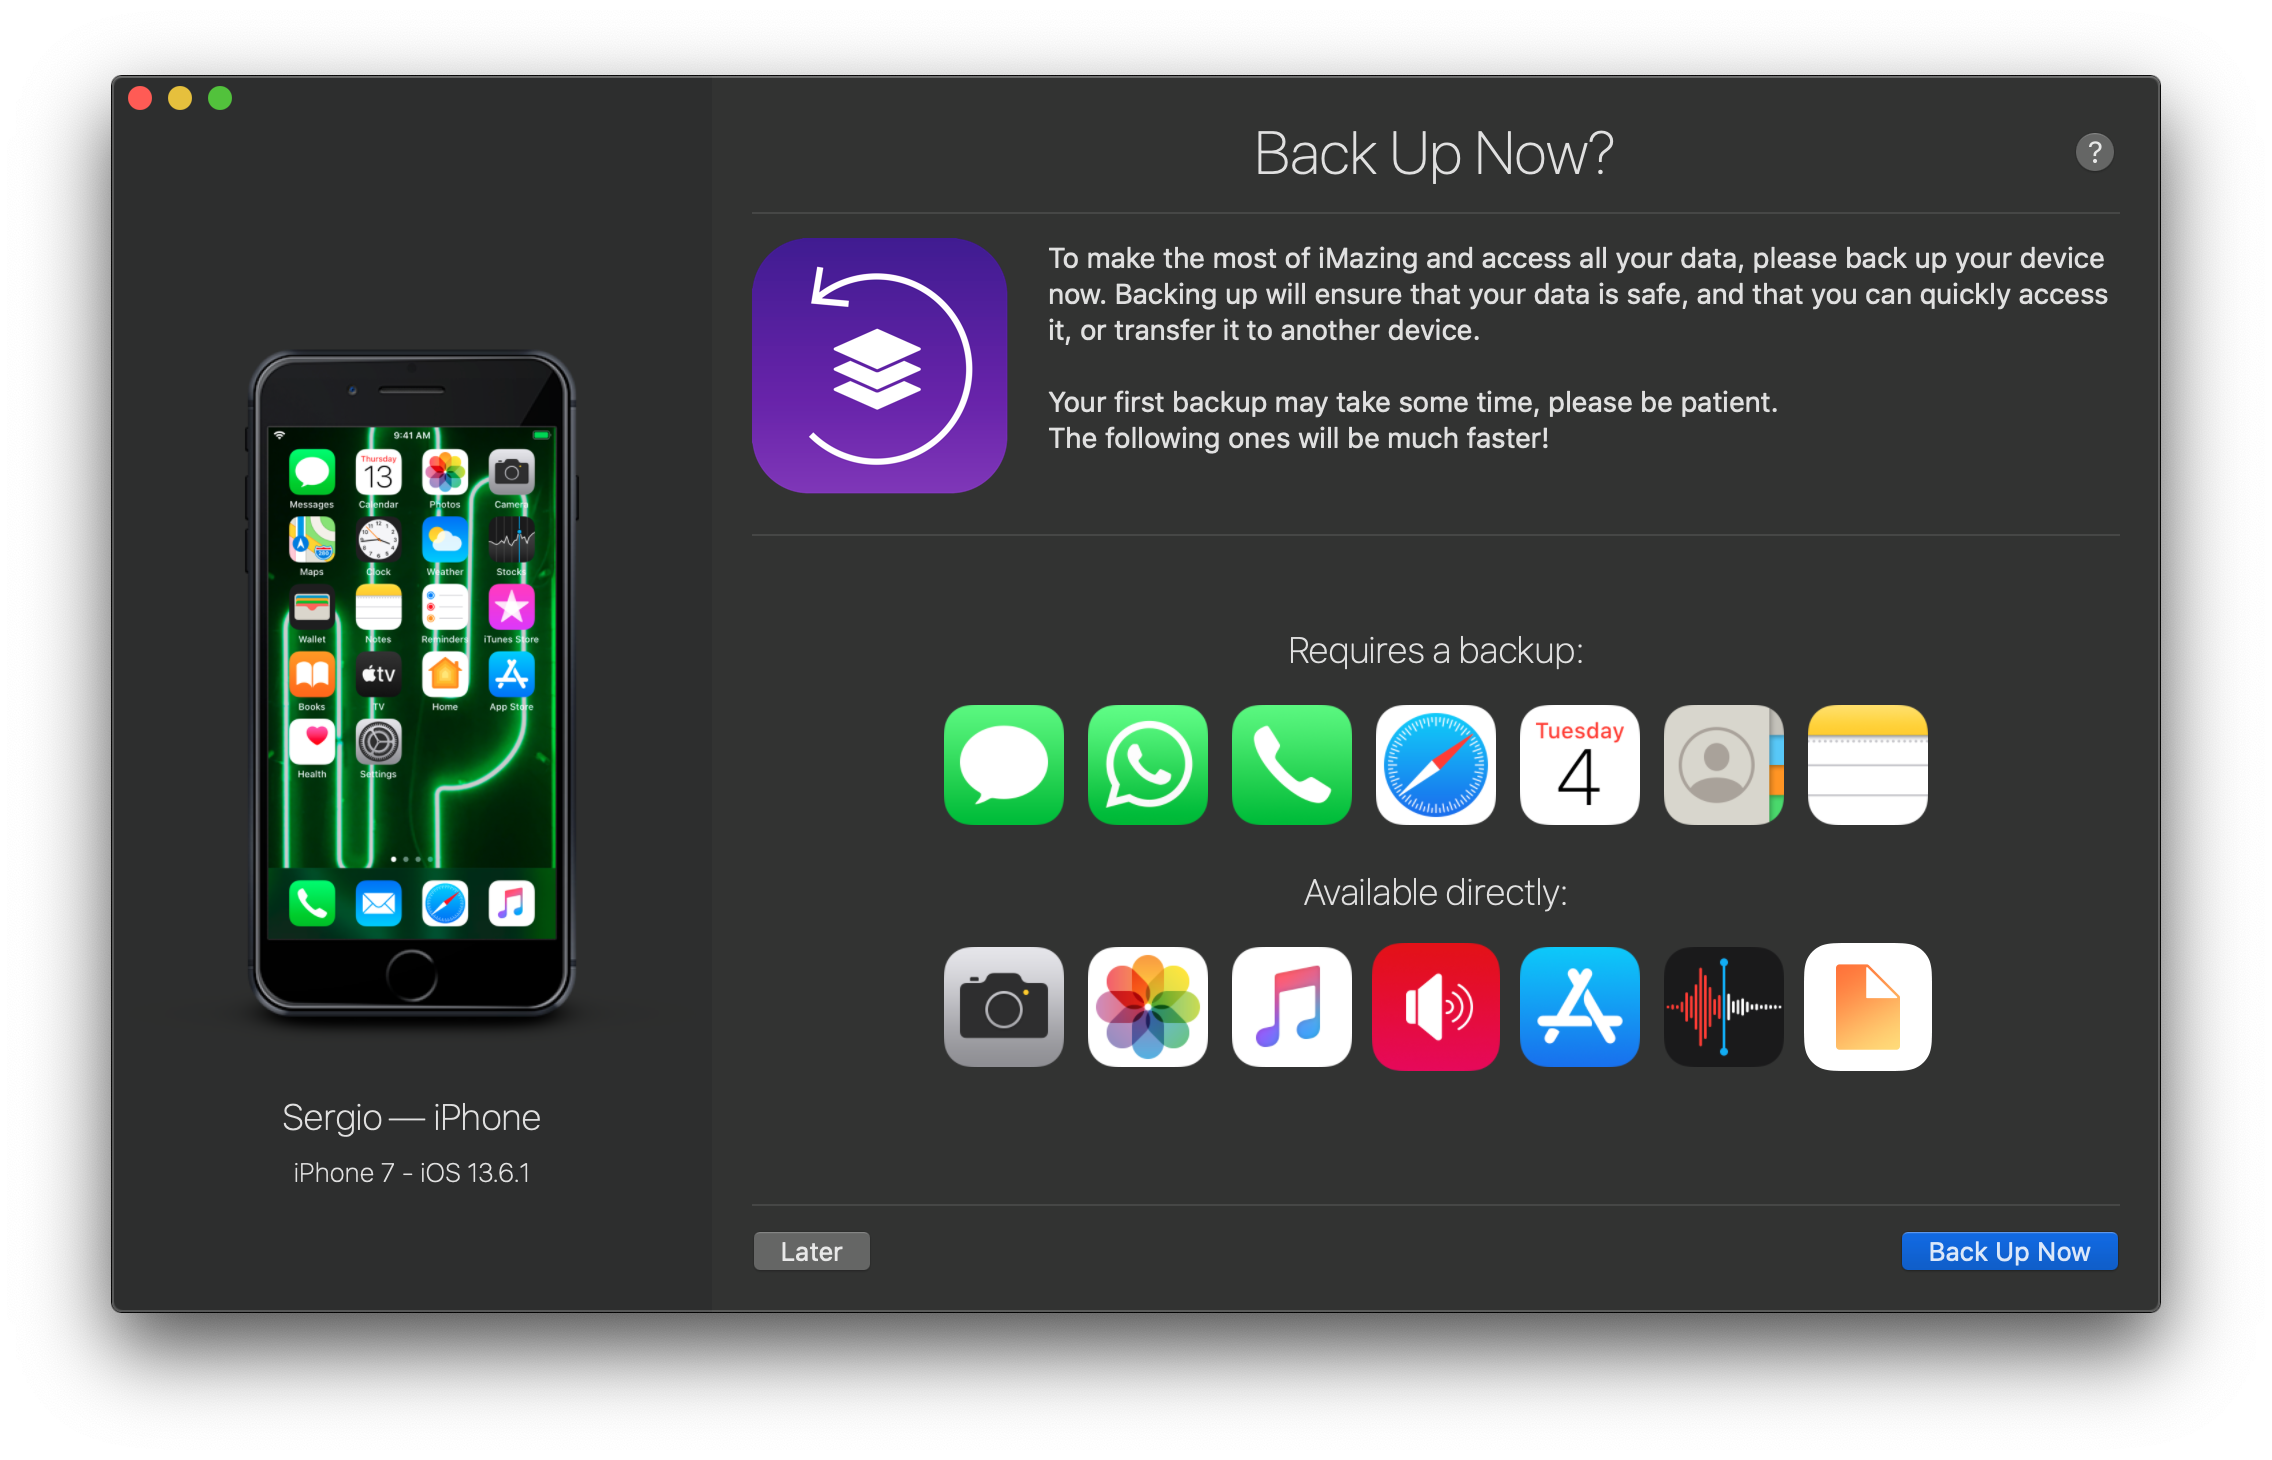
Simply plug your device in. If you are connecting your iPhone for the first time, iMazing will need to back up your device first. This is needed to fetch all the essential specs of your device.
It will show you a quick notification asking you to confirm the backup. Click ‘Yes’ and wait till the backup is finished. Btw, you can choose the desired backup location (your HDD or external drive).
Backup finished? You will immediately see all the specifics about your device: model, iOS version, available storage, and much more.
In the left sidebar, you will have all shortcuts to help you quickly select the needed operations.
Step 3. Choose ‘Photos’ from the list. Select ‘Add’
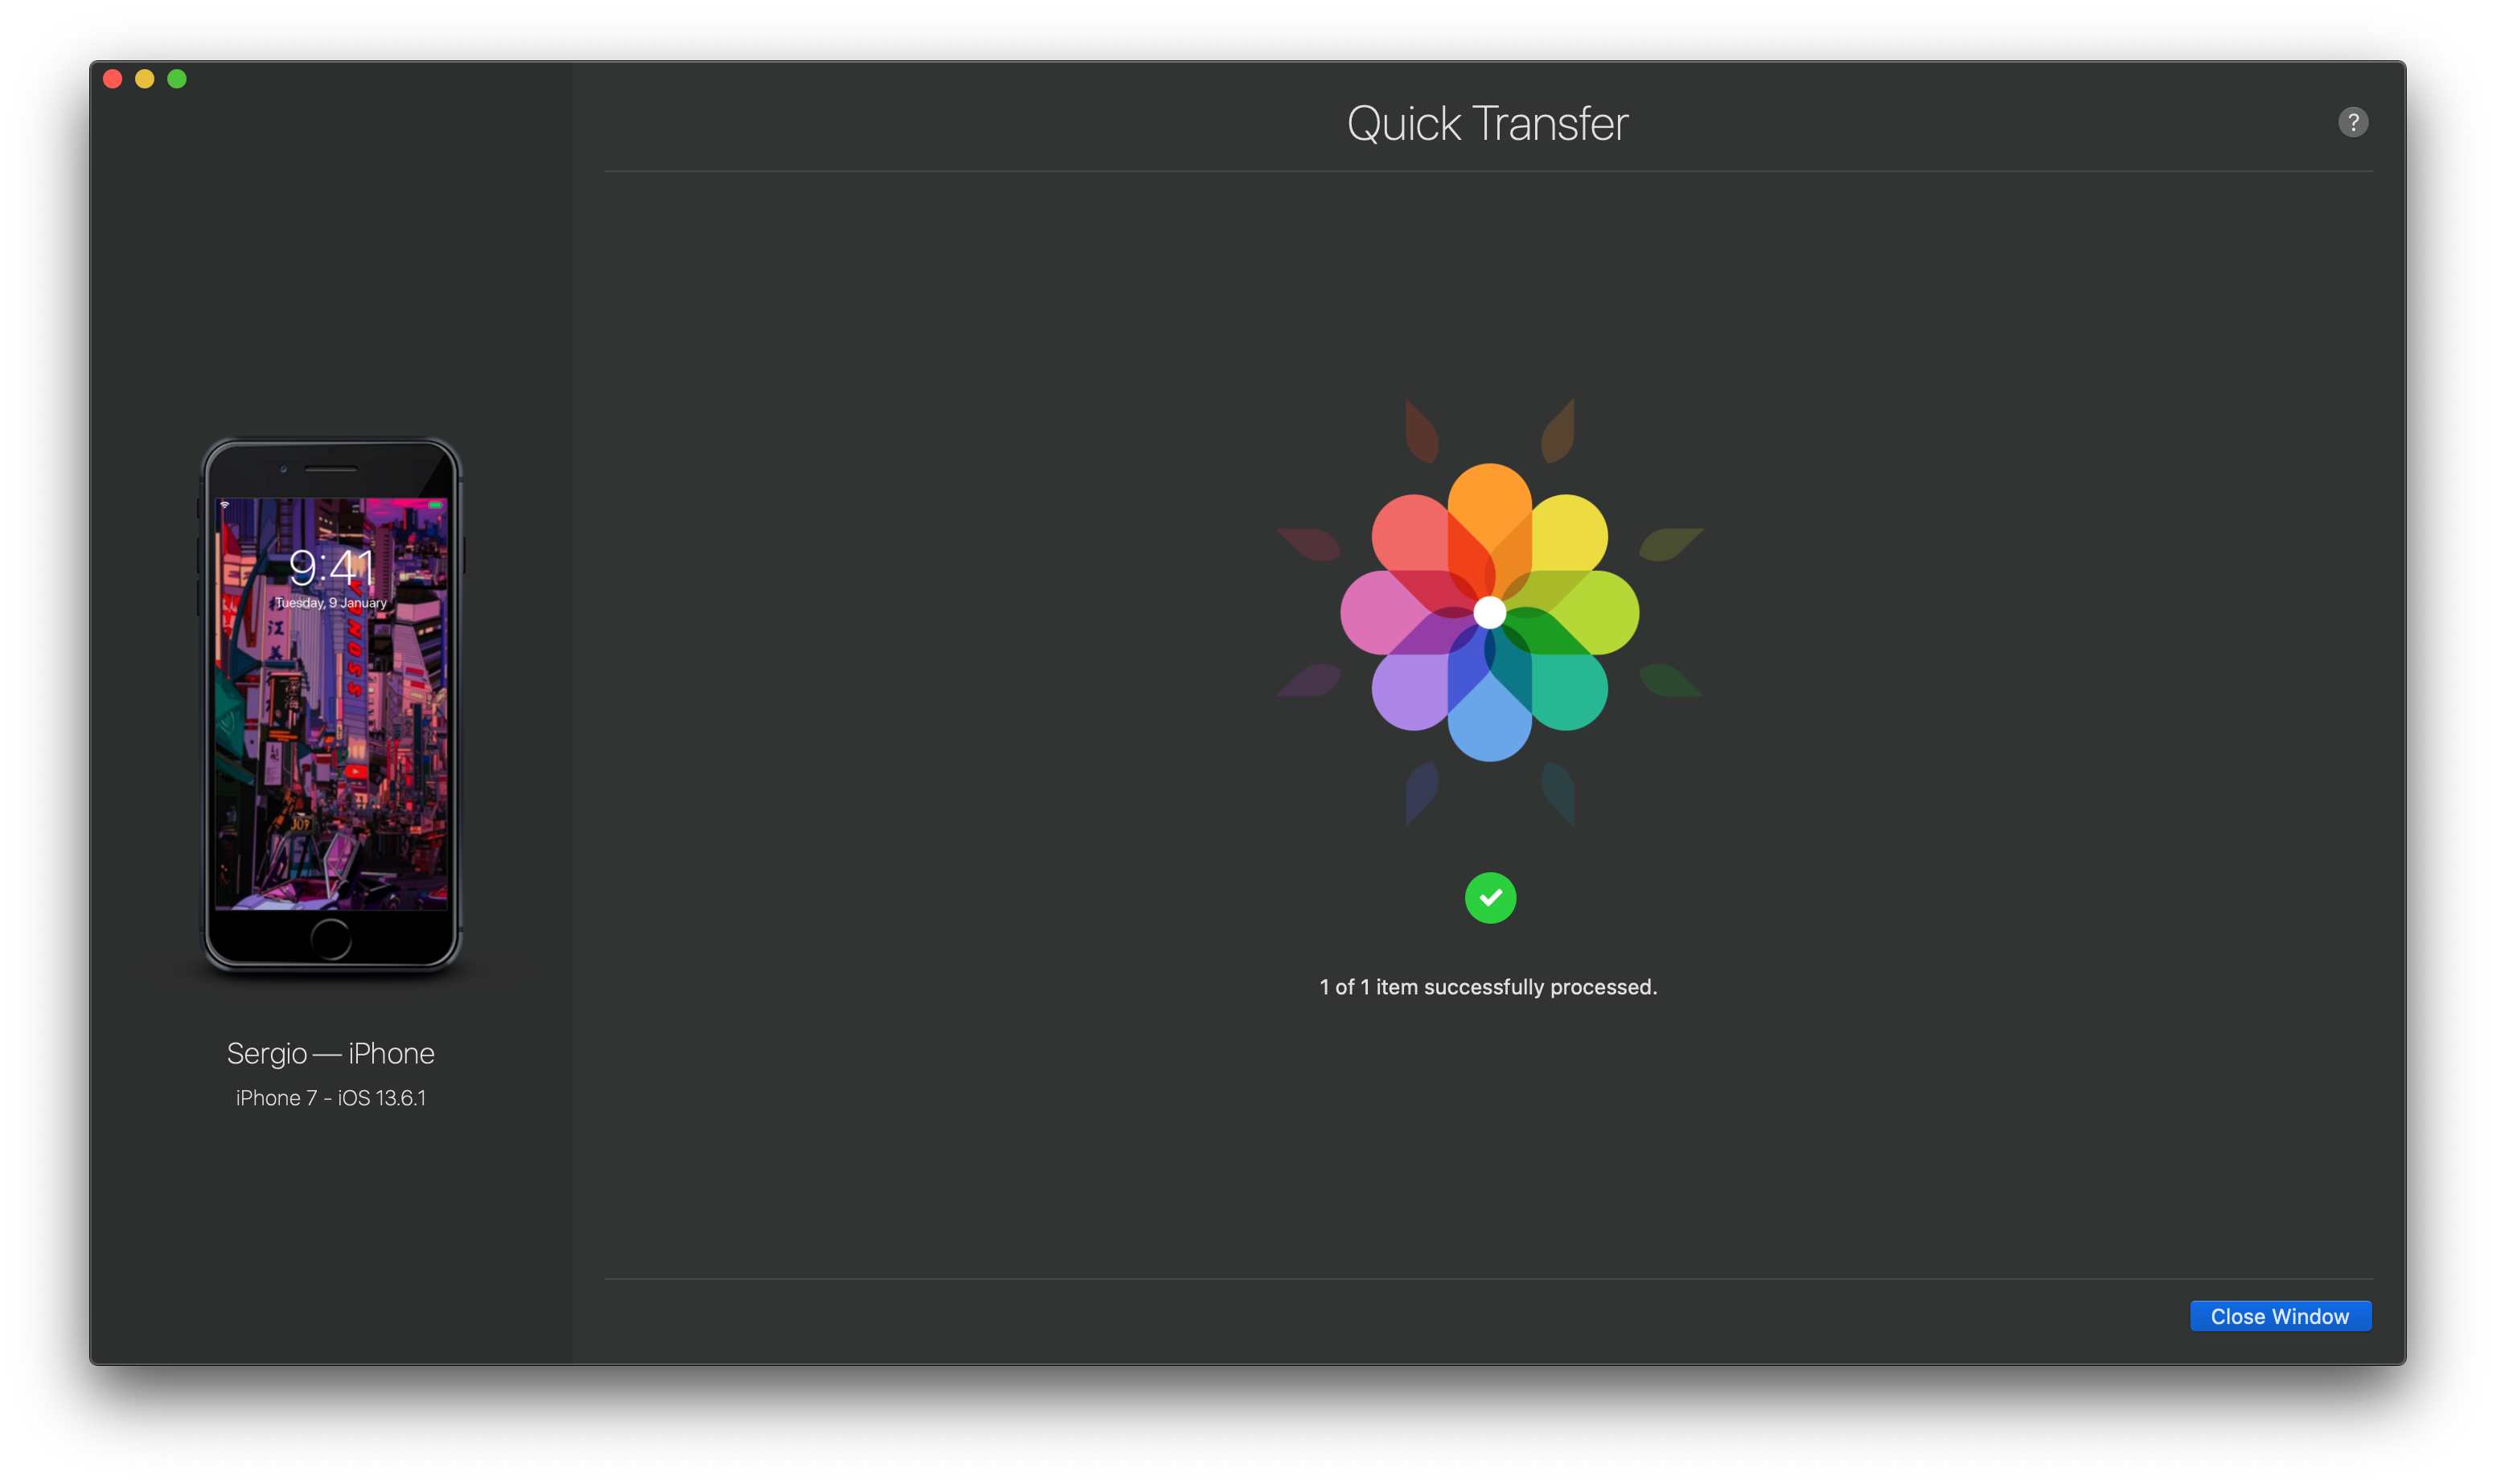
Simply transfer all the photos from your computer to your device by the means of 2 clicks. Drag the files or the entire folder loaded with pictures onto your phone. That’s how easy it is!
Besides transferring photos from and back to your device, iMazing handles every tiny detail you will need for managing your iPhone. Notes? Contacts? Backups? This apps has everything covered!
Transfer photos from computer to iPhone using AirDrop [macOS only]
Need to share a photo, video, a PDF file from computer to iPhone? AirDrop is a simple way to do just that. It’s based on Bluetooth and it works great for transferring any kinds of files between iPhones and iPads.
You can airdrop a picture to any Apple device that supports AirDrop and has it enabled. There are just a few things to do for setting up a proper connection.
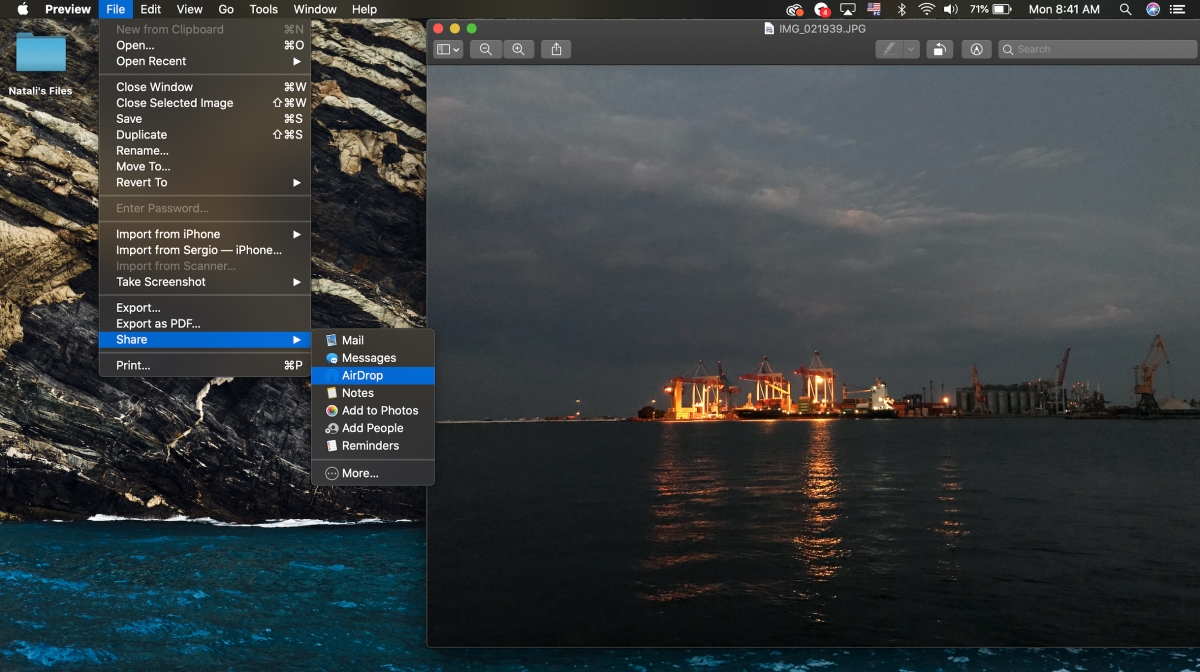
Turn on AirDrop on your iPhone. Swipe above from your Home screen and tap on AirDrop in the Control Centre.
Open AirDrop on your Mac from Finder or use the spotlight search. Your iPhone should show up among the available devices.
Drag photos to your iPhone’s icon in AirDrop. Wait till the transfer is finished. Done.
AirDrop is great for transferring a few images from your Mac to iPhone and back. It’s wireless which makes it super convenient. Best of all, you can always share files, photos, and more to other devices that are not ‘officially’ tied to your Apple id.
That means you can send photos to your friends, relatives, co-workers, and anyone you like as long as AirDrop is available for them. The obvious downside here is that it works for Mac users only.
iCloud Photos for Mac
Please, don’t use iCloud unless you purchase additional storage space. Apple provides you with 5GB by default but this is a drop in the bucket. The iCloud library will fill up from day 1 making sharing a no-go. You can upgrade to 50Gb for $1 per month, 200GB for $3, and 2TB for $10.
Nevertheless, iCloud has a pretty cool idea in mind. If you have a decent Internet connection whenever you are, this is a great way to back up your data. Best of all, you can transfer photos from computer to iPhone pretty easy, even though it’s a pretty ho-hum method.
How to Transfer Photos from Computer to iCloud (on a Mac)
First off, launch the Photos app on your Mac by using spotlight search or by launching it from the Launchpad. Choose ‘Preferences’ from the top menu bar. In iCloud, enable “iCloud Photos’. Done!
Then simply drag your photos into the Photos app. All of them will be automatically uploaded to your library.
How to Transfer Photos from Computer to iCloud (Windows)
There’s a dedicated iCloud program that’s available on Windows. It works great for any PC. It functions just like its Mac counterpart. First thing first, make sure to download this software to your Windows PC.
After you downloaded and installed iCloud on your Windows PC, launch it and choose ‘Options’ next to the iCloud Photos. Select ‘iCloud Photo Library’, continue with ‘Done’ and then ‘Apply’.
You will see iCloud photos show up under ‘Favorites’ in a File Explorer window. If you need to upload any photos into iCloud, head there, and click ‘Upload photos and videos’. Select the desired pictures and click ‘Open’. You’re almost finished! Next step is to enable the iCloud library directly inside your device. Immediately you will be able to view them in your device.
How to turn on iCloud Photos on your iPhone
Head over to Settings > [your name] > iCloud
Select ‘Photos’
Enable iCloud photos on your device.
This means – all photos you make with your iPhone will automatically sync to the cloud. What’s more, all the photos that you upload to your iCloud/Photos app will automatically sync to your iPhone.
Transfer photos from computer to iPhone using iTunes (Finder on macOS Catalina)
I have a confession to make. At Softorino we aren’t iTunes biggest buffs. iTunes is too intricate, too bulky. It’s designed against all Apple’s simplicity principles. This is how (and why) our business started! We and our friends needed an easier solution.
The old-school way to managing each media file on your computer is iTunes (which was partially replaced by Finder in macOS Catalina). It still helps you manage your images, but only if you don’t use iCloud Photos. The main downside to this method is that iTunes stays, well, iTunes. It’s shambolic and counter-intuitive. In addition, if you are trying to send photos to a device that’s not connected to your Apple id, this workaround is out of the question.
Without further ado, here's how to send photos from iTunes (Finder) to iPhone. Please know - we did our best to make this as simple as possible.
Step 1. Connect your iPhone to your computer using your standard USB
iTunes will, of course, see your iPhone right away, just like a monster that senses its victim from far away. But don’t be afraid. Unless you see this message:
[ERROR Message]
If you were unlucky to see it, RUUUN!!!! Or simply click ‘Cancel’. If your iPhone is synced to this library, stay strong and hold to your guns – you have the winning chances in this game of thrones.
You will be taken to the Summary tab immediately. It’s a quick overview of your iPhone’s storage and more.
Step 2. Check ‘Manually manage music’ in the Summary
Step 3. Choose the ‘Photos’ tab
In iTunes, you will see the ‘Photos’ tab in the left-bar menu. If you are a cool cat and using macOS Catalina, open Finder. You will see ‘Photos’ above in the upper menu (see screenshot).
Step 4. Drag your pictures into the ‘Photos’ section
They will subsequently be synced to your phone. Done!
Conclusion
Are we all addicted to amazing quality photos, great cameras, and displays? Maybe. More and more people would love to share their photos from computer to iPhone and back. But it’s not an easy catch.
Every Apple’s keynote, Tim Cook and Phil Shiller are saying ‘It just so simple’ and ‘it just works’, but! Certain things like sharing photos seem too hard, too long. Honestly, the are hard to execute even in 2019.
Hopefully, this quick tutorial cleared the picture up. AirDrop and iCloud are nice, but they have certain limitations. Also if you’re using iCloud Photo Sharing, iTunes photo management is a no-go. There’s also iMazing that serves like ‘iTunes revamped’, the perfect iTunes we never received from Apple. Anyways, please let us know what solution is the best fit. We would love to know your take!

Josh Brown
CEO at Softorino


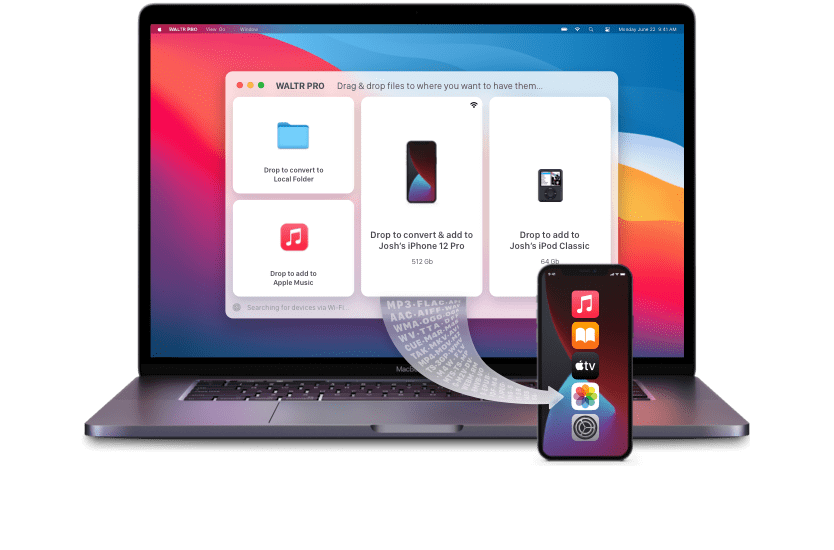
 WALTR PRO